NGK AFX Tutorial:
Part 1.
How to remove your stock clock and install a NGX AFX Digital display
First remove the center dash trim and wires from the trim. We all know what that looks like.
Turn it around and remove the phillips screws on the outsides of the radio plastic plate.
Using a flathead screw driver, slightly bend the tabs to remove the clock unit as one.
Then remove the smaller phillips screws that hold the plate to the clock.
Using the flathead again, slightly bend the tabs to remove the plastic plate from the clock unit.
Then you should be able to remove the clock board from the clock plastic unit.
Remove the tinted plastic from the center plastic with a flathead.
Now using an exacto(and pliers) or dremel, you will need to take off the tabs on the plastic center dast trim above the vents. Before you do this take off the vents with a flathead and slightly bend the tabs and pull the vent to remove.
You will also need to remove the Hazard button. That requires a phillips... two screws.
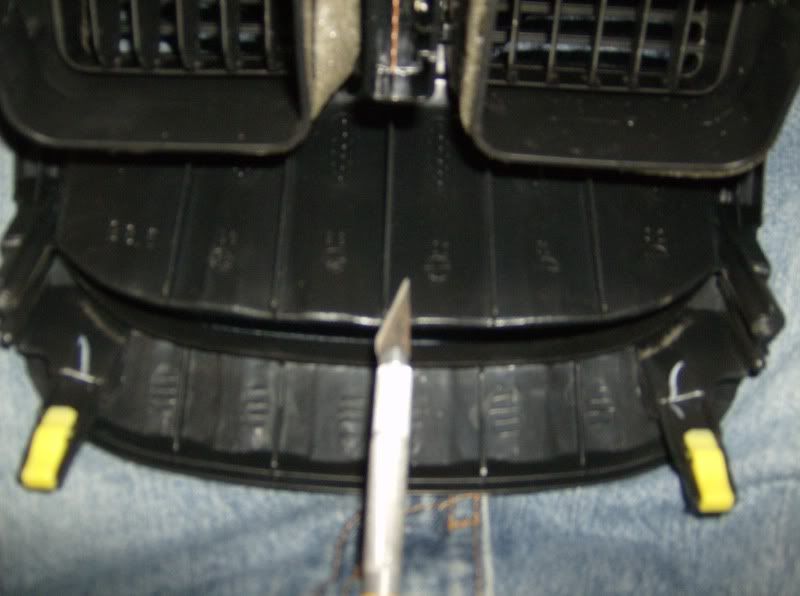
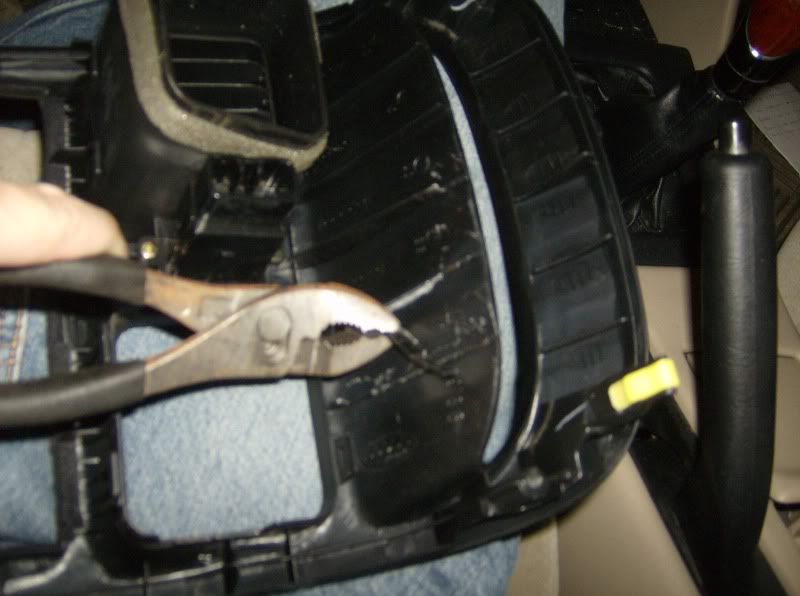
Your center dash trim should look like this.
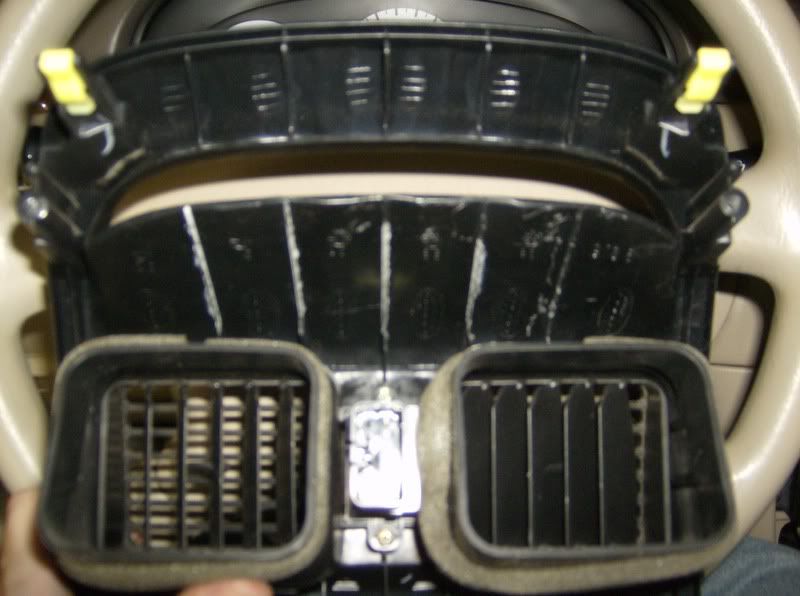
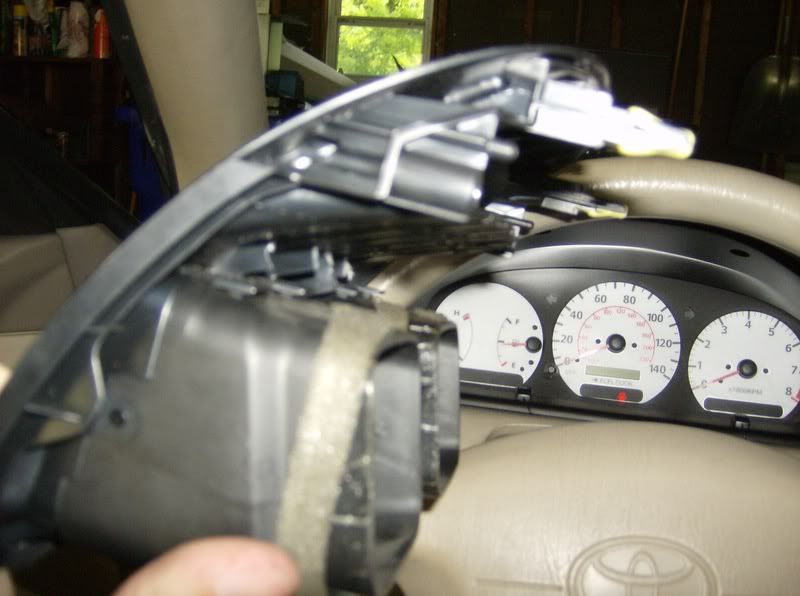
With an exacto or dremel, you will need to notch the bottom of the plate that is in between the tinted plastic and the plastic plate. MAKE SURE YOU MEASURE the size of the digital display box before you start hacking.
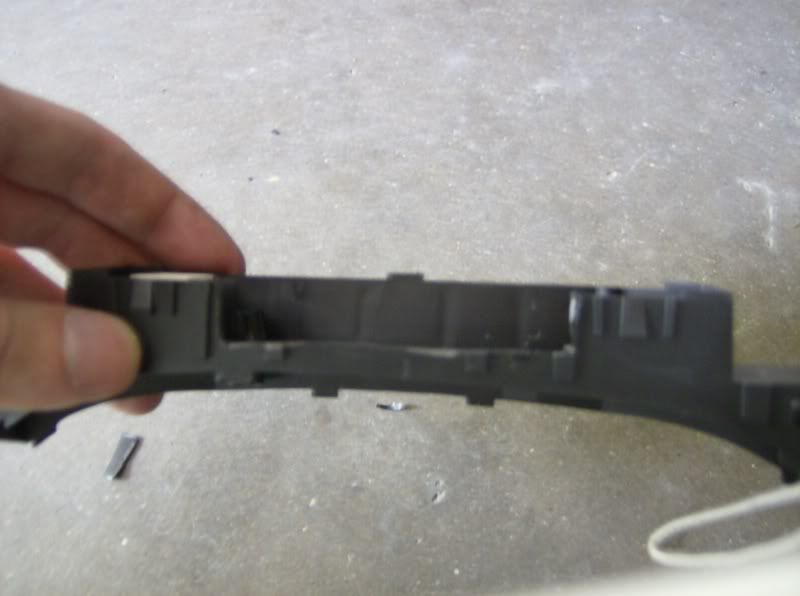
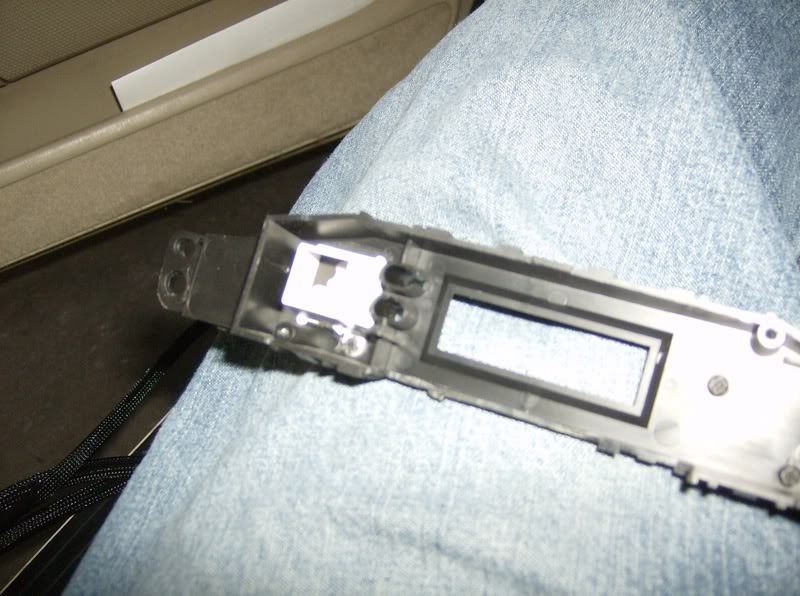
With an exacto or demel, you will need to make the area to see the display larger. AGAIN, MEASURE!
NOTE: The size of the display in the digital display box is abit smaller. I went in about 1/8" in from the outside of the Digital display box. You can see where I marked the outside and then the inside.
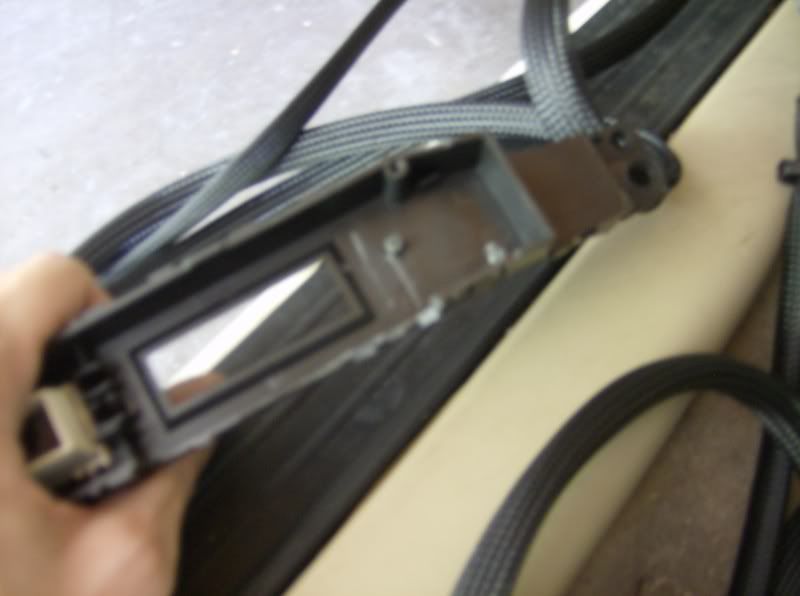
The plastic peice should look like this now.
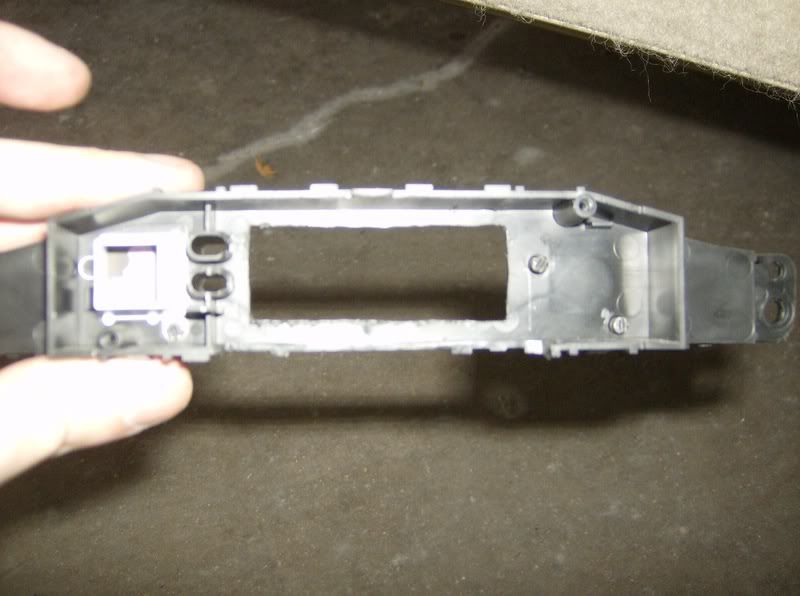
Fitting
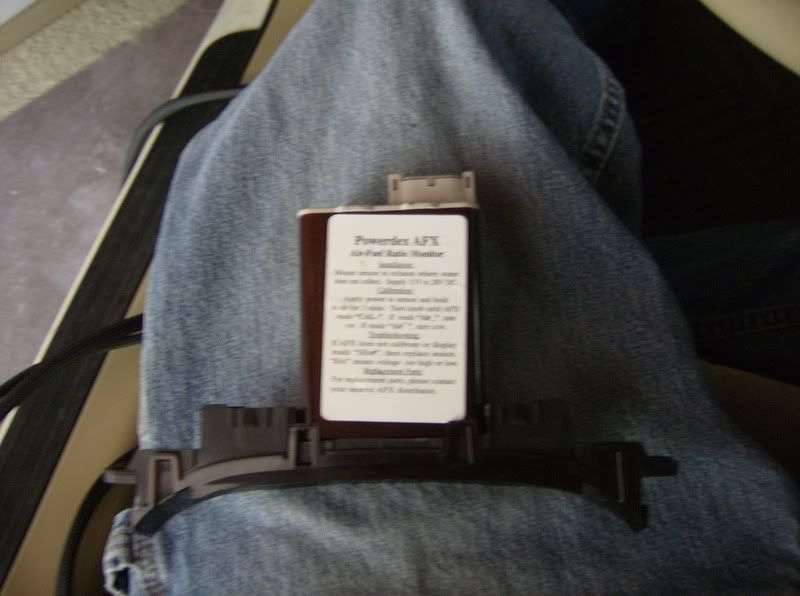
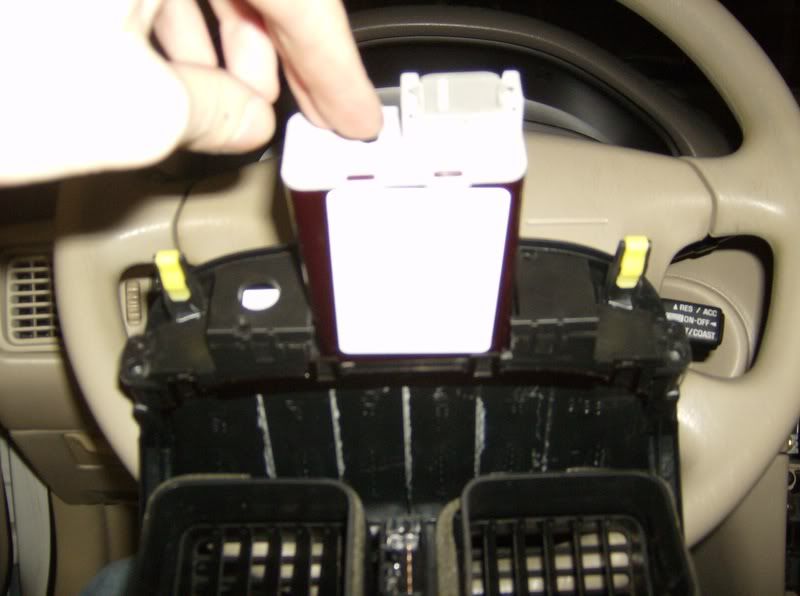
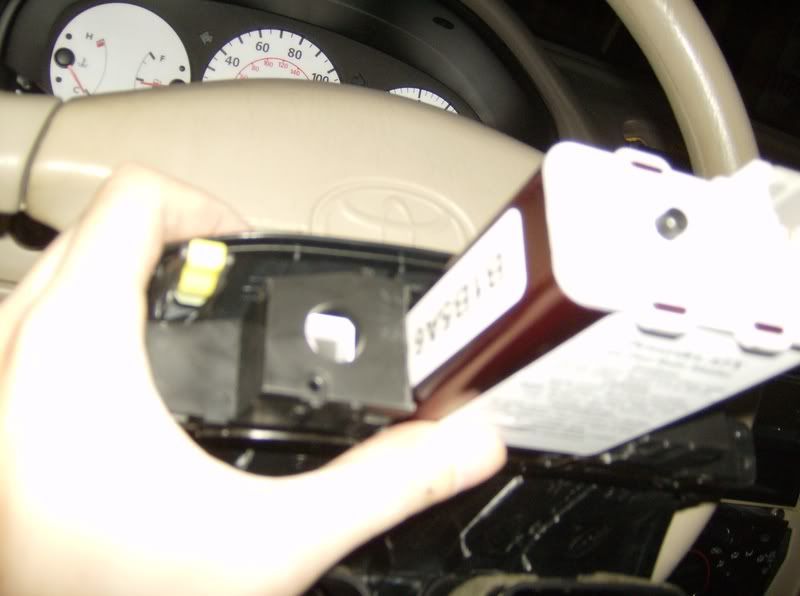
Next is the plastic plate.
You will need a exacto or a dremel to notch an area at the bottom. This plate will serve as your bracket holder.
The plate should look like this. REMEMBER MEASURE BEFORE CUTTING
NOTE: This peice is very easy to break BE CAREFUL
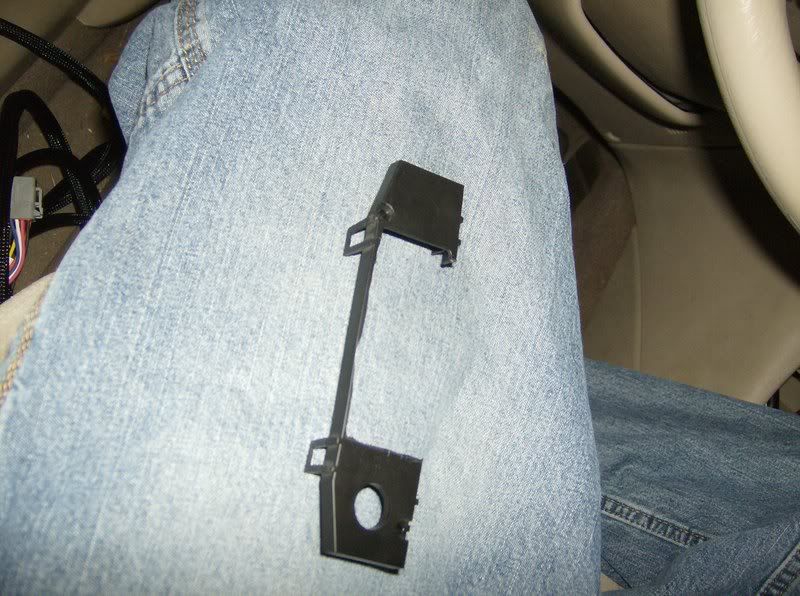
This is what the unit should look like now without the digital display box
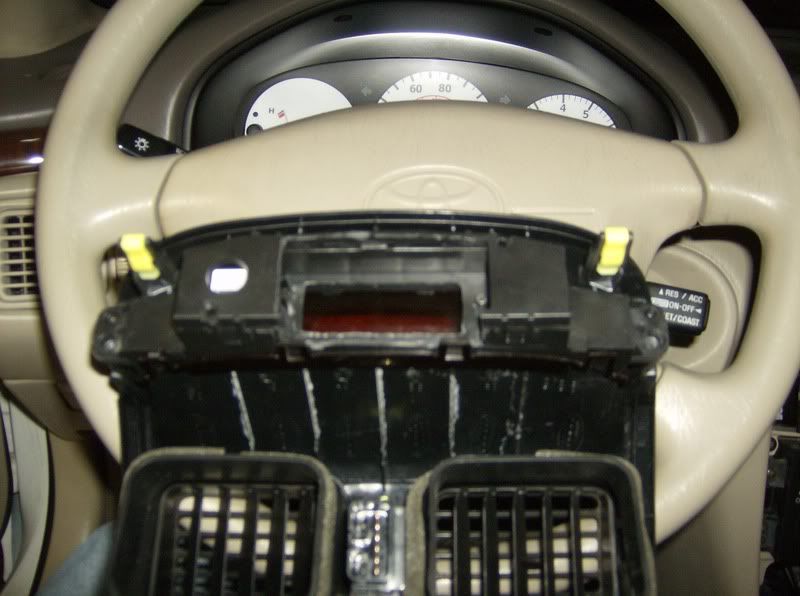
And this is what it should look like with the digital display box.

Next is the inside of the dash.
There is one slight problem. You will have to move the bundle of wires out of the way of the Digital display. Very easy to do.
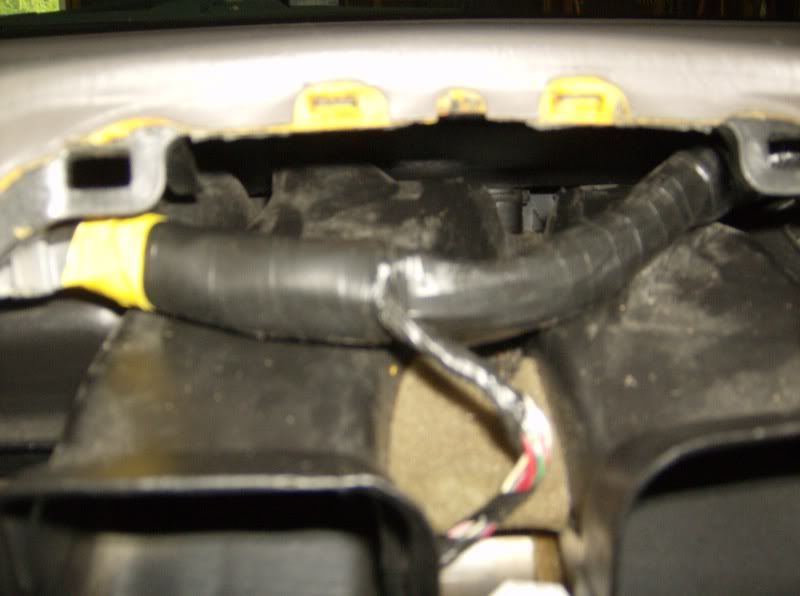
There is a tab that holds the wires in place on the driver side. You will need a flathead and slightly bend the tab while pushing the wires foward towards the front of the car. Keep checking your progress to see when the tab has cleared the tab holder.
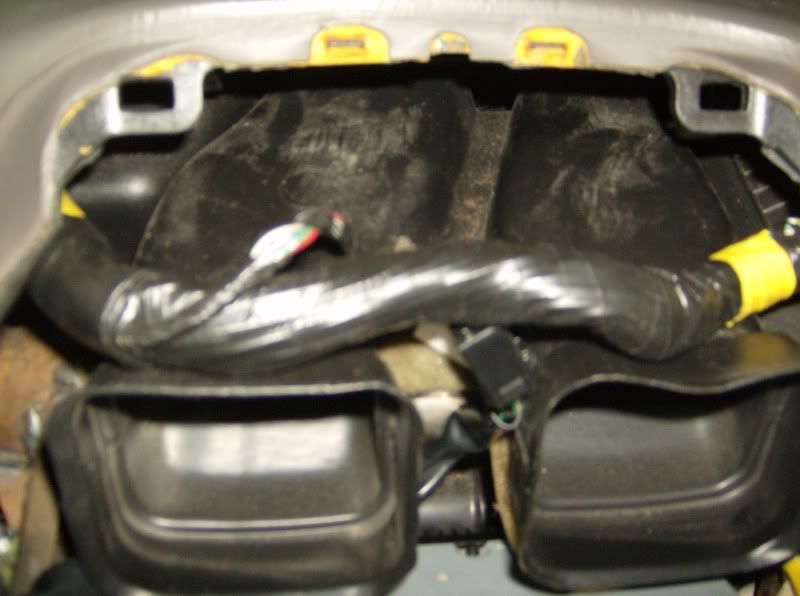
Once that is done you will need to muscle the wires closer to the vents. This is why you needed to cut the tabs on the center dash trim. Otherwise it might not clear.
It should look like this when done.
After many months of being either sick or busy I finally finished what I started with some changes.
Your want to dremel out the bottom part of the plastic so it looks like this.
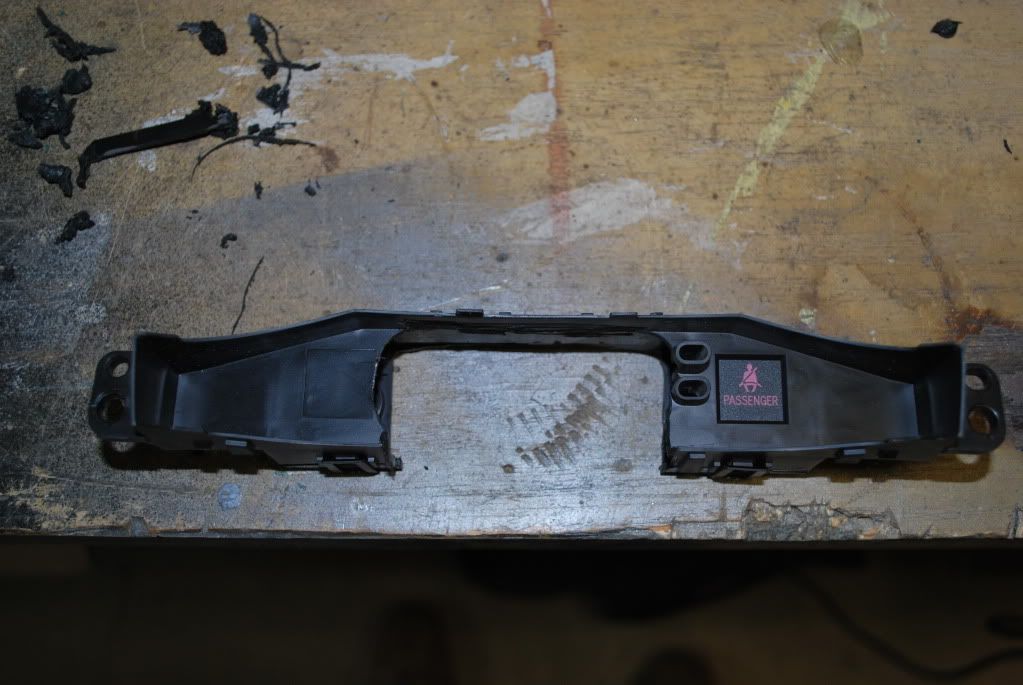
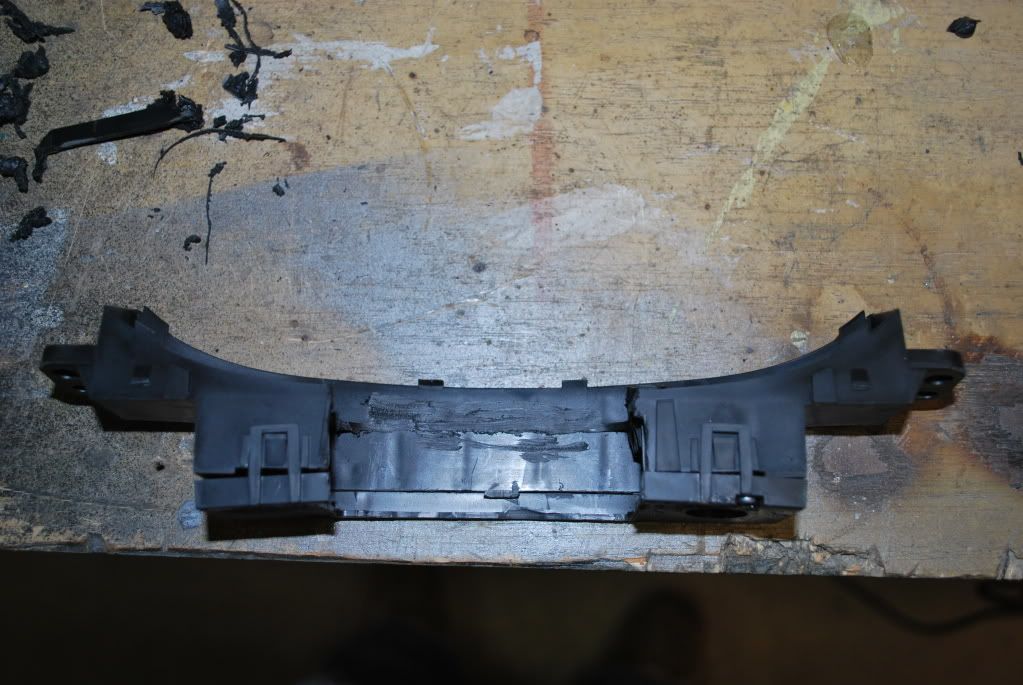
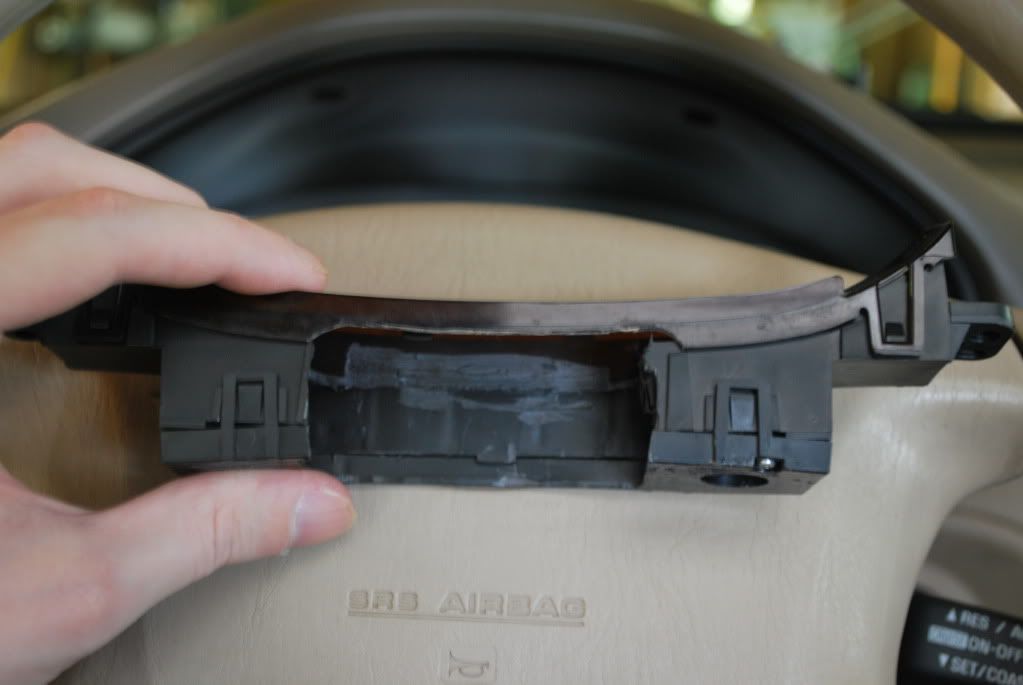
Then with a heat gun that has a LOW heat setting your going to want to heat up the driver side venting. When hot, take a 1x4 and push in where the male/female connector of your NGK AFX will be. If you don't do this, the connector will push the display downand you'll only get half a screen.
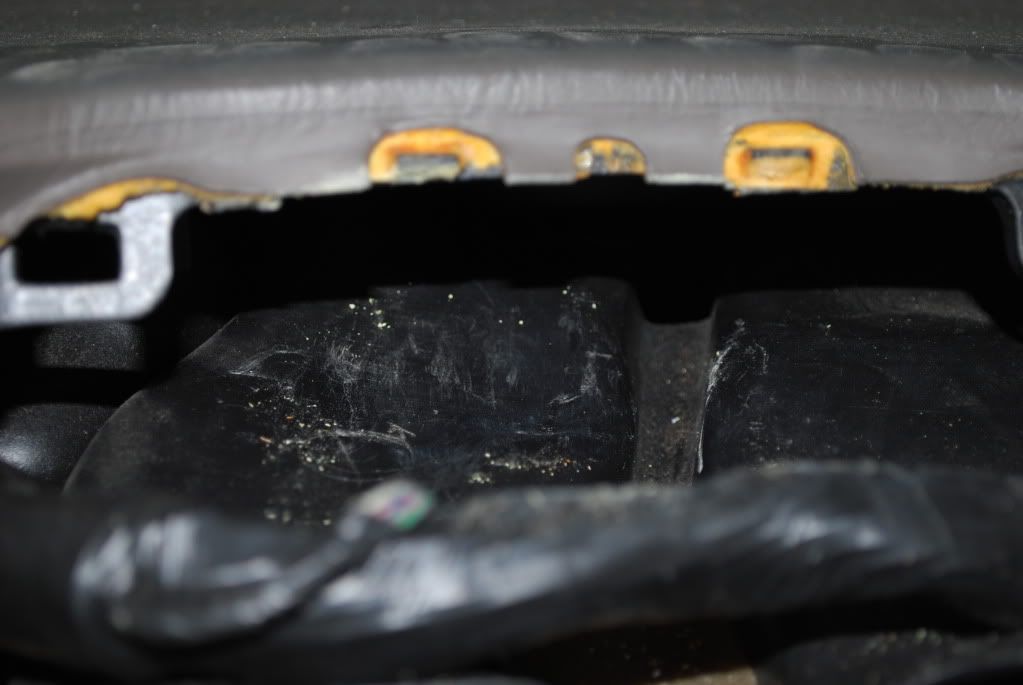
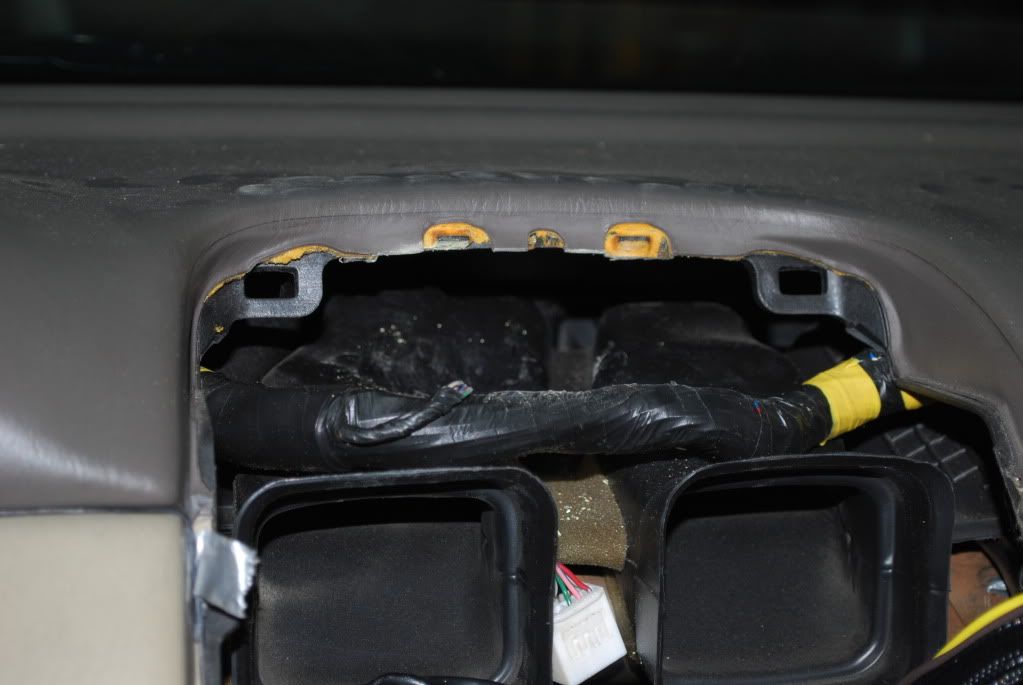
Then grind a peice of sheet metal that is the size of the NGK AFX and bend the end like so...
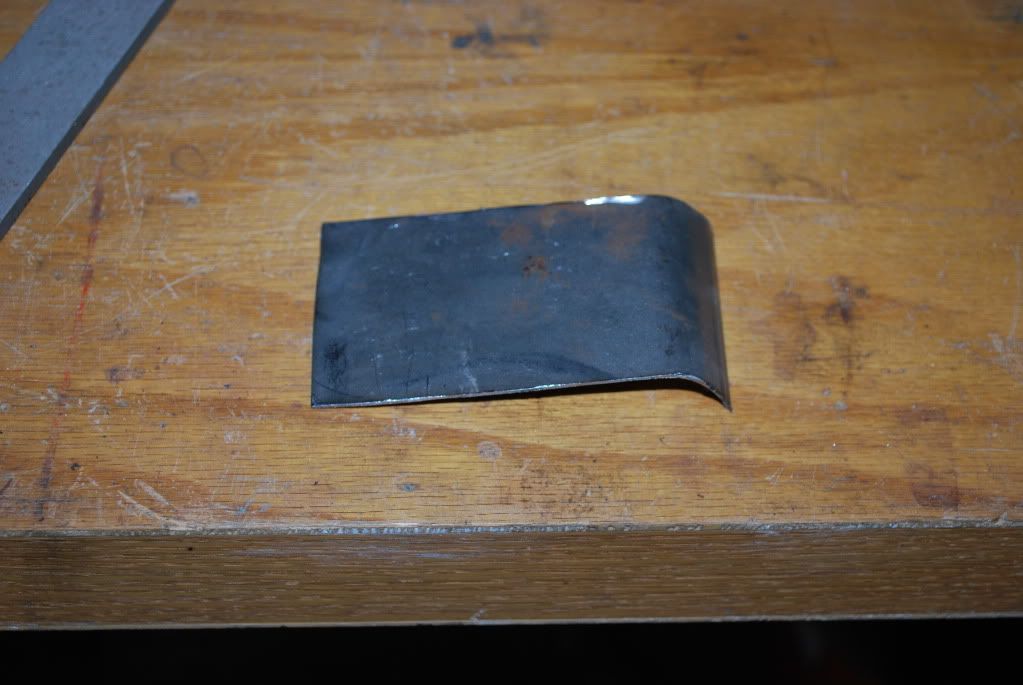
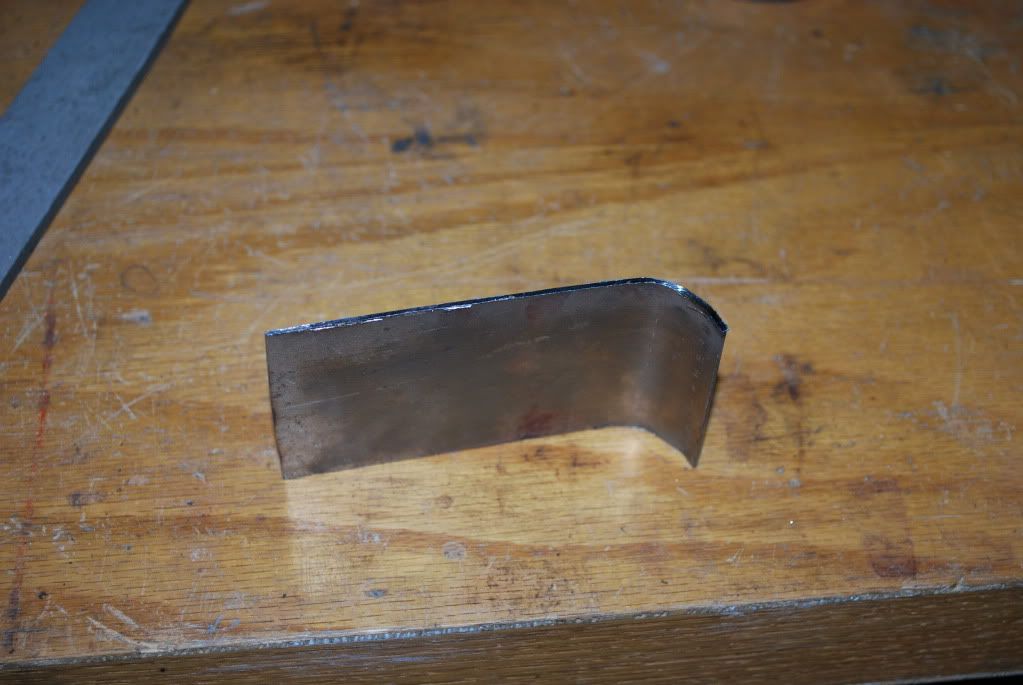
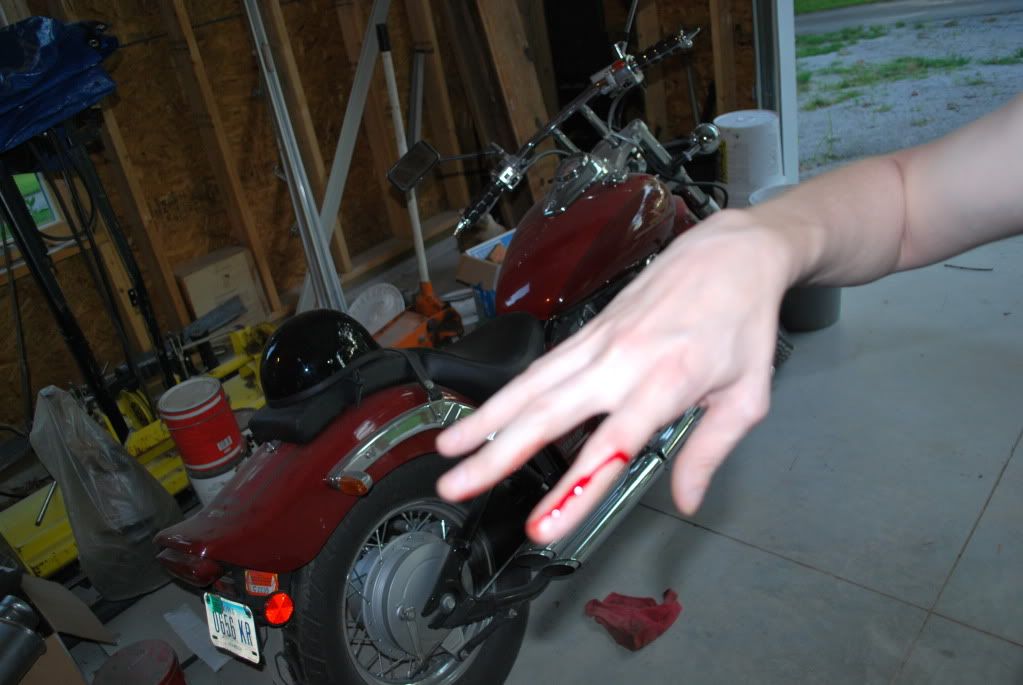
Cut yourself on the sheet metal too. If you don't bleed, it won't work... trust me.
then take the sheet metal you made and put it like so.
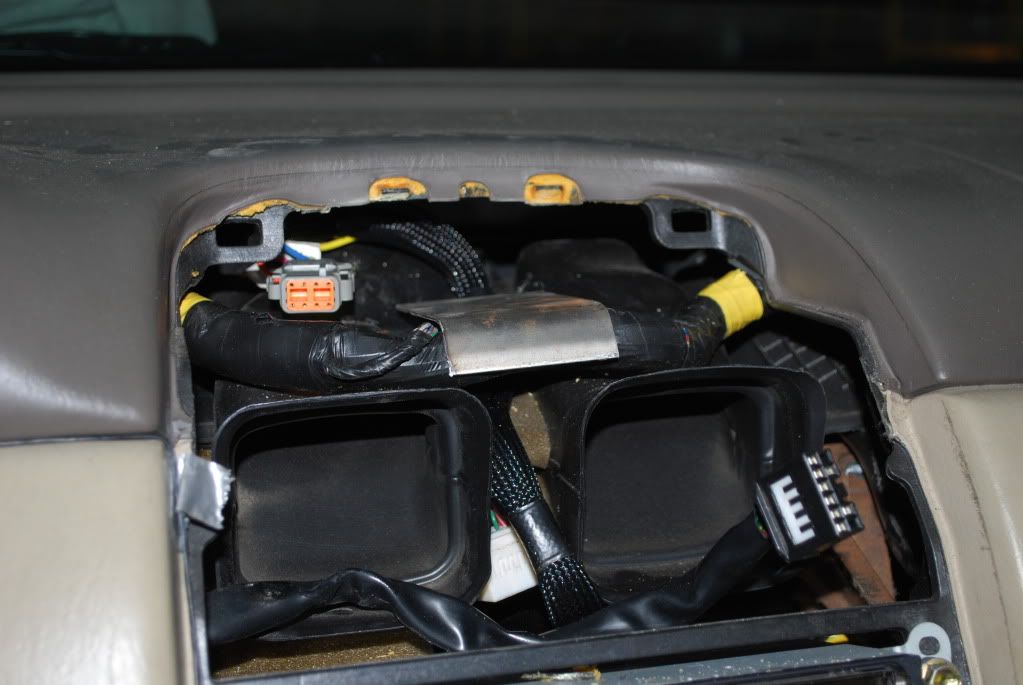
make your connections with your NGK AFX display
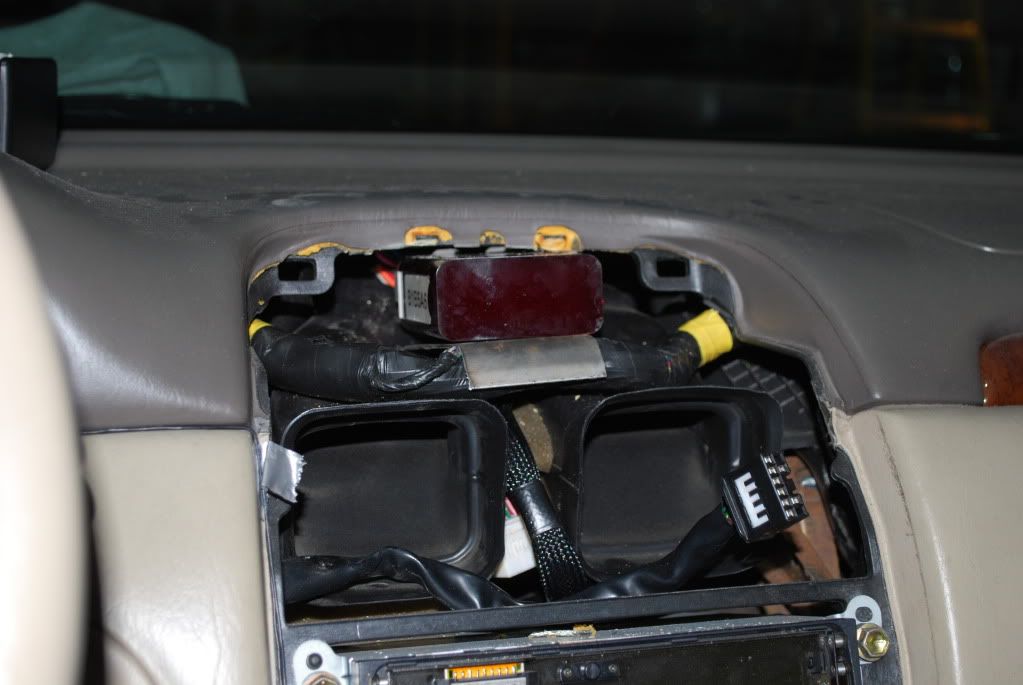
Get your center dash peice back on there.
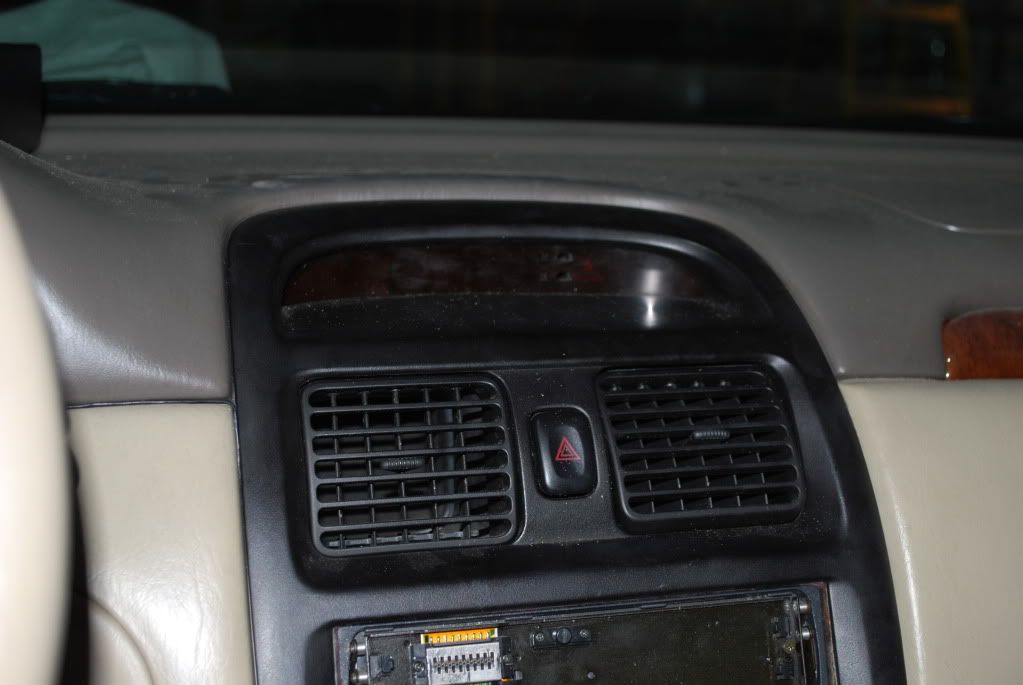
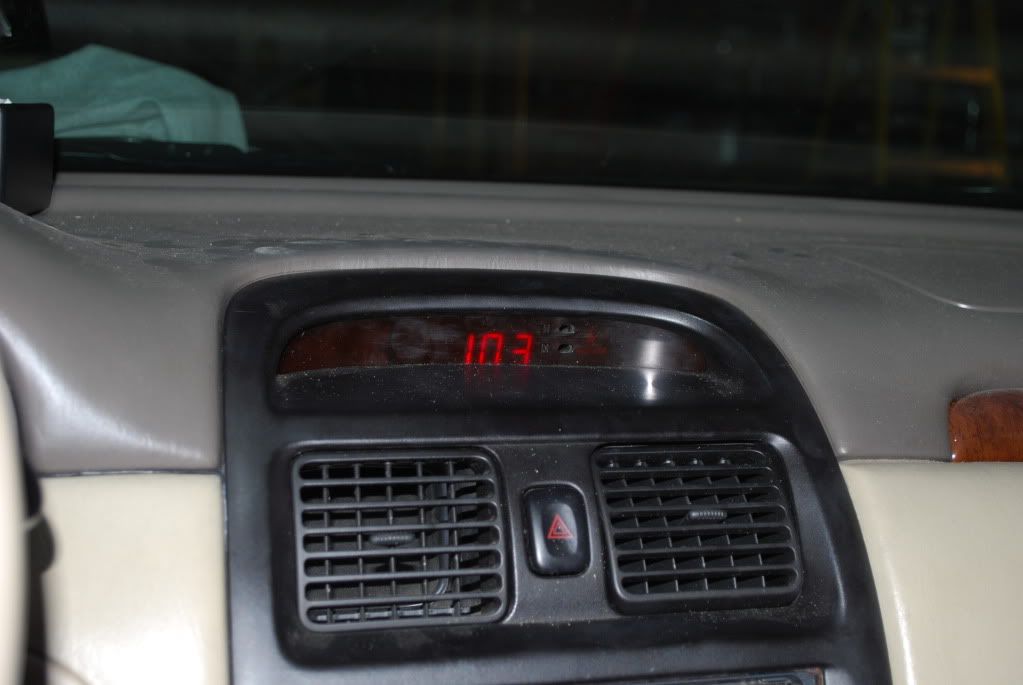
and POW!!!

SC 4psi - 305cc - Jims Fuel Upgrade - AFC NEO - 190 Walbro - Tokico/Eibach - Short Throw Shifter - FTB - RSB - K&N Filter - Greddy Evo II catback


