[phpBB Debug] PHP Notice: in file /viewtopic.php on line 988: date(): It is not safe to rely on the system's timezone settings. You are *required* to use the date.timezone setting or the date_default_timezone_set() function. In case you used any of those methods and you are still getting this warning, you most likely misspelled the timezone identifier. We selected 'Europe/Moscow' for 'MSD/4.0/DST' instead
[phpBB Debug] PHP Notice: in file /viewtopic.php on line 988: getdate(): It is not safe to rely on the system's timezone settings. You are *required* to use the date.timezone setting or the date_default_timezone_set() function. In case you used any of those methods and you are still getting this warning, you most likely misspelled the timezone identifier. We selected 'Europe/Moscow' for 'MSD/4.0/DST' instead
SolaraGuy.com • View topic - NGK AFX Tutorial *FINISHED WITH PICS*
Talk about aftermarket Toyota Solara Gen 1-1.5 upgrades.

NGK AFX Tutorial *FINISHED WITH PICS*

NGK AFX Tutorial *FINISHED WITH PICS*

Postby no_escape » Mon Aug 04, 2008 12:48 pm

... and on the way. Should be here in 5-10 days. If no one has make a tutorial about how to install the Wideband O2 sensor. I might have to do that. Soon, pics and a TUNED car!
Last edited by no_escape on Thu Jul 30, 2009 9:26 pm, edited 2 times in total.
SC 4psi - 305cc - Jims Fuel Upgrade - AFC NEO - 190 Walbro - Tokico/Eibach - Short Throw Shifter - FTB - RSB - K&N Filter - Greddy Evo II catback
User avatar
no_escape
SolaraGuy Driver
SolaraGuy Driver
 
Posts: 609
Joined: Wed Dec 05, 2007 10:38 pm
Location: Iowa: The Land of Slipknot

Postby no_escape » Mon Aug 11, 2008 11:51 am

It's here!

Image

I'm going to do the digital display install first. Since that will be custom, I think it will be the hardest.
Gotta get it done before Elmhurst!
SC 4psi - 305cc - Jims Fuel Upgrade - AFC NEO - 190 Walbro - Tokico/Eibach - Short Throw Shifter - FTB - RSB - K&N Filter - Greddy Evo II catback
User avatar
no_escape
SolaraGuy Driver
SolaraGuy Driver
 
Posts: 609
Joined: Wed Dec 05, 2007 10:38 pm
Location: Iowa: The Land of Slipknot

Postby Dawgz » Mon Aug 11, 2008 1:03 pm

yo man, take measurements? Lenght width height.
--=Black on Black=-- (Sold)
User avatar
Dawgz
SolaraGuy Professional Racer
 
Posts: 4678
Joined: Fri Jul 16, 2004 2:28 pm

Postby no_escape » Mon Aug 11, 2008 1:29 pm

3 1/2" long (4" including male connection on the rear)
1 1/8" tall
2 5/8" wide

as big as a deck of cars but two decks tall if you lay the decks flat on top of eachother.
SC 4psi - 305cc - Jims Fuel Upgrade - AFC NEO - 190 Walbro - Tokico/Eibach - Short Throw Shifter - FTB - RSB - K&N Filter - Greddy Evo II catback
User avatar
no_escape
SolaraGuy Driver
SolaraGuy Driver
 
Posts: 609
Joined: Wed Dec 05, 2007 10:38 pm
Location: Iowa: The Land of Slipknot

Postby no_escape » Mon Aug 11, 2008 4:12 pm

DawgZ... hehe It works. I'm eating some dinner and then will goto home depot for some small peices of metal and epoxy. I've been taking pics along the way as a tutorial for the modification of the clock. No need for fiberglass(I'm suprised too) and shouldn't raddle around.
SC 4psi - 305cc - Jims Fuel Upgrade - AFC NEO - 190 Walbro - Tokico/Eibach - Short Throw Shifter - FTB - RSB - K&N Filter - Greddy Evo II catback
User avatar
no_escape
SolaraGuy Driver
SolaraGuy Driver
 
Posts: 609
Joined: Wed Dec 05, 2007 10:38 pm
Location: Iowa: The Land of Slipknot

Postby no_escape » Mon Aug 11, 2008 6:39 pm

NGK AFX Tutorial:

Part 1.
How to remove your stock clock and install a NGX AFX Digital display

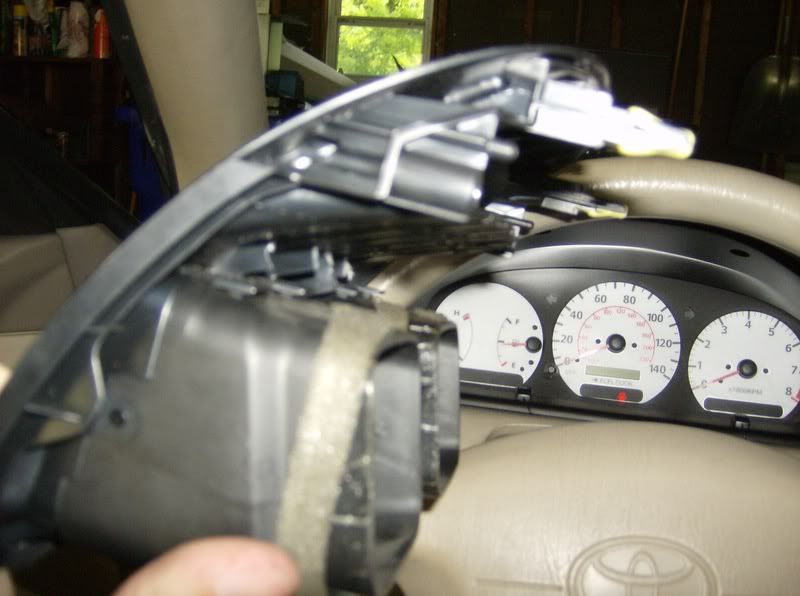
First remove the center dash trim and wires from the trim. We all know what that looks like.

Turn it around and remove the phillips screws on the outsides of the radio plastic plate.
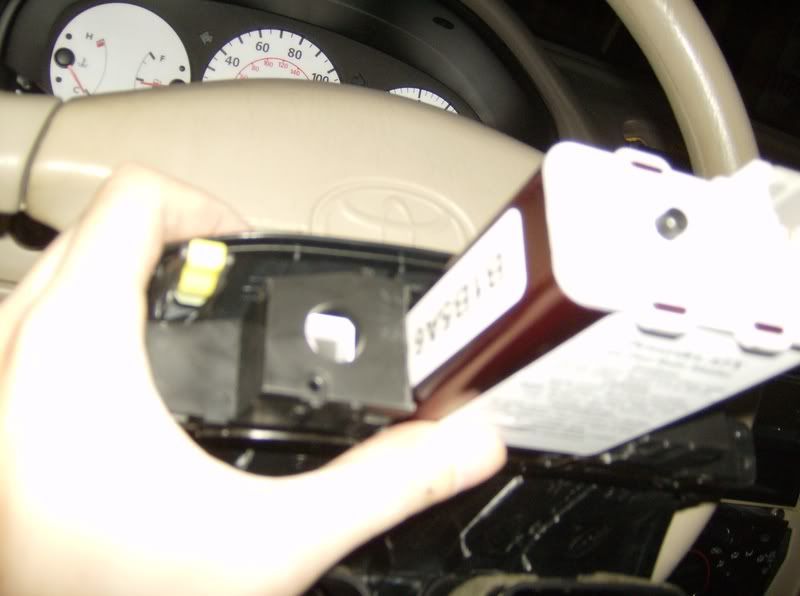
Using a flathead screw driver, slightly bend the tabs to remove the clock unit as one.
Then remove the smaller phillips screws that hold the plate to the clock.
Using the flathead again, slightly bend the tabs to remove the plastic plate from the clock unit.
Then you should be able to remove the clock board from the clock plastic unit.
Remove the tinted plastic from the center plastic with a flathead.

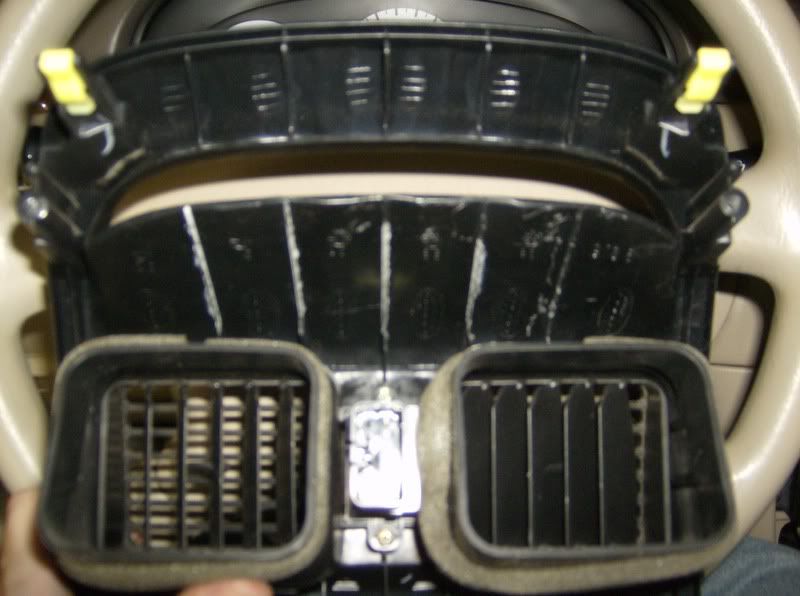
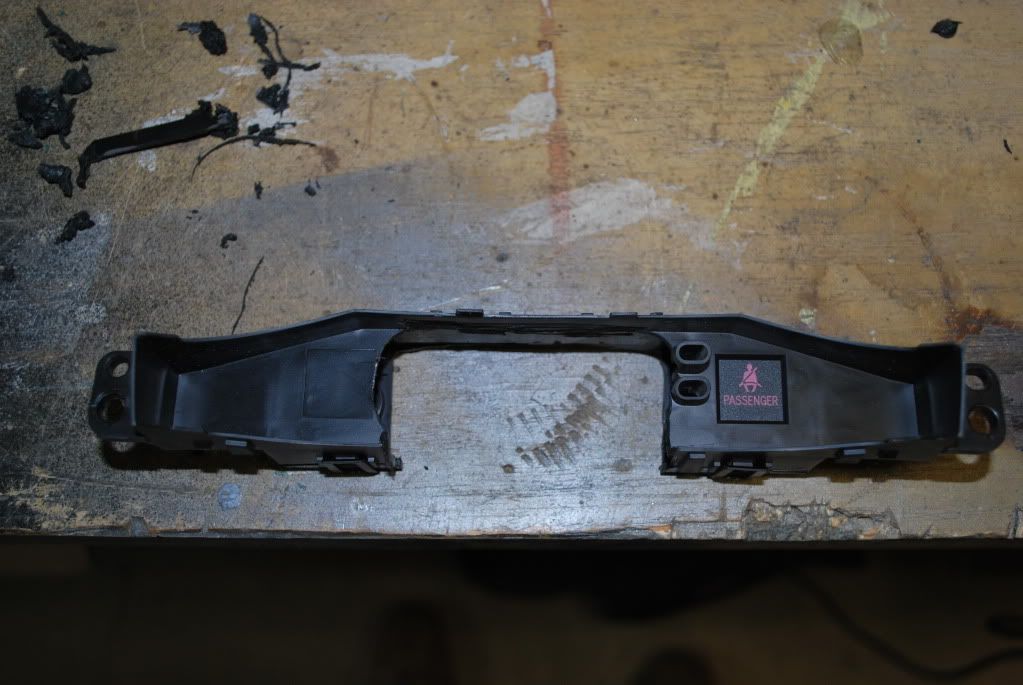
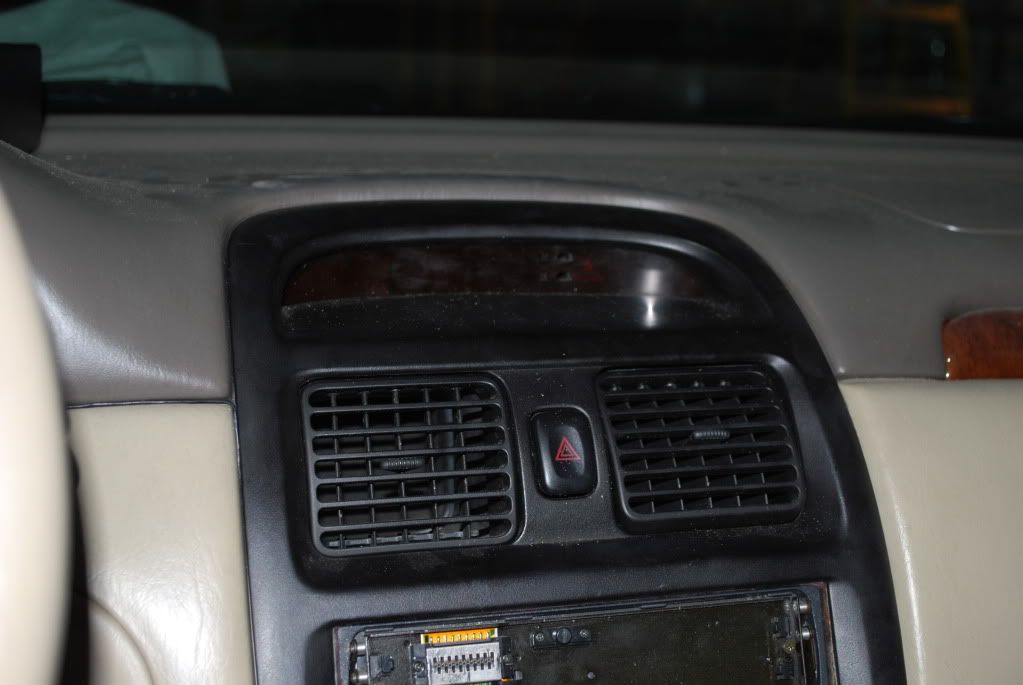
Now using an exacto(and pliers) or dremel, you will need to take off the tabs on the plastic center dast trim above the vents. Before you do this take off the vents with a flathead and slightly bend the tabs and pull the vent to remove.
You will also need to remove the Hazard button. That requires a phillips... two screws.
Image
Image

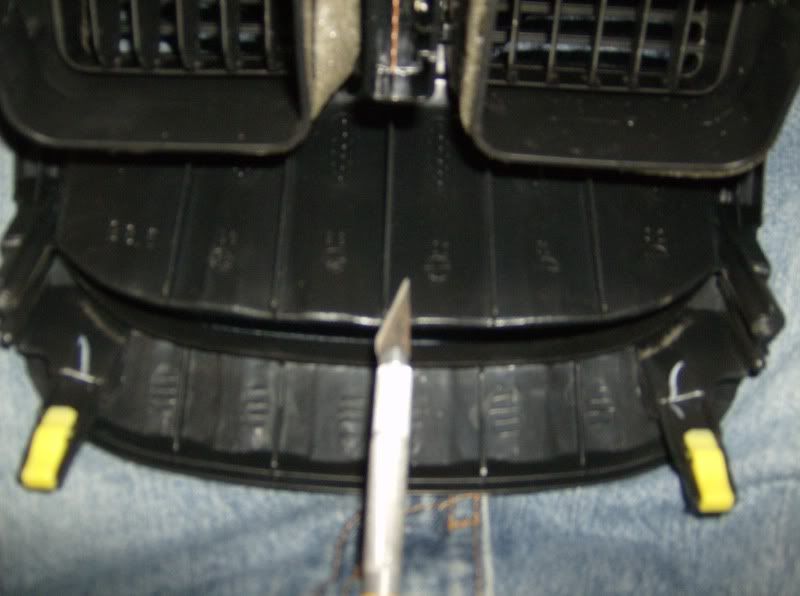
Your center dash trim should look like this.
Image
Image

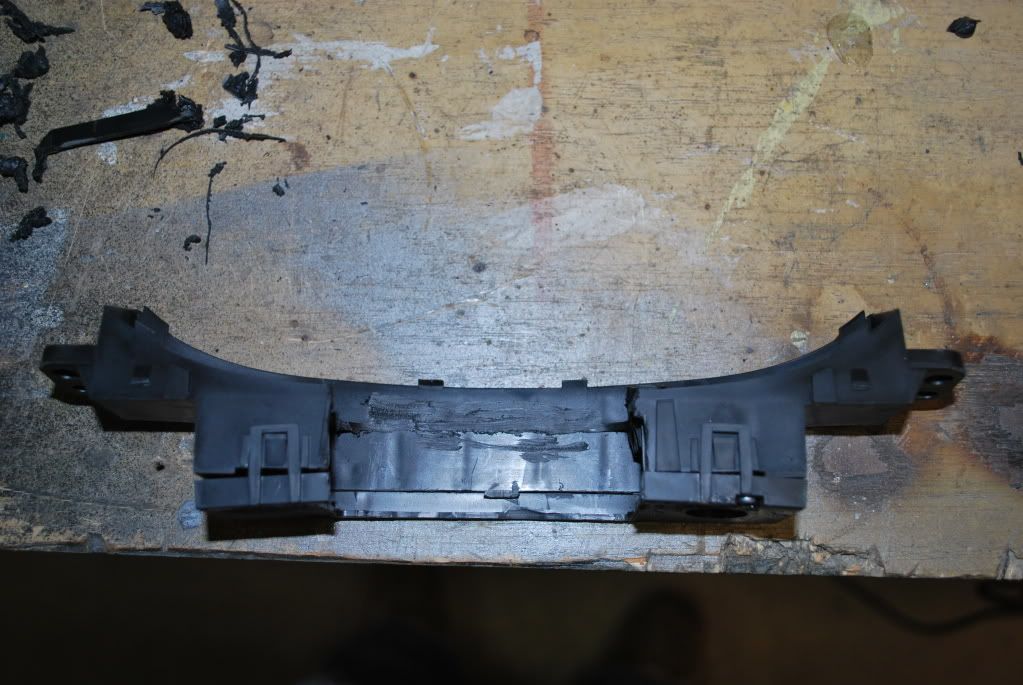
With an exacto or dremel, you will need to notch the bottom of the plate that is in between the tinted plastic and the plastic plate. MAKE SURE YOU MEASURE the size of the digital display box before you start hacking.
Image
Image

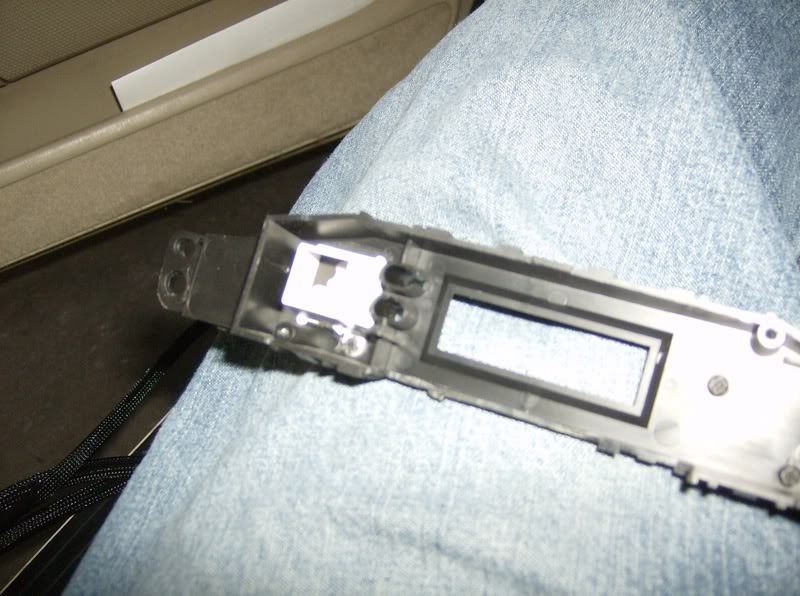
With an exacto or demel, you will need to make the area to see the display larger. AGAIN, MEASURE!
NOTE: The size of the display in the digital display box is abit smaller. I went in about 1/8" in from the outside of the Digital display box. You can see where I marked the outside and then the inside.
Image

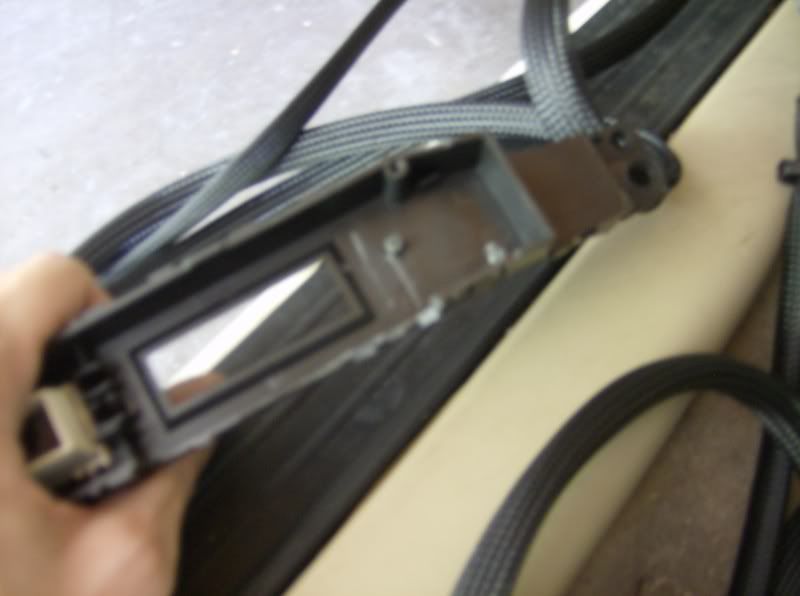
The plastic peice should look like this now.
Image

Fitting
Image
Image
Image

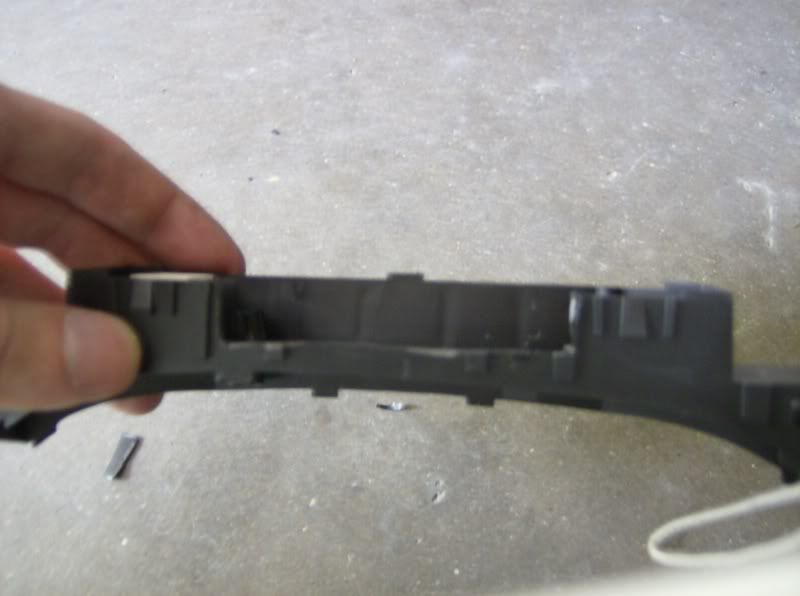
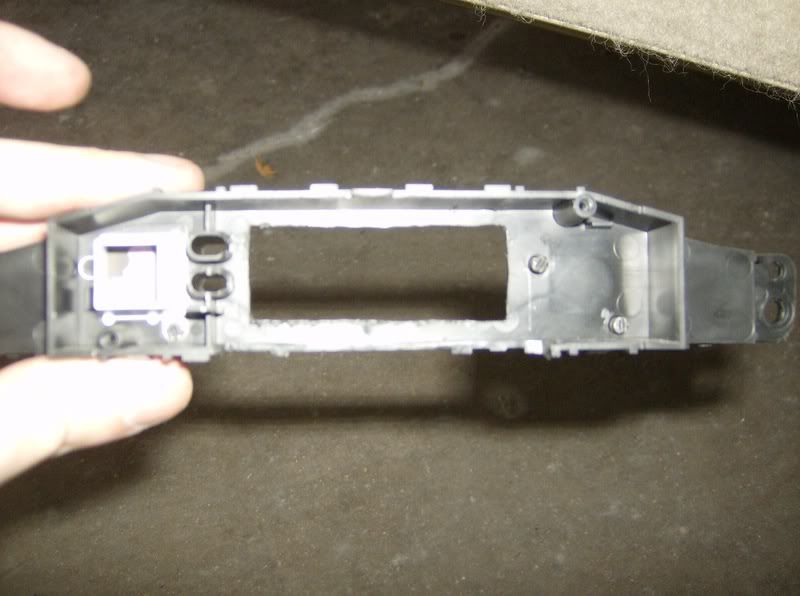
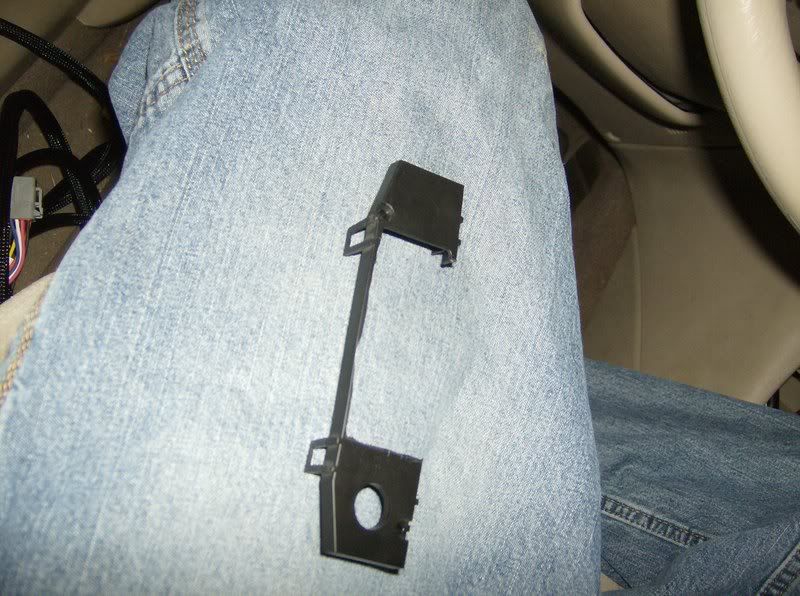
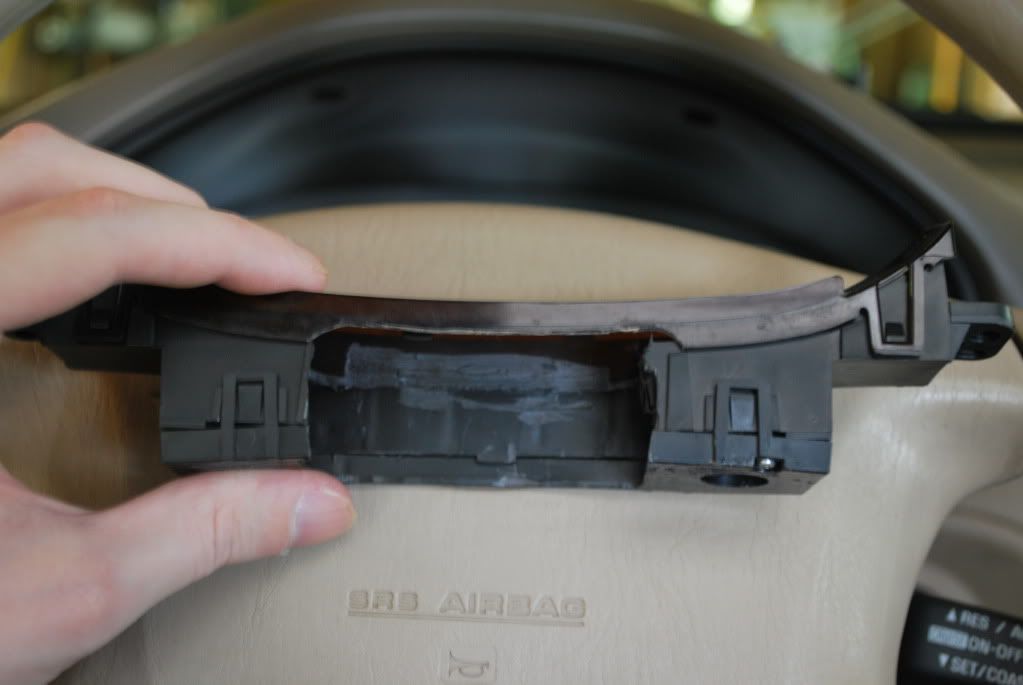
Next is the plastic plate.
You will need a exacto or a dremel to notch an area at the bottom. This plate will serve as your bracket holder.
The plate should look like this. REMEMBER MEASURE BEFORE CUTTING
NOTE: This peice is very easy to break BE CAREFUL
Image

This is what the unit should look like now without the digital display box
Image

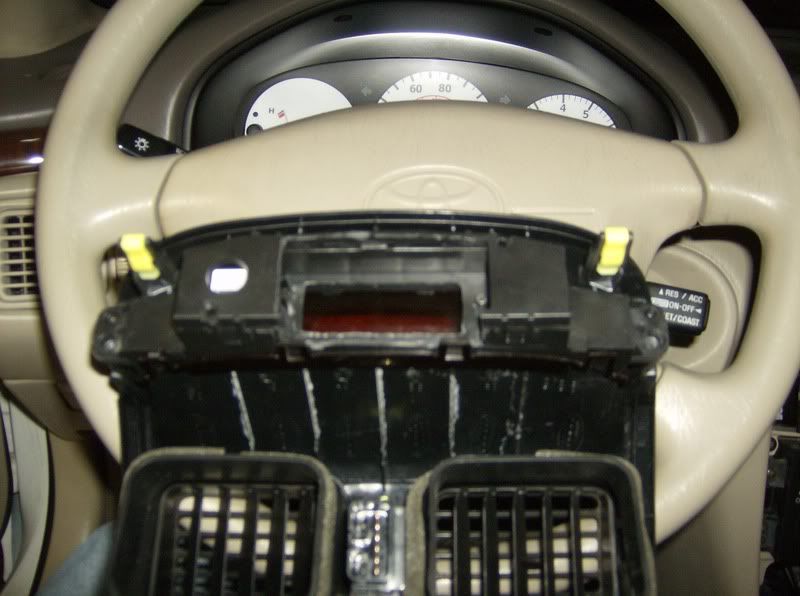
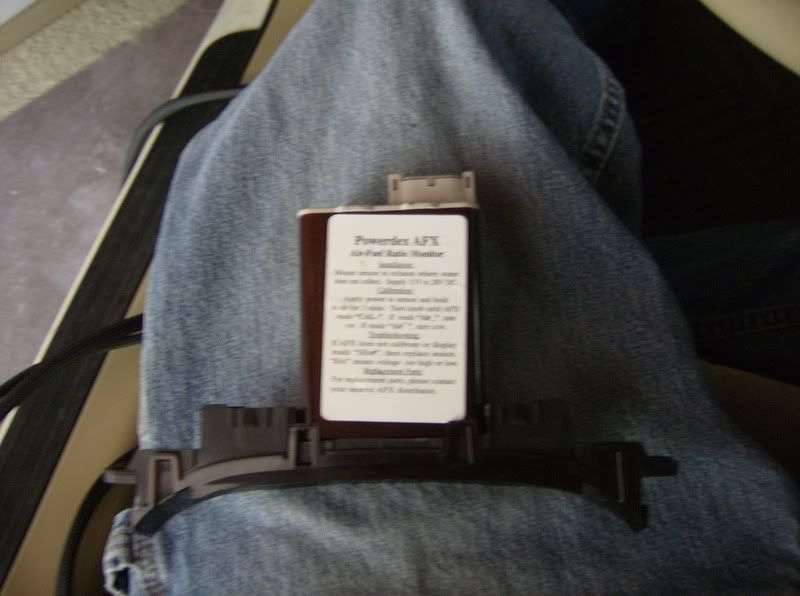
And this is what it should look like with the digital display box.
Image

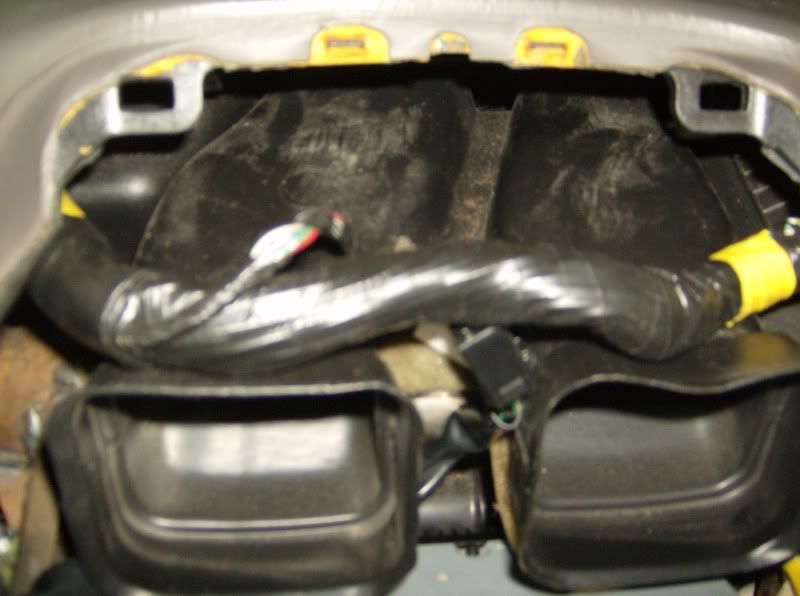
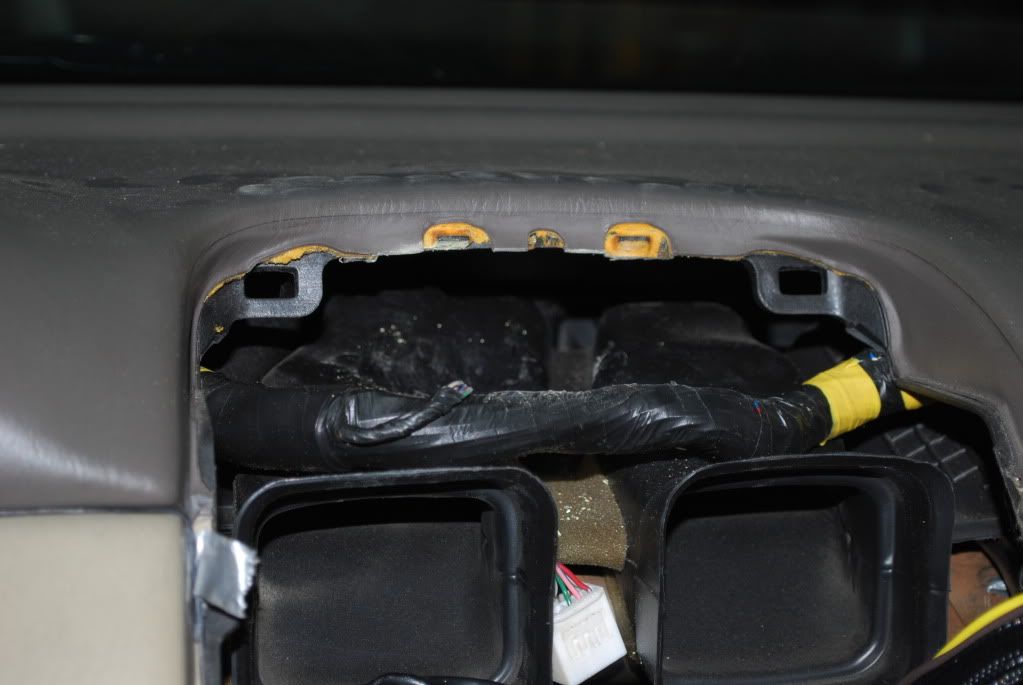
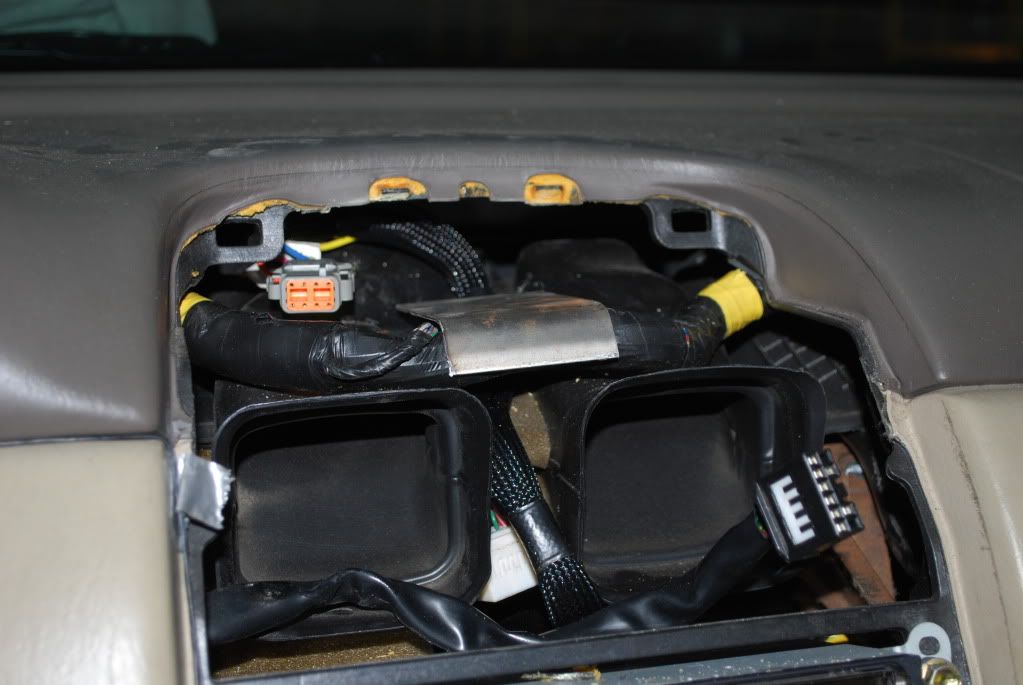
Next is the inside of the dash.

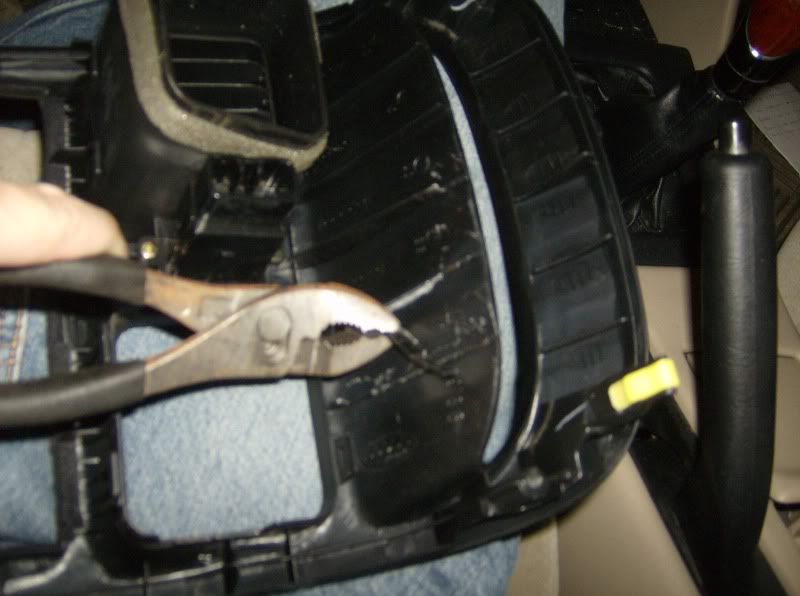
There is one slight problem. You will have to move the bundle of wires out of the way of the Digital display. Very easy to do.
Image

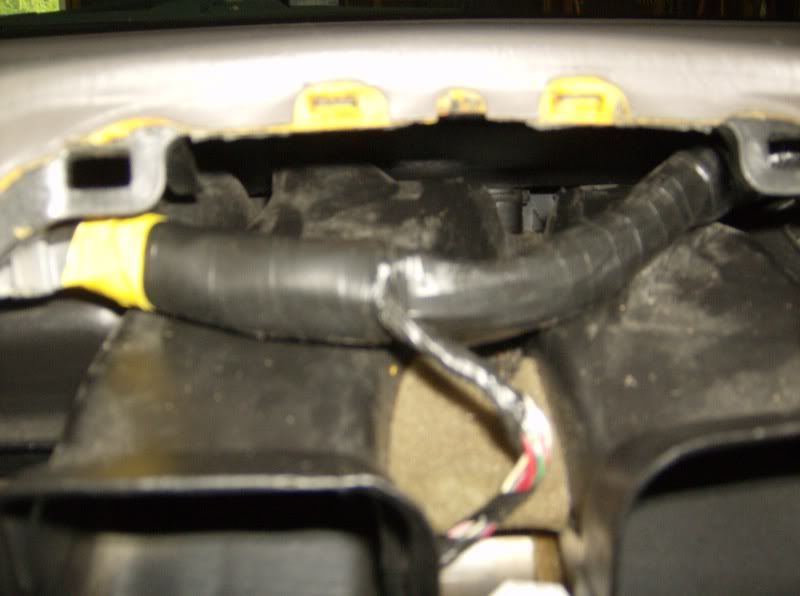
There is a tab that holds the wires in place on the driver side. You will need a flathead and slightly bend the tab while pushing the wires foward towards the front of the car. Keep checking your progress to see when the tab has cleared the tab holder.

Once that is done you will need to muscle the wires closer to the vents. This is why you needed to cut the tabs on the center dash trim. Otherwise it might not clear.
It should look like this when done.
Image

After many months of being either sick or busy I finally finished what I started with some changes.

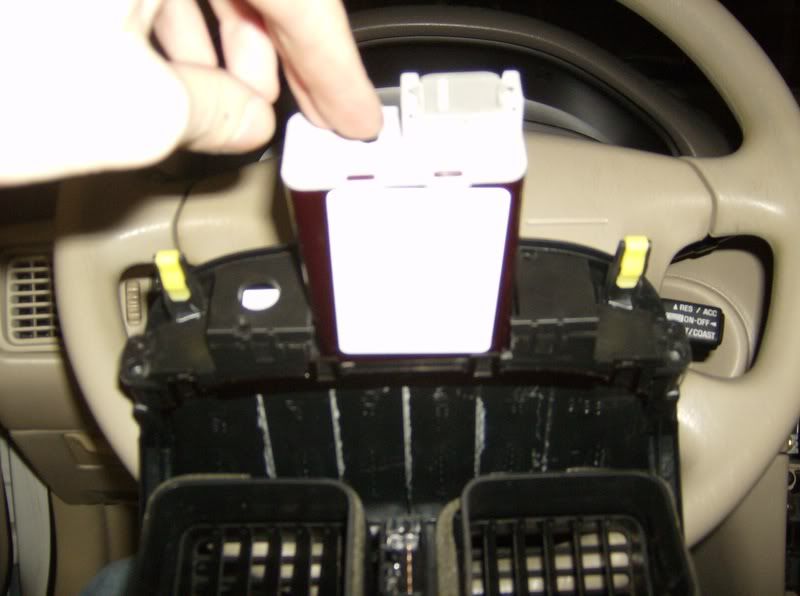
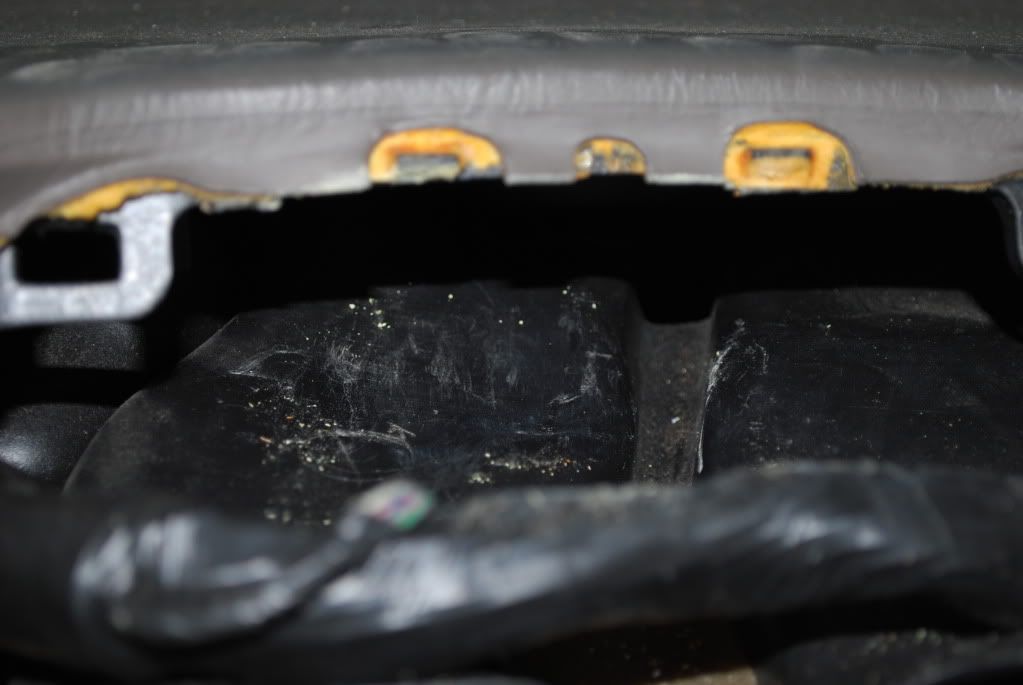
Your want to dremel out the bottom part of the plastic so it looks like this.
Image
Image
Image

Then with a heat gun that has a LOW heat setting your going to want to heat up the driver side venting. When hot, take a 1x4 and push in where the male/female connector of your NGK AFX will be. If you don't do this, the connector will push the display downand you'll only get half a screen.
Image
Image

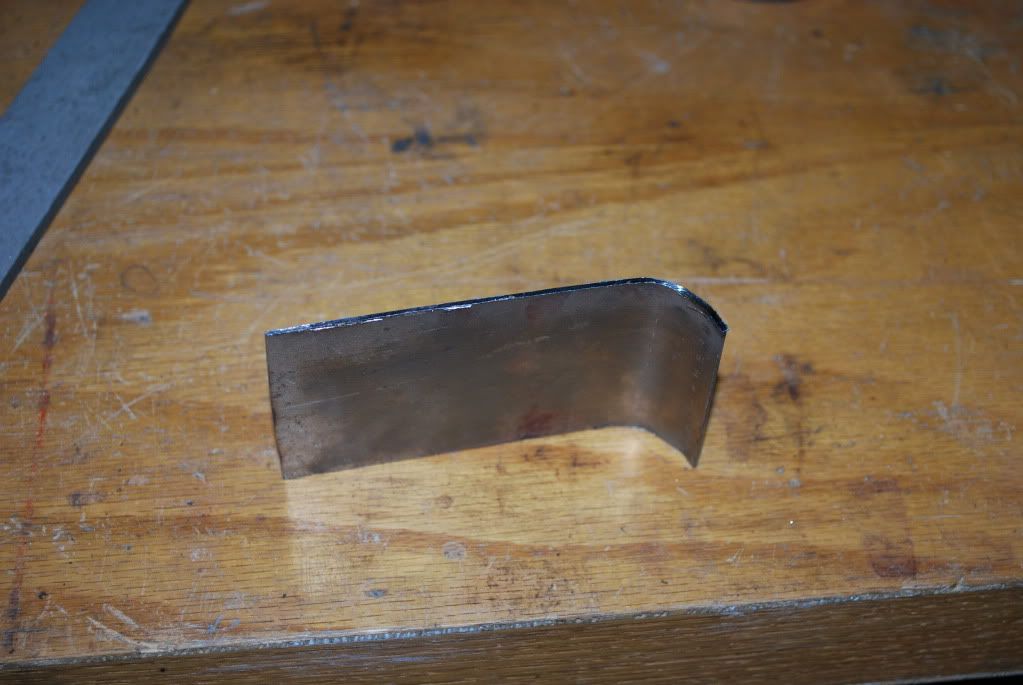
Then grind a peice of sheet metal that is the size of the NGK AFX and bend the end like so...
Image
Image

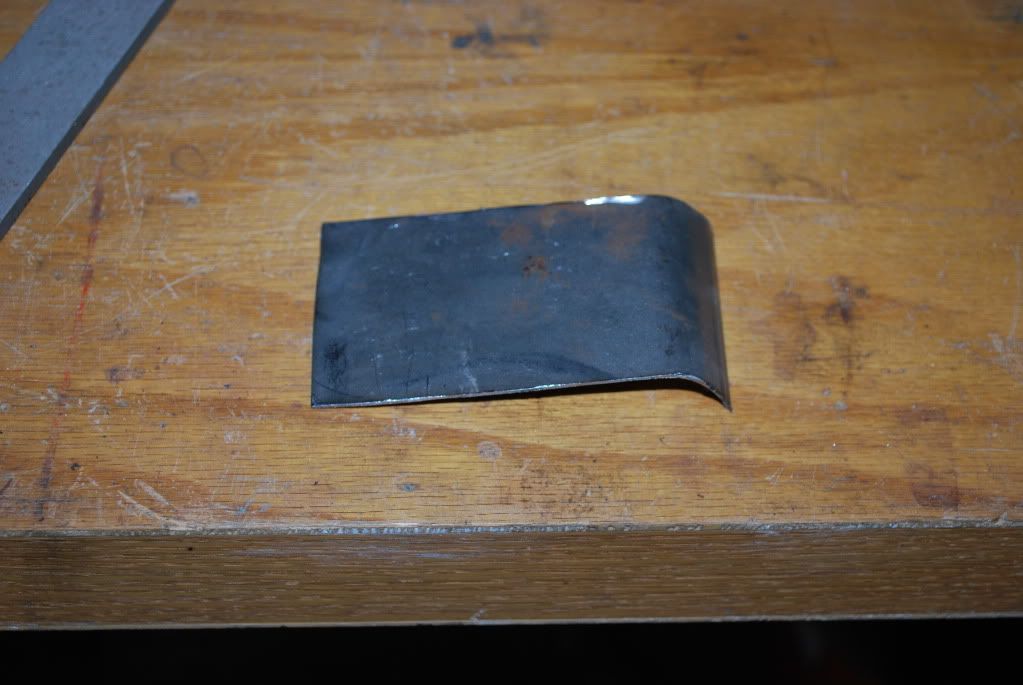
Cut yourself on the sheet metal too. If you don't bleed, it won't work... trust me.
Image

then take the sheet metal you made and put it like so.
Image

make your connections with your NGK AFX display
Image

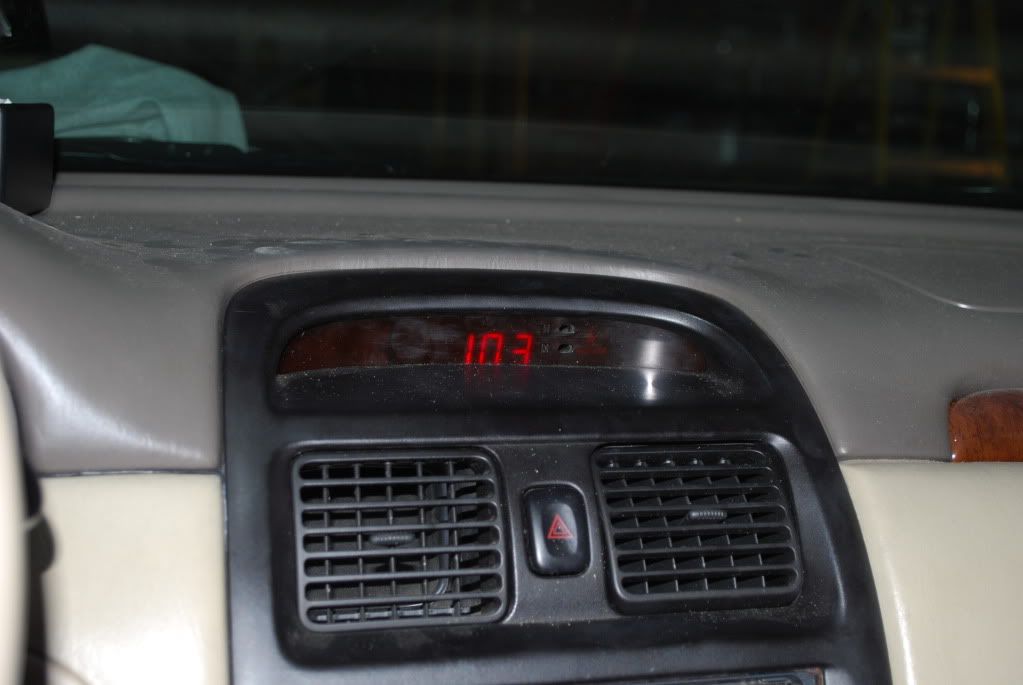
Get your center dash peice back on there.
Image

and POW!!!
Image
Image
Last edited by no_escape on Thu Jul 30, 2009 9:24 pm, edited 1 time in total.
SC 4psi - 305cc - Jims Fuel Upgrade - AFC NEO - 190 Walbro - Tokico/Eibach - Short Throw Shifter - FTB - RSB - K&N Filter - Greddy Evo II catback
User avatar
no_escape
SolaraGuy Driver
SolaraGuy Driver
 
Posts: 609
Joined: Wed Dec 05, 2007 10:38 pm
Location: Iowa: The Land of Slipknot

Postby gnegroni » Mon Aug 11, 2008 7:28 pm

GJ...can't wait to see the final product.
'05 Lunar Mist SE: 2AZ-FE, E351 and all their combined glory!
Image
User avatar
gnegroni
SolaraGuy Street Racer
 
Posts: 1429
Joined: Thu May 04, 2006 9:39 am
Location: Land of the Apes

Postby Jakecallun20 » Mon Aug 11, 2008 8:22 pm

Wow, Nice man, I can't wait to see this custom job!
02' AV6 Accord Coupe- Daily
86' Mercedes 560SL- Project
99' Solara SLE V6- Sold 09/19/09 :(
Image
User avatar
Jakecallun20
SolaraGuy Street Racer
 
Posts: 1604
Joined: Fri Jun 29, 2007 8:24 pm
Location: Austin, Texas

Postby no_escape » Thu Jul 30, 2009 9:28 pm

FINISHED!
SC 4psi - 305cc - Jims Fuel Upgrade - AFC NEO - 190 Walbro - Tokico/Eibach - Short Throw Shifter - FTB - RSB - K&N Filter - Greddy Evo II catback
User avatar
no_escape
SolaraGuy Driver
SolaraGuy Driver
 
Posts: 609
Joined: Wed Dec 05, 2007 10:38 pm
Location: Iowa: The Land of Slipknot

Postby KILLA CAM » Fri Jul 31, 2009 6:46 am

Looks great!

Now take a rag and wipe that dust off your dash! :wink:
_________________________
Past: GEN 4 Camry S/C 5spd RIP
Retired: Honda S2000
Current: E46 ZHP
Image
User avatar
KILLA CAM
SolaraGuy Driver
SolaraGuy Driver
 
Posts: 700
Joined: Mon Sep 15, 2008 10:33 am

Postby 1gSE » Fri Jul 31, 2009 4:14 pm

nice install. Duct tape band aids FTMFW!
Image
GTO-Vararam/Kooks/Spintech/MGW-P/Tune-12.9 @108
Solara-M62 @ 5.5psi
User avatar
1gSE
SolaraGuy Semi-Pro Racer
 
Posts: 2050
Joined: Wed Apr 11, 2007 8:37 pm
Location: Abilene, TX

Postby akora12 » Fri Jul 31, 2009 7:36 pm

I didn't think we'd ever seen an end to this project, so congrats on making everything work! Did you ever get tuned?
Image
2000 Solara SEV6 5-speed S/C - Dismantled and sold :(
akora12
SolaraGuy Street Racer
 
Posts: 1410
Joined: Tue Jan 16, 2007 5:12 pm
Location: FW IN

Postby GreenSolara01 » Fri Jul 31, 2009 9:09 pm

looks good
User avatar
GreenSolara01
SolaraGuy Driver
SolaraGuy Driver
 
Posts: 497
Joined: Sat Oct 27, 2007 4:29 pm
Location: East Coast

Postby Pogs » Sat Aug 01, 2009 7:47 am

sweet awsome dude
Life is 10% what happens to you, and 90% how you react to it.
Search and Win
Its a search engine that gives you random points to get free stuff they offer.
User avatar
Pogs
SolaraGuy Driver
SolaraGuy Driver
 
Posts: 561
Joined: Thu May 15, 2008 3:40 am
Location: Southern Maryland

Return to Aftermarket Gen1 and 1.5

Who is online

Users browsing this forum: No registered users and 14 guests