Replacing Rear Cup Holders (gen1/1.5)
![]() by Jai_Jai_Binks » Mon Jun 12, 2006 9:56 am
by Jai_Jai_Binks » Mon Jun 12, 2006 9:56 am
The pictures herein are from Gen4 camry. The same tutorial holds true for gen1 and gen1.5 solara's.
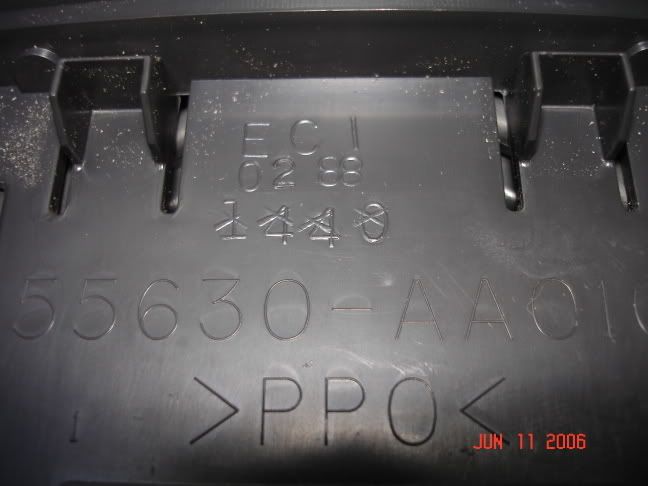
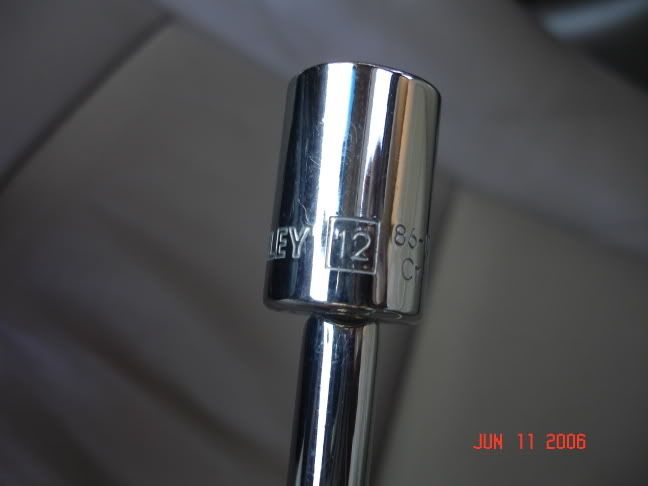
1.Tools Needed: Toyota part number 55630-AA10 (cup-holder), Philips-screw driver and a wrench and 12’ socket.
Toyota Part Number Picture:
12' Socket + Wrench
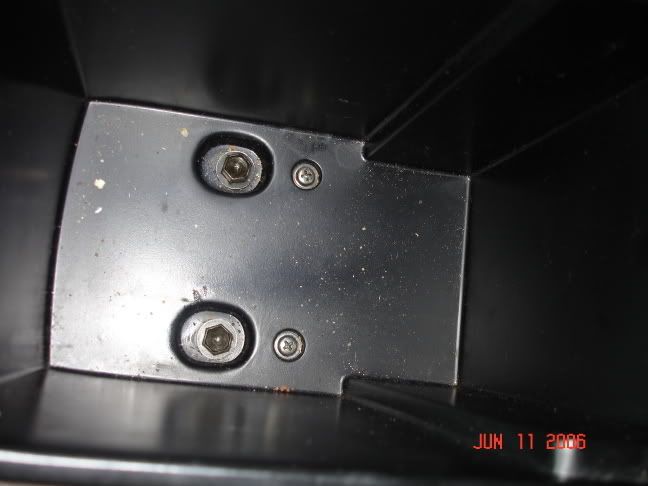
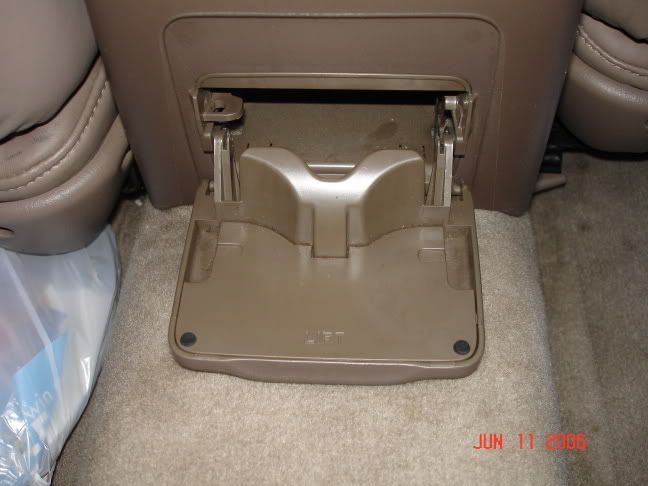
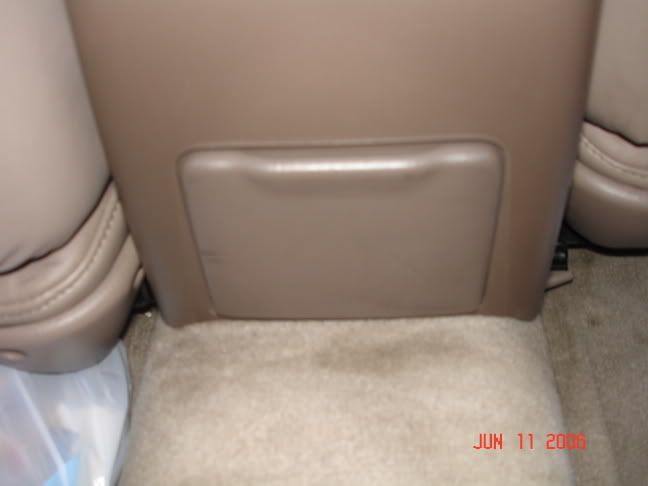
2.Open your center console and remove the carpet.
(for the sake of accessibility I did remove the top cover of the arm-rest; if you choose to remove this, there are two screws on top, this is again optional, I didn’t want to scratch or tear my leather).
3.You will see two Philips-screws that hold the cup-holder. The other two hold the entire unit to the floor. Remove all of them.
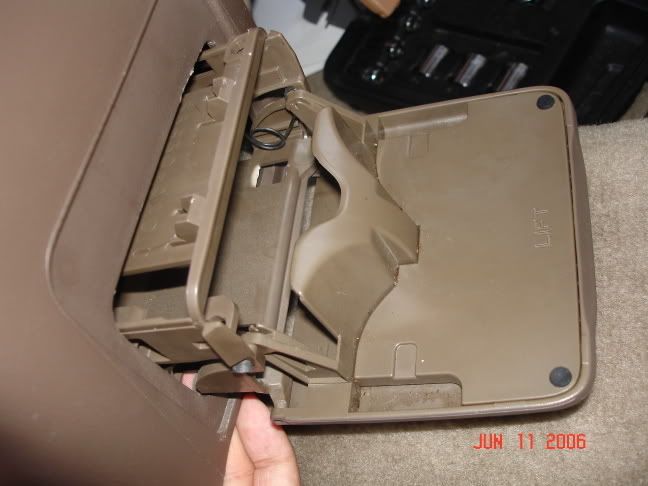
4.With a butter-knife find and locate the top tab that holds the cup-holder to the unit and from underside press up (see my hands in the picture where I’m pushing up).
Optional:
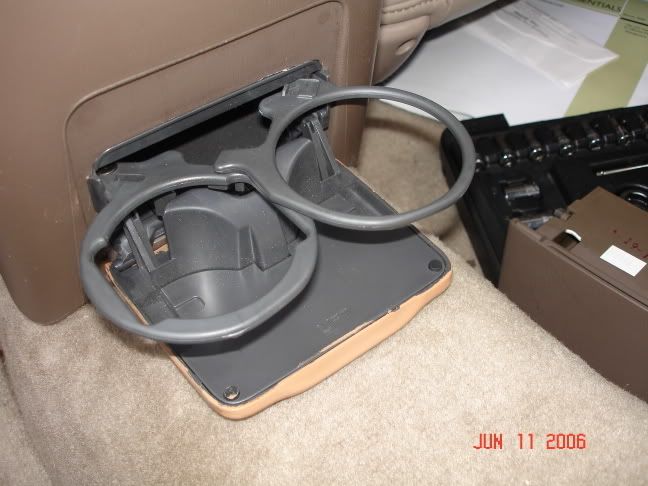
5.Since my replacement cup-holder was bluish/grey and my interior was tan, i repainted this to match my interior.
Before:
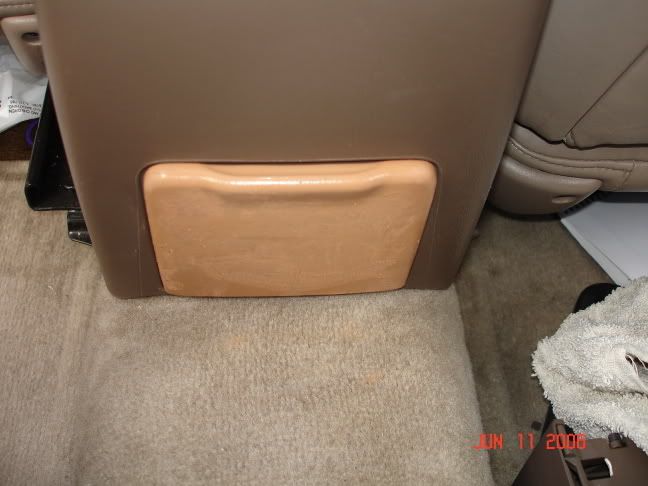
After:
1.Tools Needed: Toyota part number 55630-AA10 (cup-holder), Philips-screw driver and a wrench and 12’ socket.
Toyota Part Number Picture:
12' Socket + Wrench
2.Open your center console and remove the carpet.
(for the sake of accessibility I did remove the top cover of the arm-rest; if you choose to remove this, there are two screws on top, this is again optional, I didn’t want to scratch or tear my leather).
3.You will see two Philips-screws that hold the cup-holder. The other two hold the entire unit to the floor. Remove all of them.
4.With a butter-knife find and locate the top tab that holds the cup-holder to the unit and from underside press up (see my hands in the picture where I’m pushing up).
Optional:
5.Since my replacement cup-holder was bluish/grey and my interior was tan, i repainted this to match my interior.
Before:
After:
-

Jai_Jai_Binks - Desi SolaraGuy

- Posts: 5751
- Joined: Fri Jul 12, 2002 11:59 am
- Location: Friendswood, TX