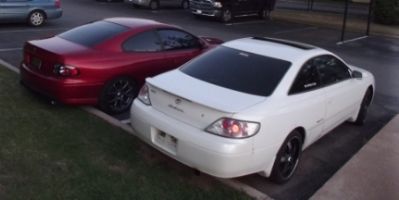
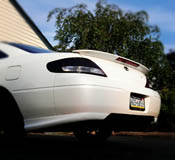
DIY Courtesy Lights + door panel removal w/ pictures
![]() by minig646 » Fri Jun 01, 2012 7:41 pm
by minig646 » Fri Jun 01, 2012 7:41 pm
I'm not the first to do this mod, but as far as I know I'm the first to post a tutorial... Took me a couple hours, nothing too difficult for a beginner as long as you know how to solder. I got the 12 volts from tapping the fuse for the foglights, as it's probably the least important fuse that has power all the time. Never tap into fuses for the ABS, ECU, or airbags for power. Just to be safe, always use something non-critical. You should also put a smaller fuse in the circuit in addition, so if you short something out the small fuse blows first. Your grounding location is the door sensor, which I'll go into detail about later.
Things you'll need:
~Wire (I used speaker wire)
~LED strip: at least 2 meters, got mine here-
http://www.ebay.com/itm/New-White-5M-16 ... 6846wt_970
~Phillips head screwdriver
~Soldering supplies
~10mm Socket
Things you'll want:
~Fuse and fuse holder- safety first, I used a 2 AMP slow blow fuse.
~Grinding tool/Dremel
~Automatic wire strippers
~Electrical tape or heat shrink tubing
~Multimeter
Procedure
First, disconnect the negative battery cable as you should whenever doing electrical work. It's especially important if you have side airbags, since you'll be working with the doors. Don't want those going off on you.
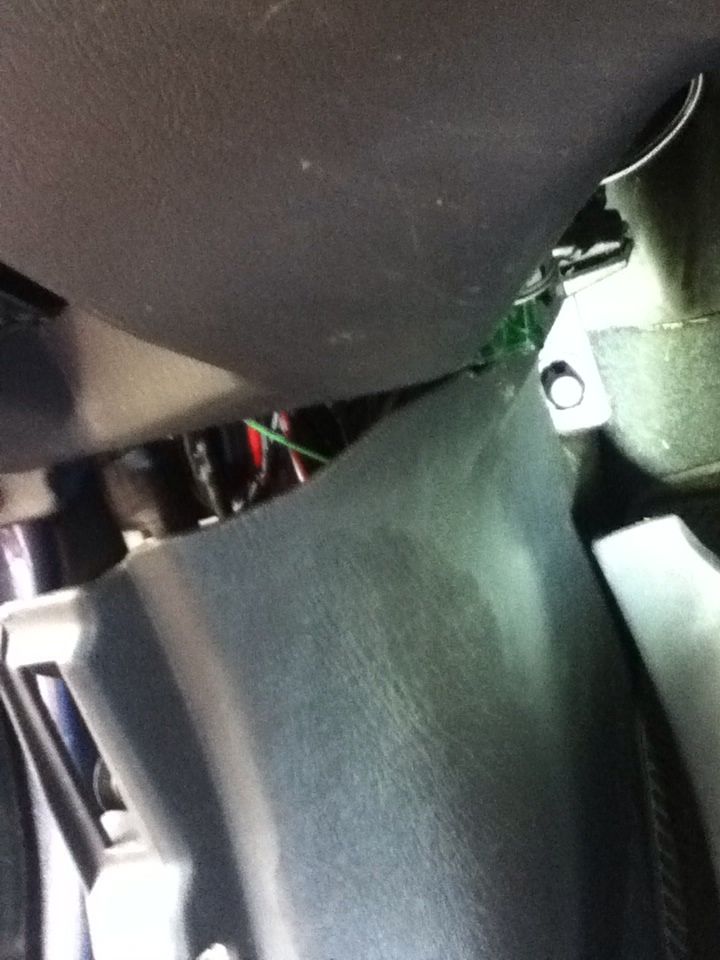
Pull up this long piece of plastic covering some wiring. No bolts here, just clips- so give it a yank.
Remove the plastic nut in the back and pull this plastic piece off as well.
Remove the 2 screws holding the hood release in place and disconnect the cable
Remove the screw and 10mm bolt shown and pull the lower dash panel off to get access to the fuses.
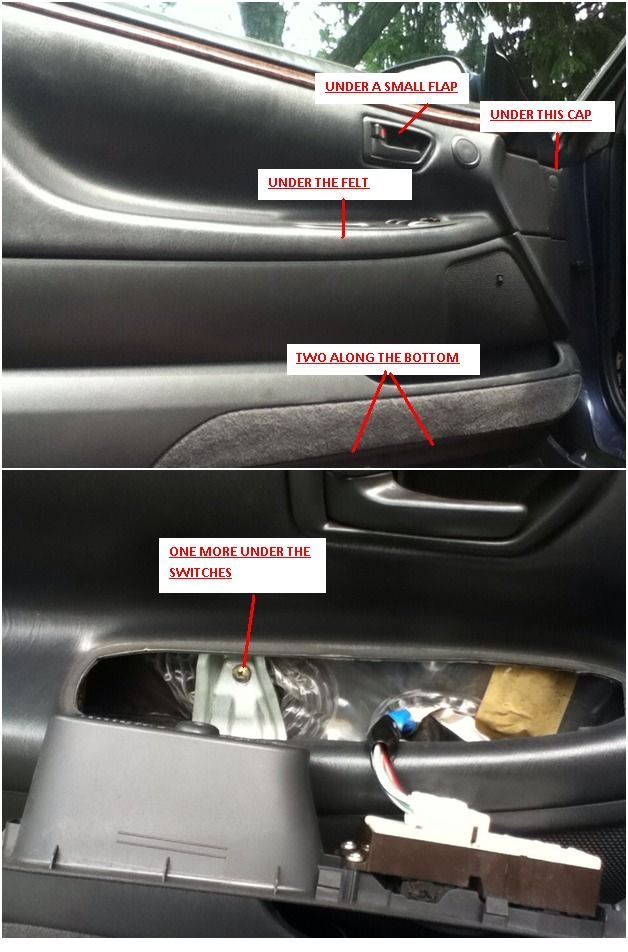
Next, the door panel has to come off. Remove all the screws shown. All that holds it in now is clips. The bezel around the door handle can be tricky- you could fiddle with it until you find the clips and pull it out gently like you're "supposed" to, or you could just lift the whole panel upwards a bit and yank it out. Both methods worked for me. Take care not to yank it all the way off until you disconnect the connectors going to the speaker, tweeter, and window/lock switches.
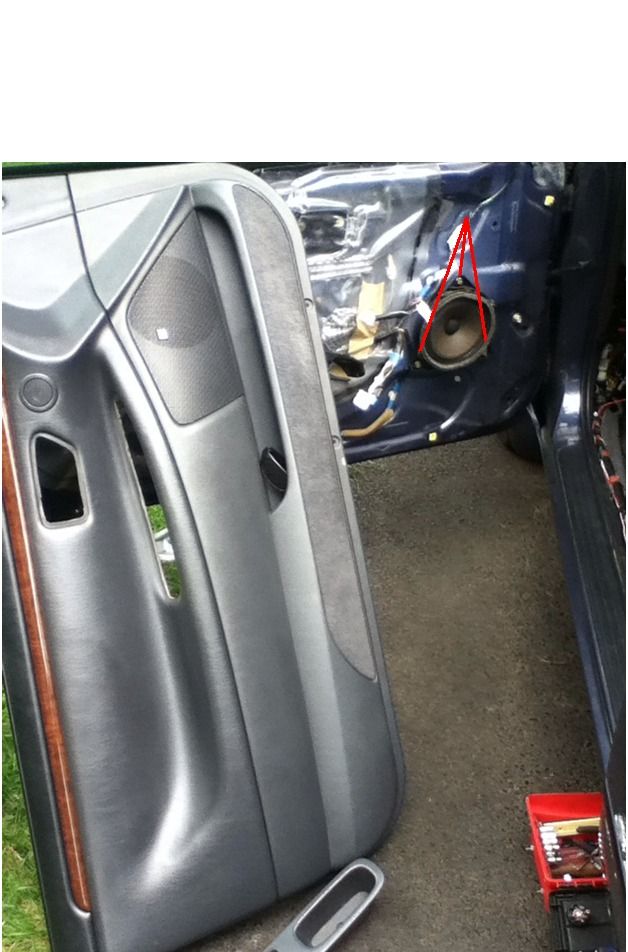
Remove the three bolts holding the speaker on so you can get your hands inside the door and pull the wires in.
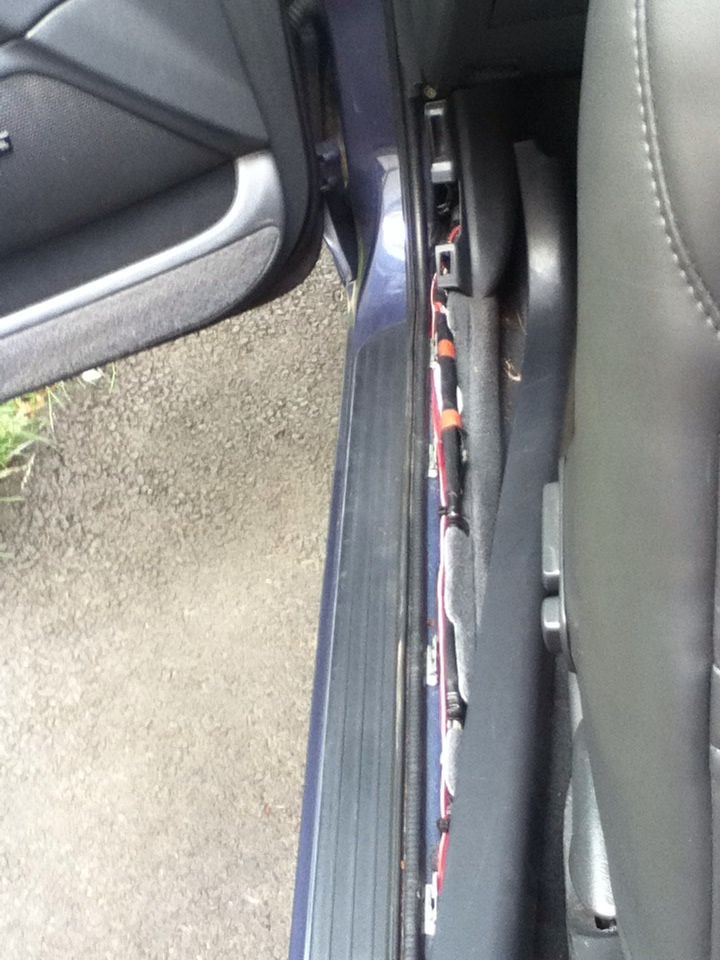
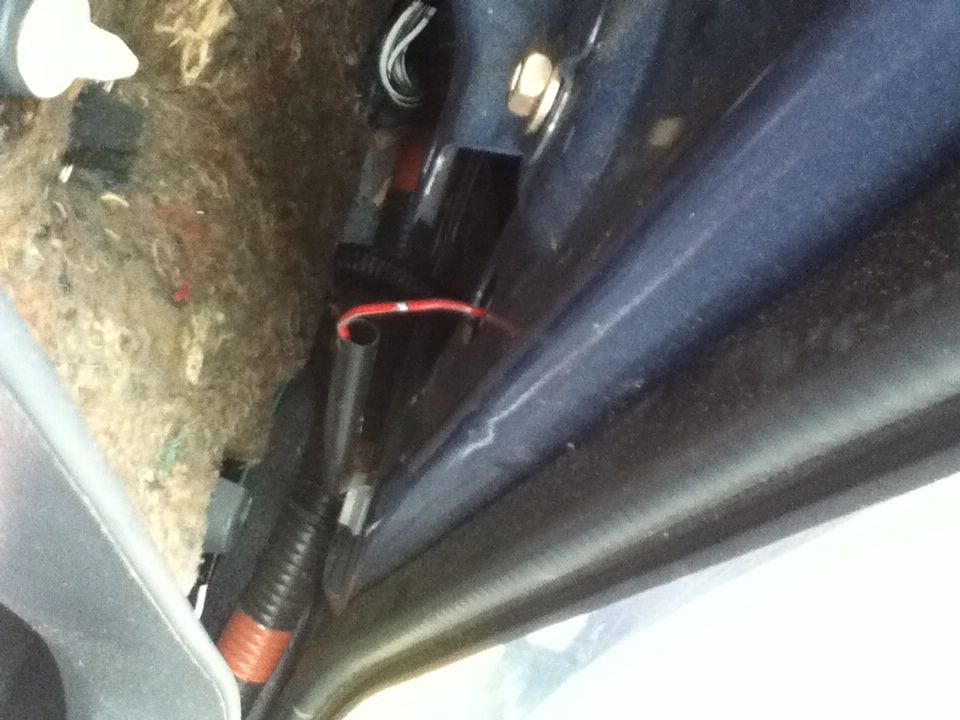
This is how I got the wires from inside the car outside to the door. There's a rubber grommet/tube thing that protects all the other wires. I couldn't get the wires inside the tube, but I just ran the wires through the same cutouts in the metal. They'll be outside the protective grommet/tube thing but if you position them behind it they will still be hidden from sight.
This picture shows the wires being fed outside the car, do the same thing to feed them into the door.
Once inside the door, pull them out through the big hole where your speaker was. When you put the speaker back in it will hold the wires in place. The wires should now hang down, ready for you to solder the LED strip. If you have experience with this type of LED strip and know how to work with them, skip this next step.
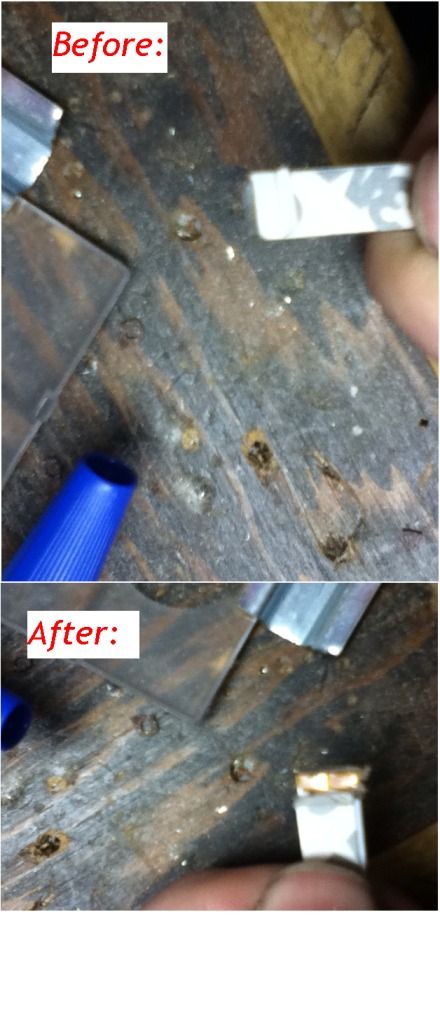
This is what they look like up close. There are two things to notice- first is the +/- signs. If you know anything about LED's you'll know that they're polarized and if they get hooked up in reverse, current won't flow and they won't light up. Keep the + connected to your 12V source, and the - to your ground. The second thing to notice is the copper pads you see every few inches- this is where you solder to.
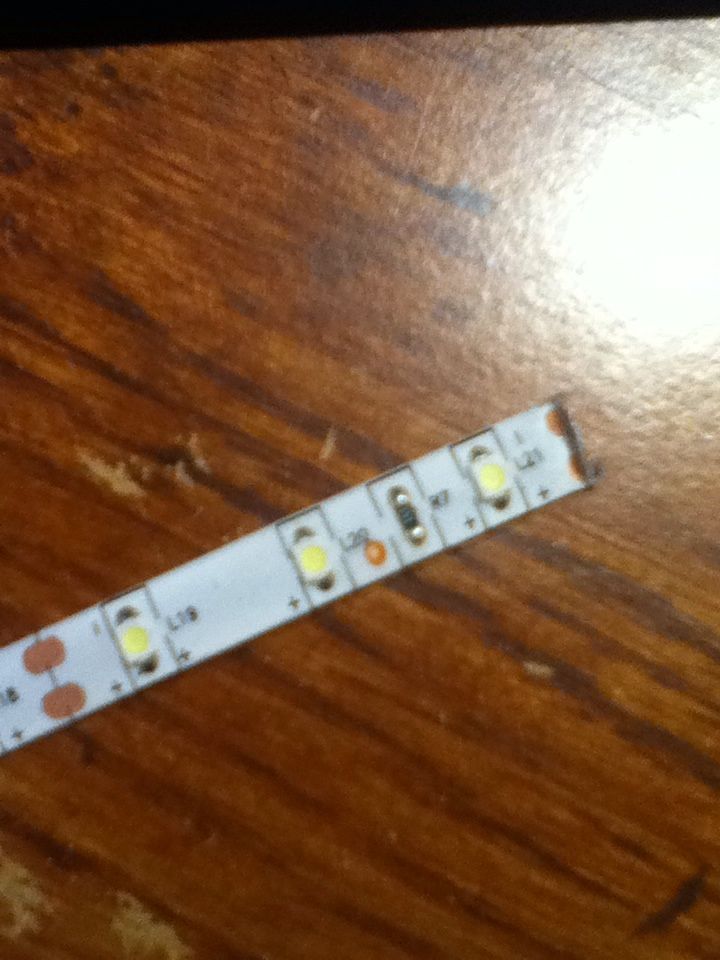
To solder them, you need to peel back the adhesive backing a bit and grind away the glue on the underside until you see clean shiny copper. Don't grind straight through the copper, it's only a thin layer so be careful. This is where a Dremel comes in handy.
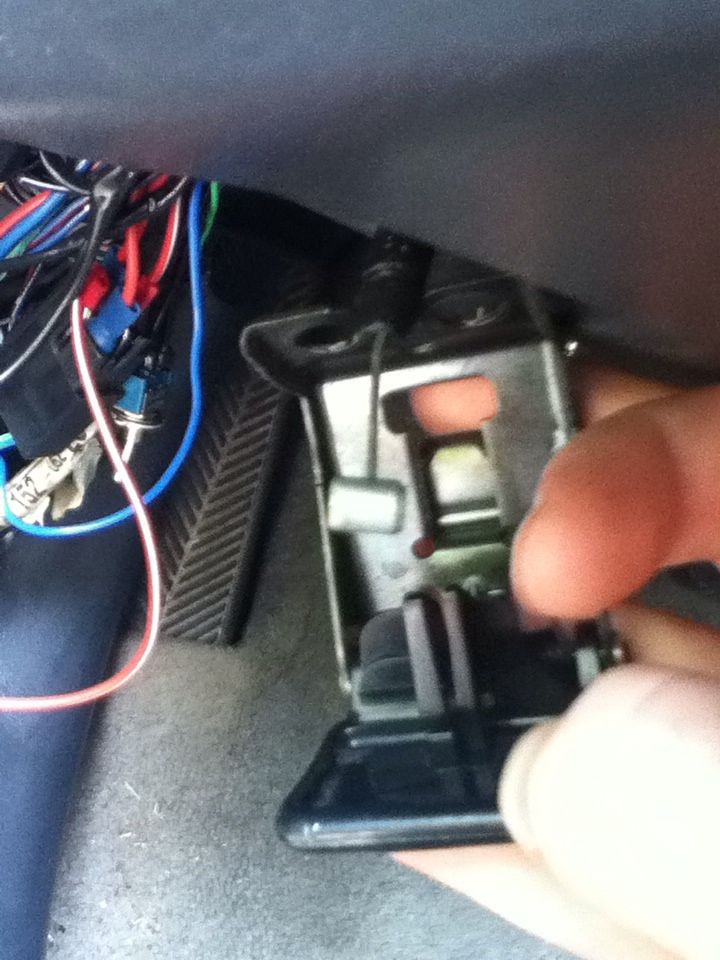
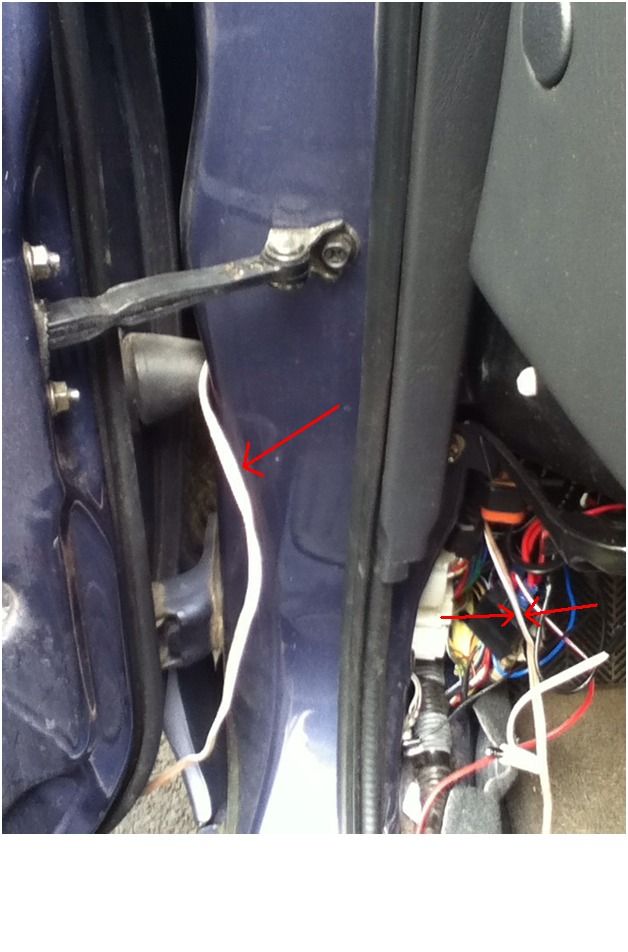
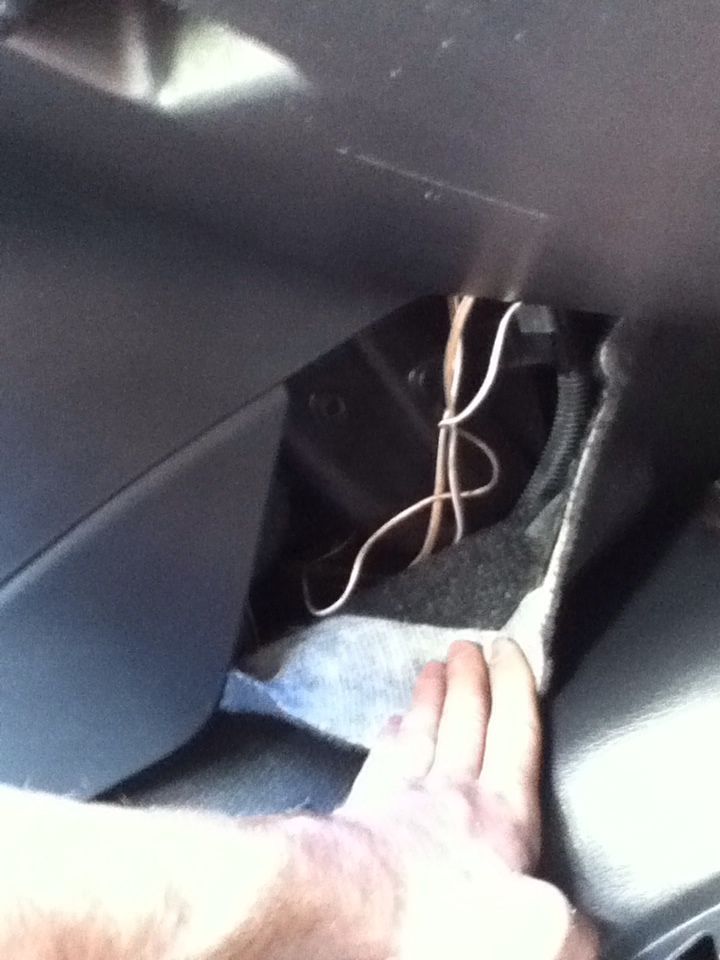
Once the wires are soldered to the LED strips, you need to connect the other end of the wires to power and ground to complete the circuit. The wire going to the + on your LED needs to be connected to a 12V source. If you don't know how to tap a fuse, you can google it or find some other source of 12 volts. The fuse for the foglights is the 15 amp fuse on the bottom center of the interior fuse panel. The wire coming from the negative on your LED strip will be going to the door sensor on the door jamb, showed here:
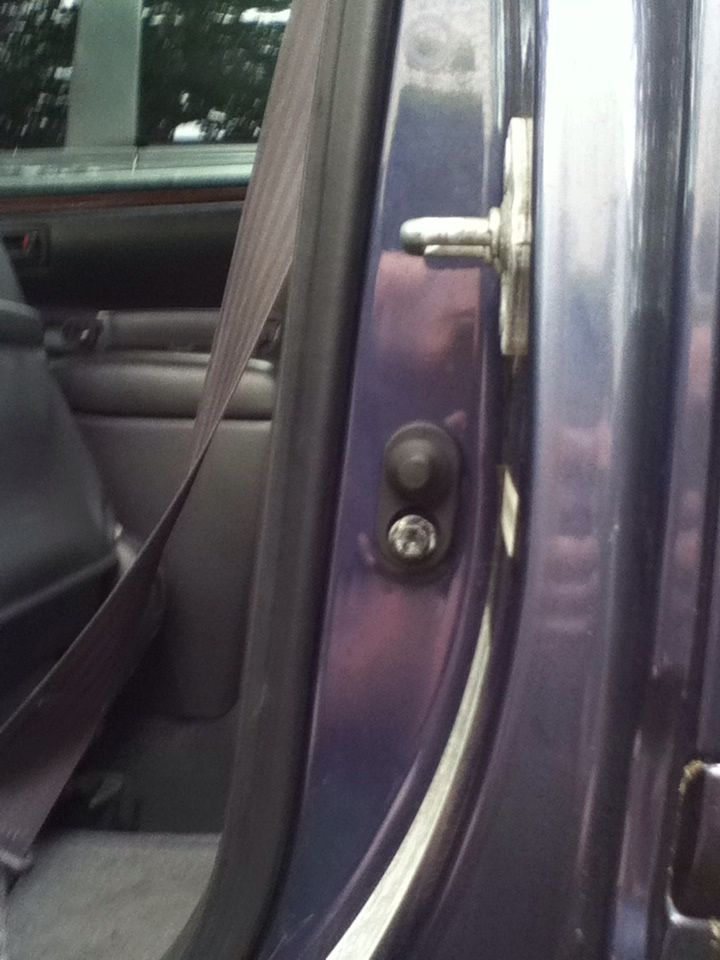
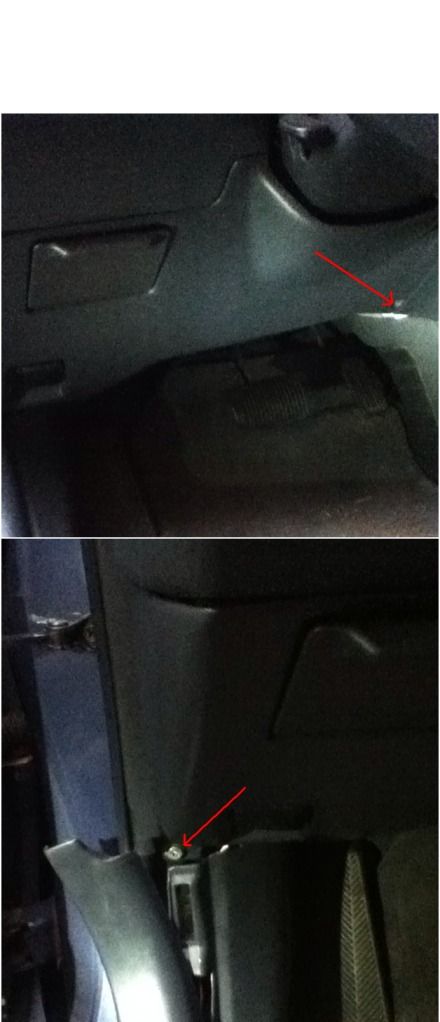
This sensor is basically just a switched ground. When the door is open, the switch is closed and the circuit is completed, lighting your LEDs. When the door is closed, it pushes the button and opens the circuit, turning the LEDs off. To tap into it, first remove the two 10mm bolts holding on the HOLY SH*T handle in the rear as shown:
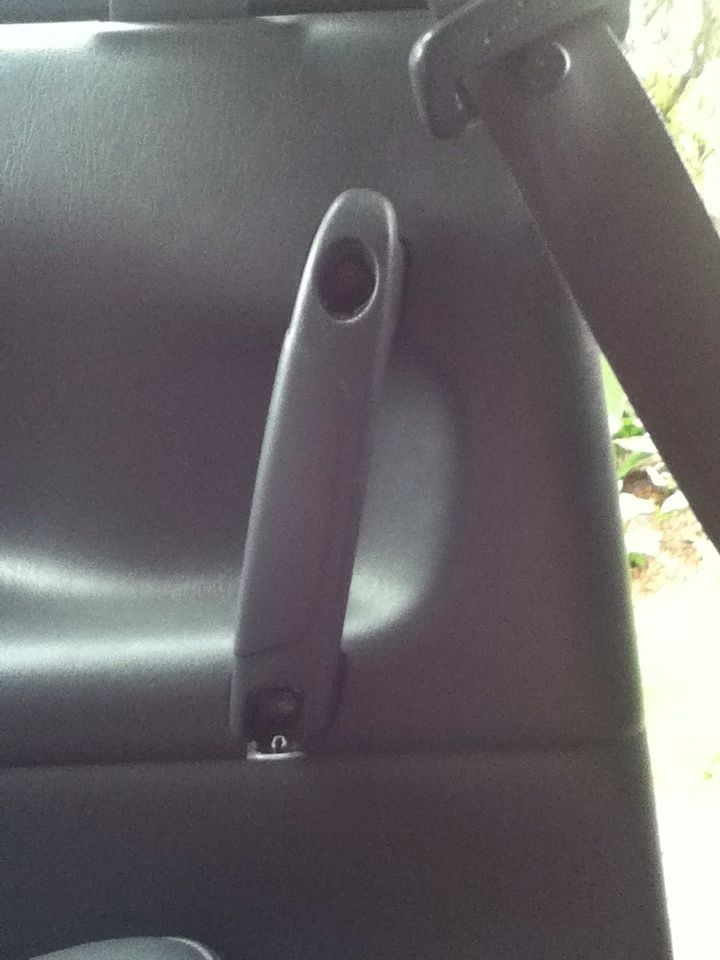
Once the handle is off, you can pry the panel off enough to see the back of the sensor:
Run the wire coming from the negative on your LED strip to this sensor and connect it. I just shoved the wire in there, and since it was in pretty tight I left it like that, but ideally it should be soldered.

Reconnect the battery and verify that everything works. At this point you can put your door back together.
Because there are no fuses to tap on the passenger side, you have to run a wire from your 12V source to that door. I ran mine under the center console/shift gate area: Don't mind the other wires, they're from my DIY heated seats.
This will be soldered to the positive on your passenger door's LED strip. Other than that, the procedure is exactly the same as the driver's side. Make sure you disconnect the battery again before you start working on the other side. Also, if you're smart, you've been insulating all bare wire with electrical tape or heat shrink tubing.
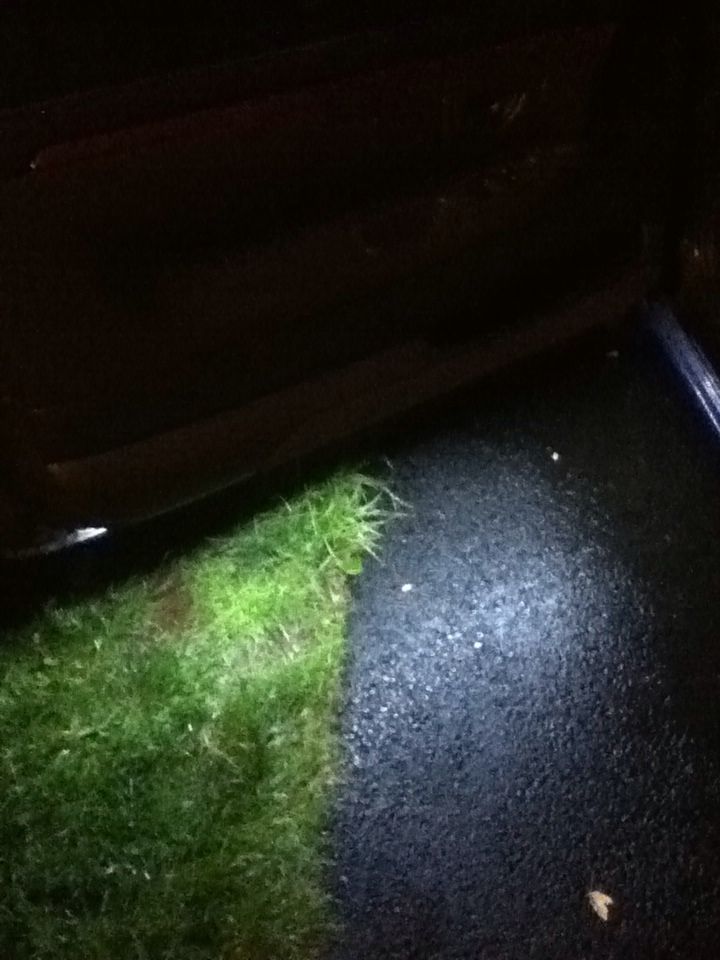
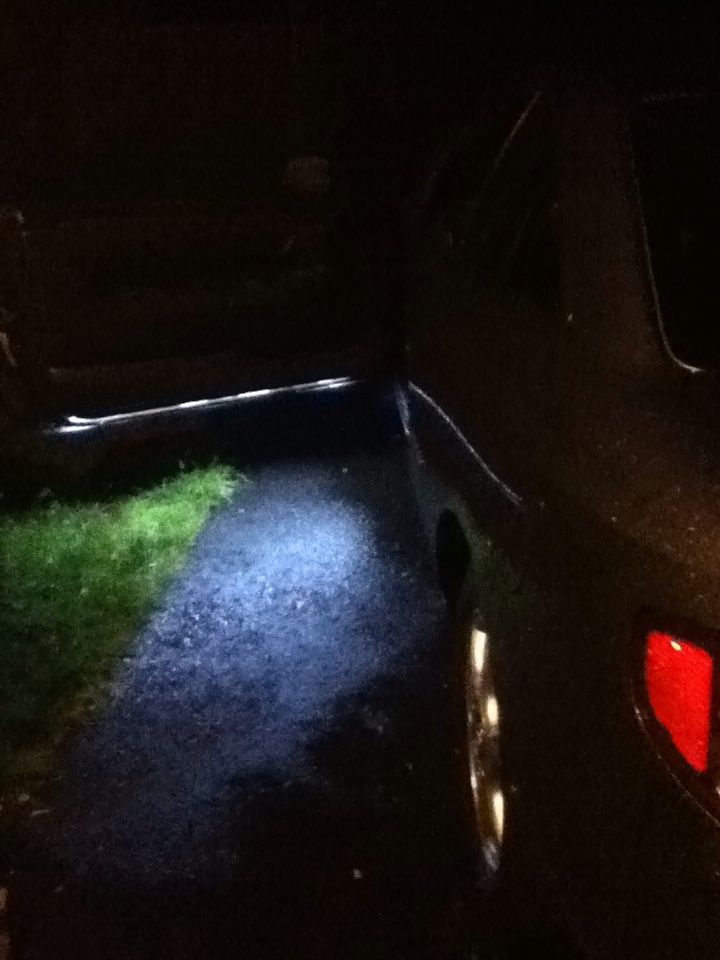
Put everything back together and enjoy your new courtesy lights. Girls will be powerless when they see how impressive your LEDs are, and you will definitely get some. Fair warning.
-

minig646 - Regular SolaraGuy Member

- Posts: 210
- Joined: Mon Jul 06, 2009 10:27 am
- Location: Philadelphia, PA