Gen1 DIY OEM Black Corners UPDATE!!!!
![]() by DSM_Lara » Tue Aug 31, 2010 3:17 am
by DSM_Lara » Tue Aug 31, 2010 3:17 am
All right I had an extra set lying around and I decided to take my chances taking them apart. Took some little tips from Kenny's thread. He sure is right that it's just plastic against plastic. I too just use my bare hands to take these off and a lot of patient. Quote from Kenny “Set your oven to 480 degree and waited 3-4 minutes to heat up. Then I just put them in for about 45 seconds...When the lens would not budge I would put them in for another 10 seconds until finally they were hot as hell and the lenses gently cracked apart. Just be careful not to bend the small plastic part on the other side where screw goes through...it gets flexible when heated.”
Update tutorial
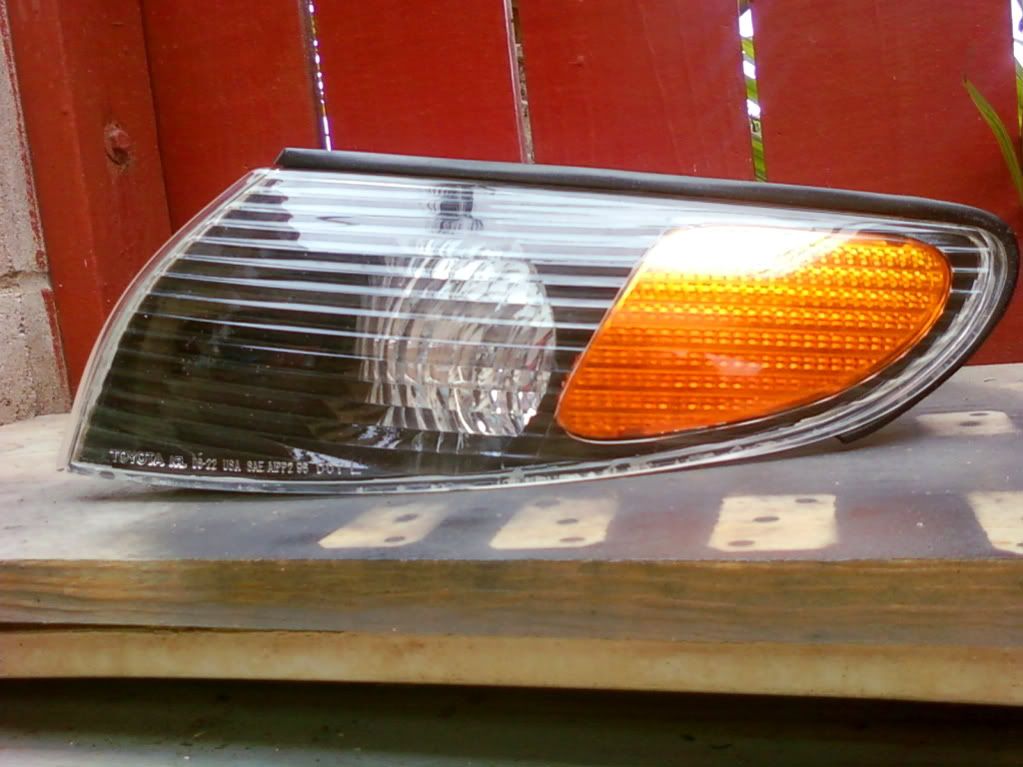
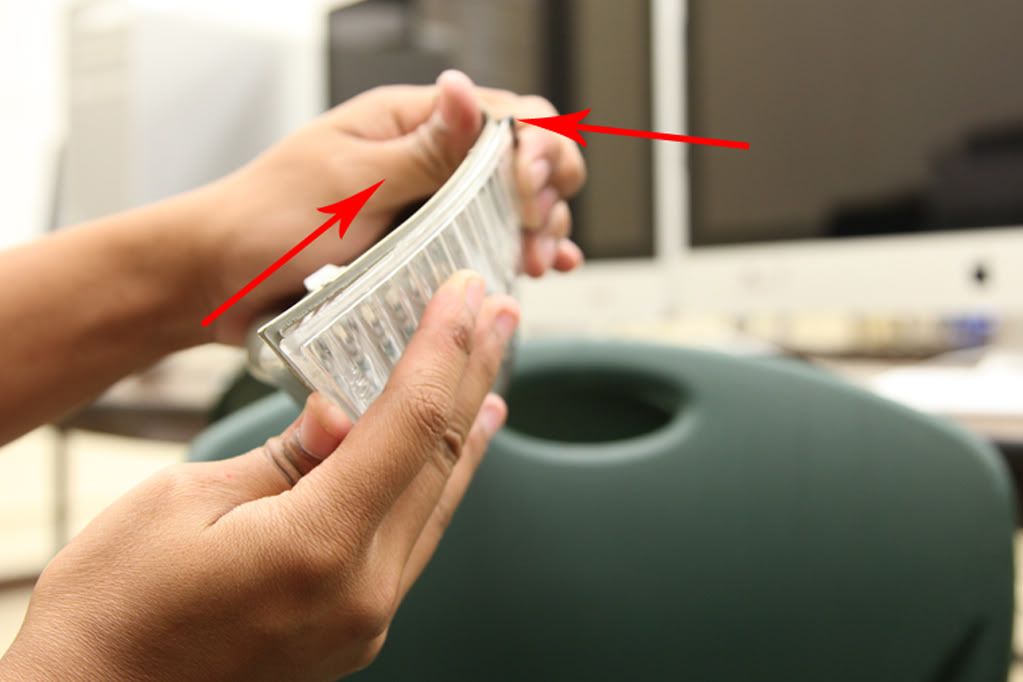
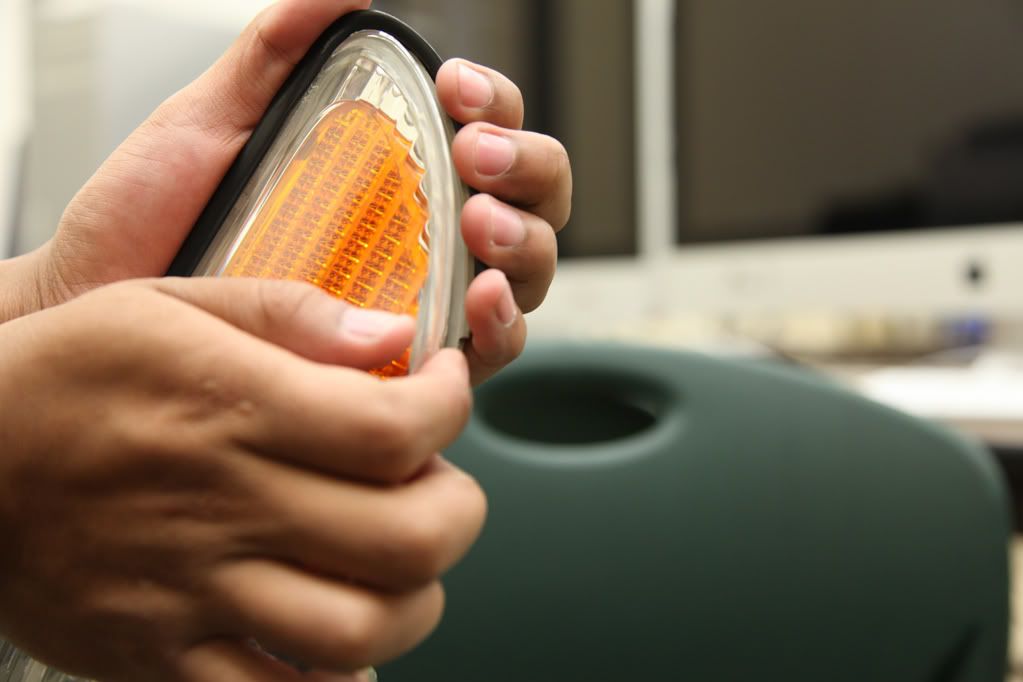
While the corners are still hot. Start from the bottom of the lights. I would suggest gripping it somewhat similar to the photo below. Gently twist the lights (like you would do with a shammy) you should here a little separation in the center of it the lens. If it doesn’t budge warm it up again.
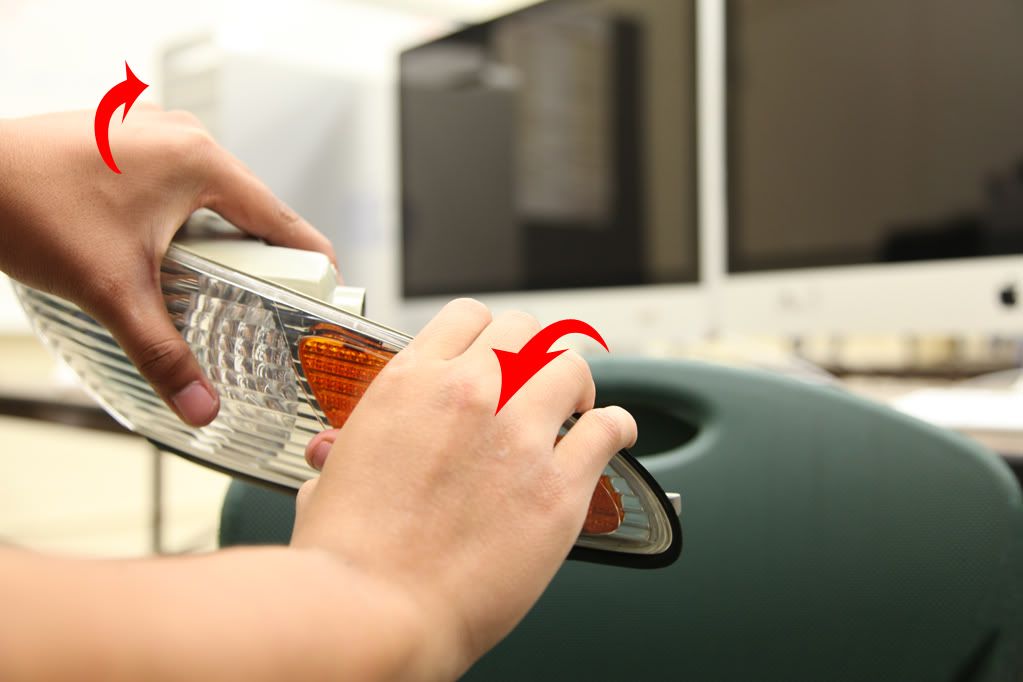
The lens should separate just like the photograph below. Where the arrow is pointing.
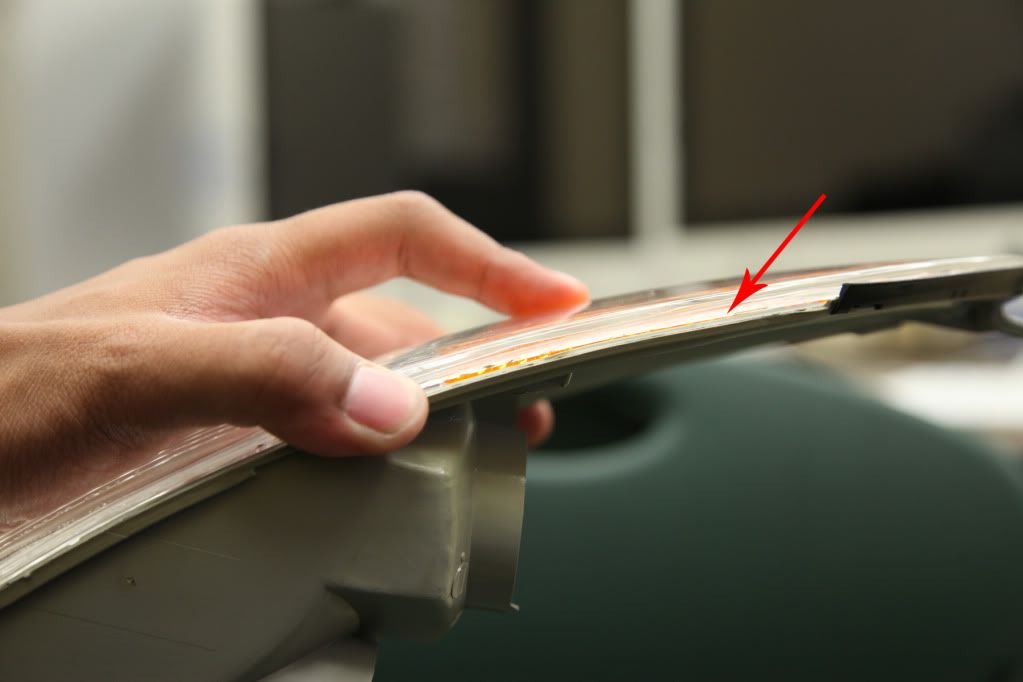
Slowly work your way towards the front of the lights.
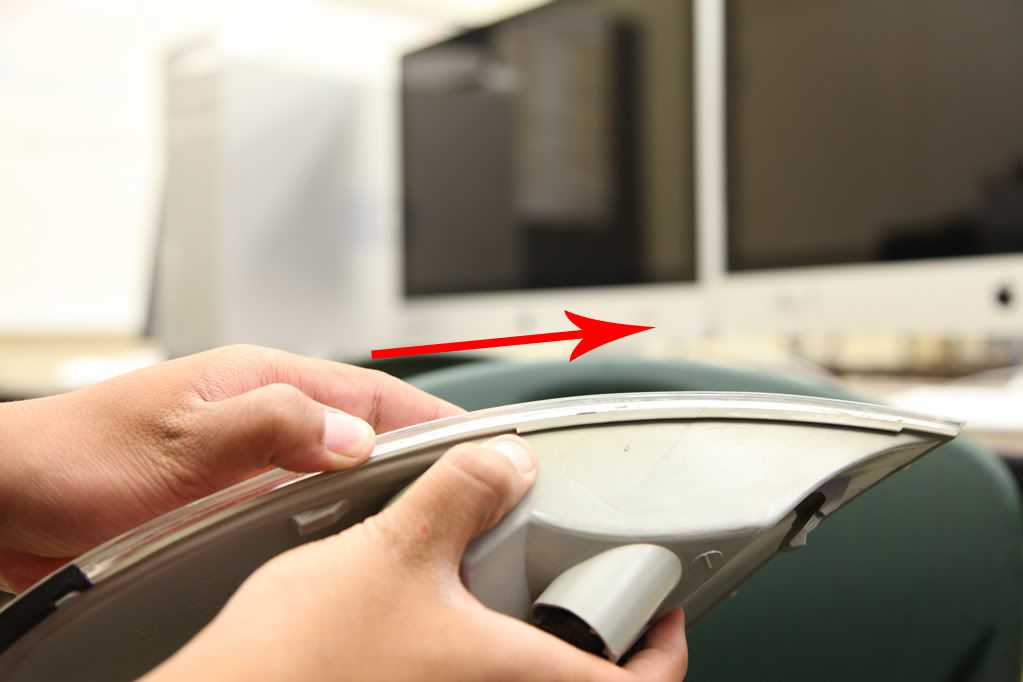
Apply pressure on the bottom light housing to separate the lens. Keep in mind to warm it up if doesn’t budge. In the photo you can see a little separation between the housing and the lens.
Work your way around the lights to the top of the lens.
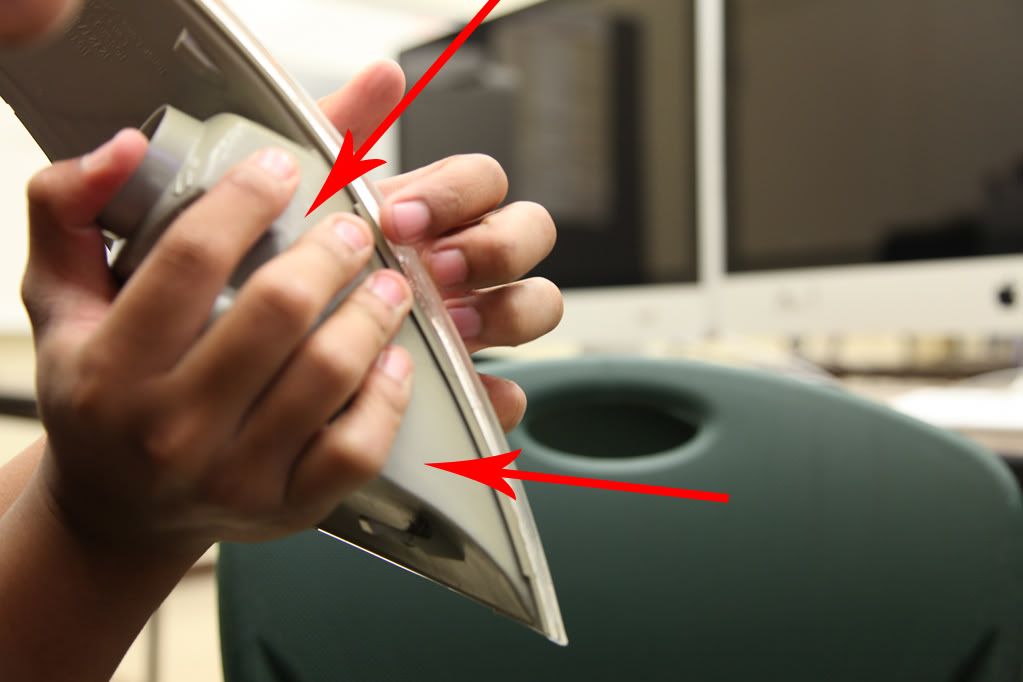
Now go back to the bottom of the lens where you first started. Then work the opposite direction to the top of the lens. Once you have reach the top. Start from the front and work your way back.
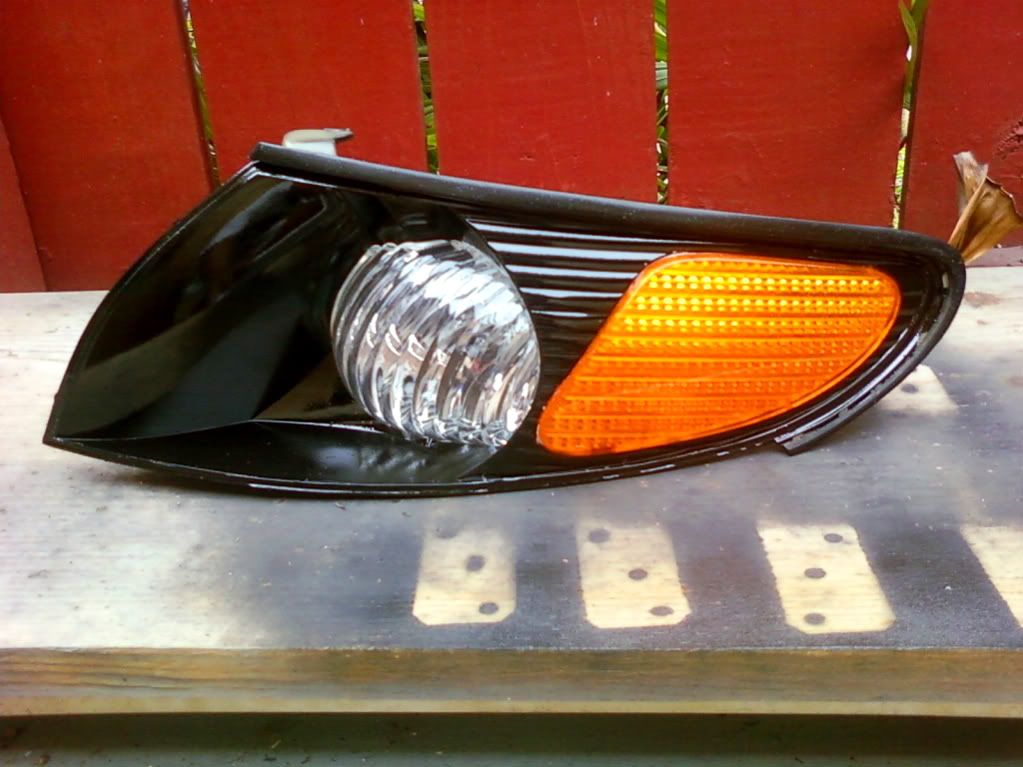
Congratulation you successfully separated the lens from the housing and now your ready to paint.
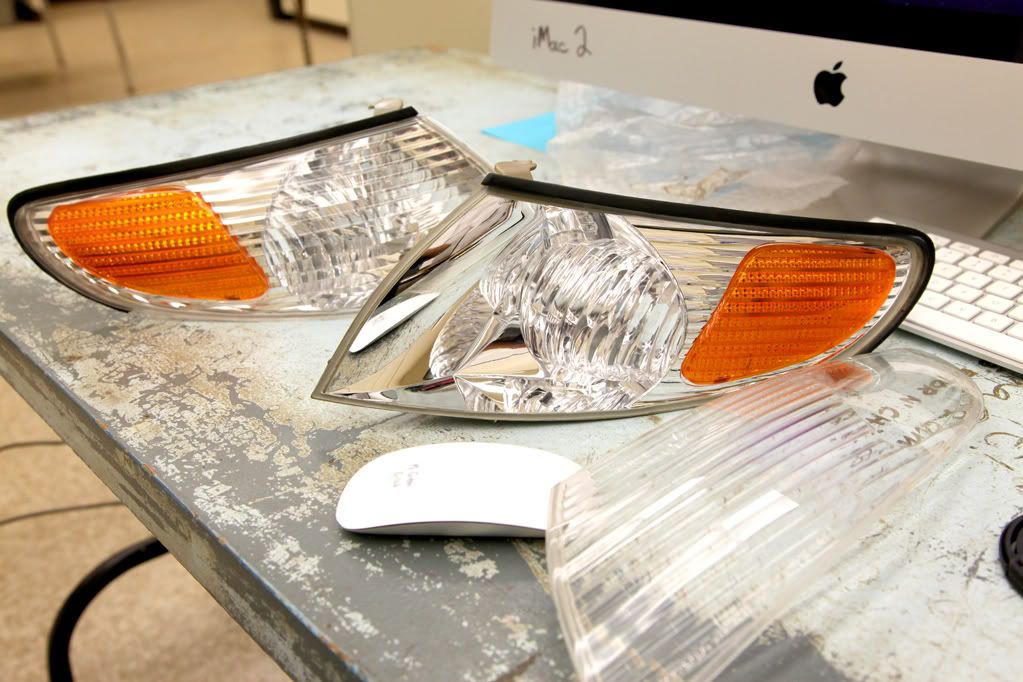
All waiting to be painted. The orange insert will stay to keep that OEM look. First try took me forever to figure it out but, once I got it. Second corners only took me about 10 minutes. I got a little technique on how to remove them. Hopefully you guys will be successful once with this photo tutorial. I'll keep you guys updated.
Update tutorial
While the corners are still hot. Start from the bottom of the lights. I would suggest gripping it somewhat similar to the photo below. Gently twist the lights (like you would do with a shammy) you should here a little separation in the center of it the lens. If it doesn’t budge warm it up again.
The lens should separate just like the photograph below. Where the arrow is pointing.
Slowly work your way towards the front of the lights.
Apply pressure on the bottom light housing to separate the lens. Keep in mind to warm it up if doesn’t budge. In the photo you can see a little separation between the housing and the lens.
Work your way around the lights to the top of the lens.
Now go back to the bottom of the lens where you first started. Then work the opposite direction to the top of the lens. Once you have reach the top. Start from the front and work your way back.
Congratulation you successfully separated the lens from the housing and now your ready to paint.
All waiting to be painted. The orange insert will stay to keep that OEM look. First try took me forever to figure it out but, once I got it. Second corners only took me about 10 minutes. I got a little technique on how to remove them. Hopefully you guys will be successful once with this photo tutorial. I'll keep you guys updated.
Last edited by DSM_Lara on Thu Sep 02, 2010 3:08 am, edited 3 times in total.
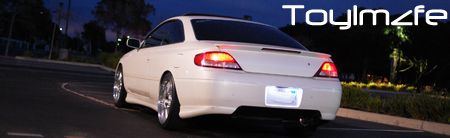
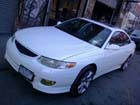
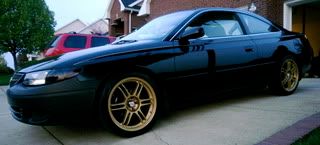
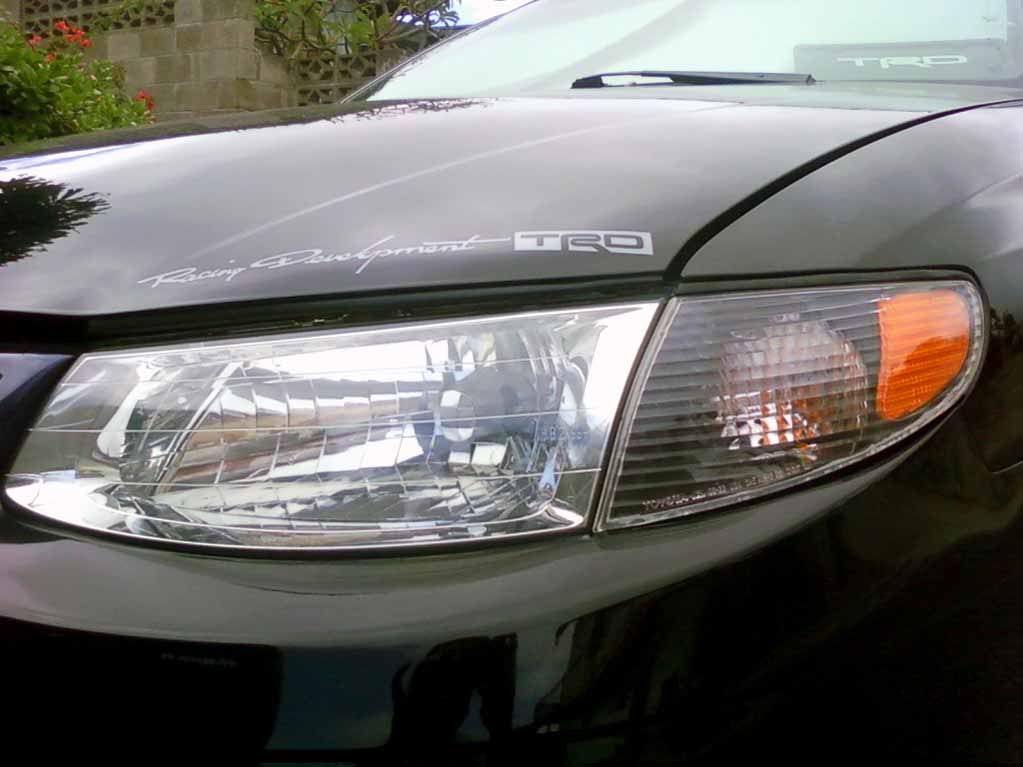
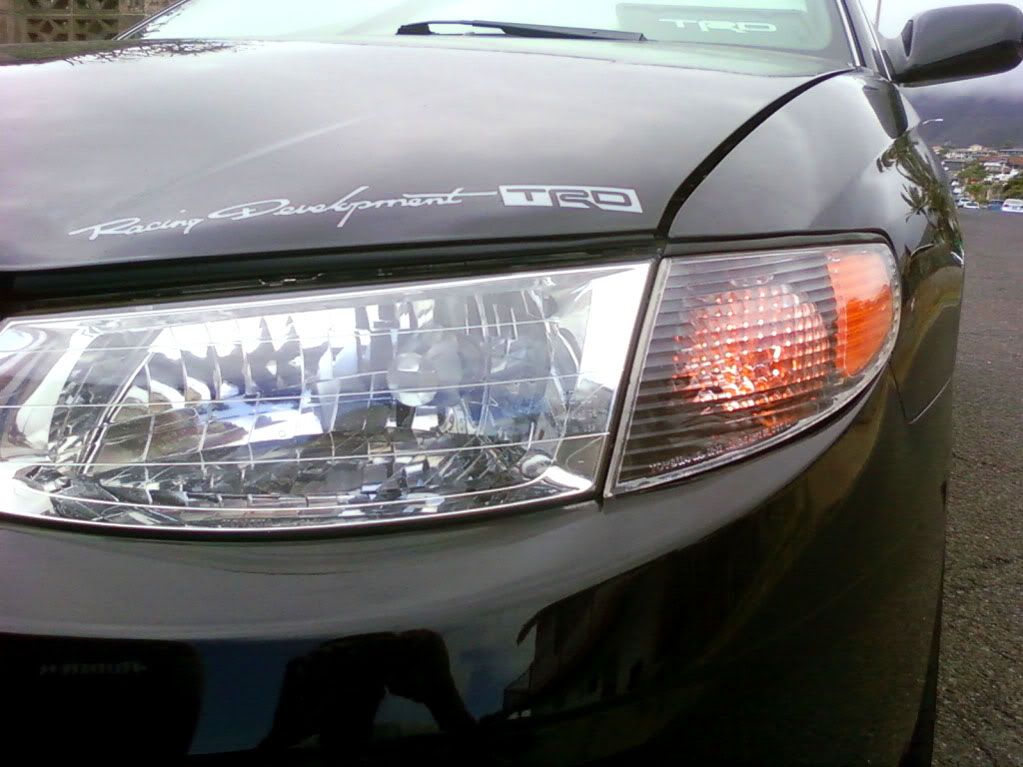
1999 Toyota Solara SE V6 (TRD Edition) Rare Greddy EvoII/CP-E Intake/Renova Grill/Black Housing Front/OEM Hood Deflector 

 Musubi

Musubi-
DSM_Lara - SolaraGuy Street Racer

- Posts: 1847
- Joined: Fri Jan 22, 2010 1:37 am
- Location: MAUI, HI 96732