
Fast Bright Auto Headlight Restorer Kit.
![]() by SPICA1750 » Tue Aug 30, 2011 7:15 pm
by SPICA1750 » Tue Aug 30, 2011 7:15 pm
Hello fellow SG members!! Today on my journey to target.. I decided to pick up this little product. Fast Bright Auto Headlight Restorer Kit. for about $10.00. not a bad price. It was in this spot with other "As seen on T.V." things. I was like what the heck I guess I'll try it!! 

My mom laughed at me..cause it looks so cheesy. (side note i tried to resize the pictures but it..didnt.,work )
)
Anywho..this is what was inside.
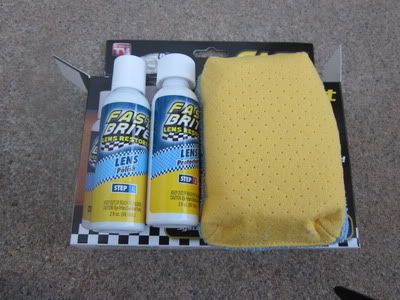
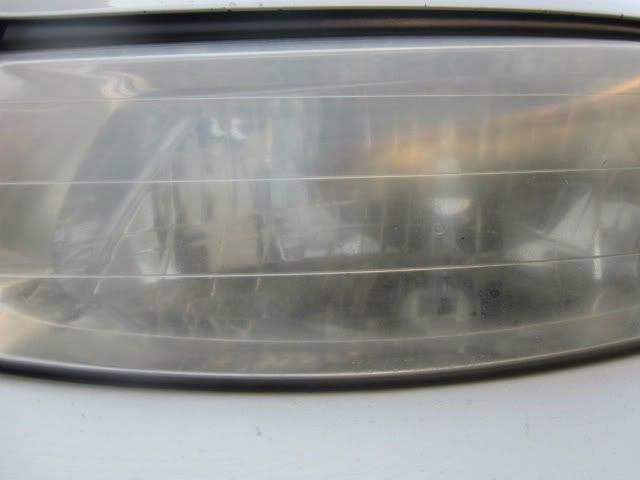
Bottle of polish and protectant. 2 fl oz. and application pad. this is a before picture..very foggy
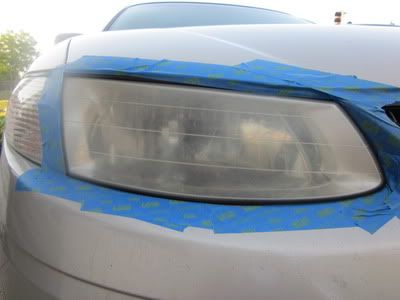
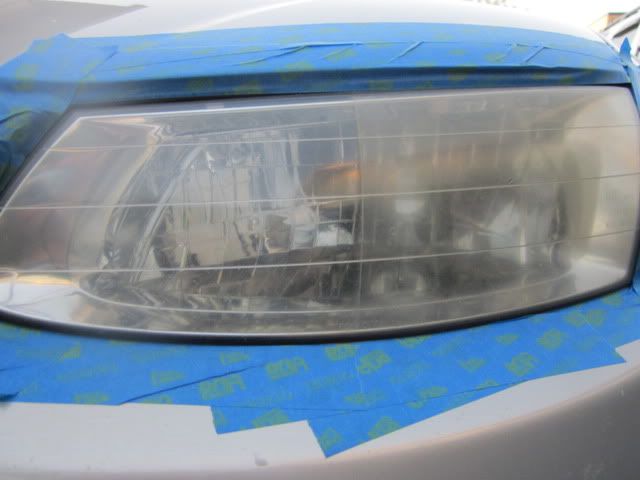
I tape off all painted surfaces. The box said it will scratch painted surfaces
Then I taped the headlight down the middle to compare..
i applied a dime sized to the yellow side of the pad. Then rubbed it in a small circlar motion. This was the first pass.
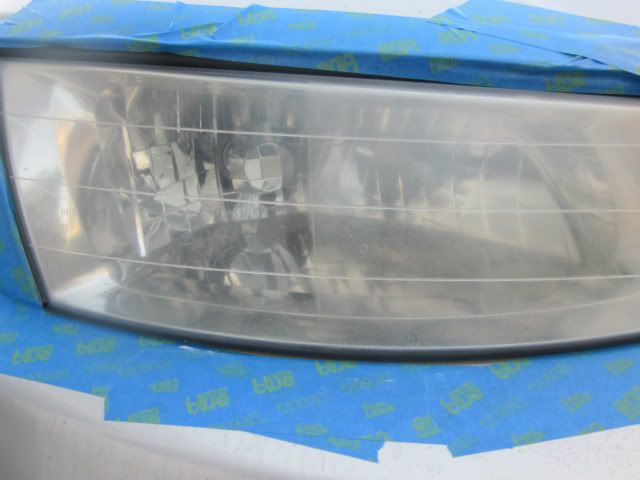
Not too bad..I was surpised it did anything. So I did the rest. same steps..and these were the results
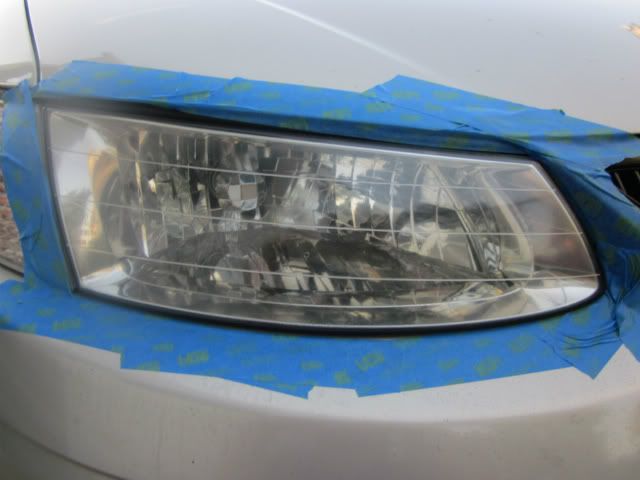
wow..looks a lot clearer.. After that I appled the protectant on the microfiber side of the applicator pad to seal it. carefull it came out to fast..SO next I moved on to the next headlight.
 FOGGY
FOGGY
Same steps as before..you can see the differance..
I did a second pass to the whole headlight,,
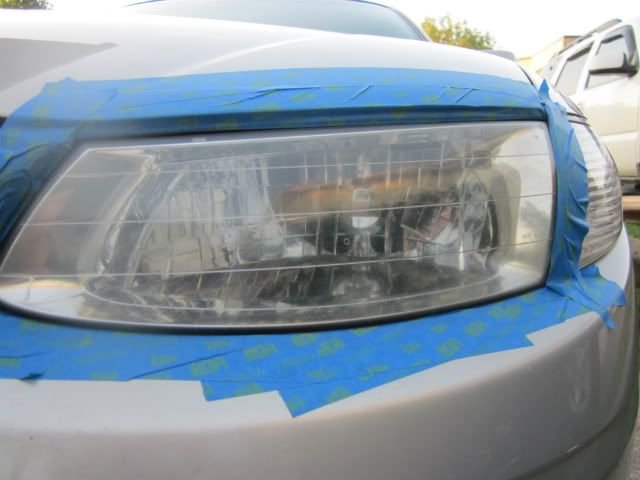
Then I sealed it.
The after pictures of both lights.
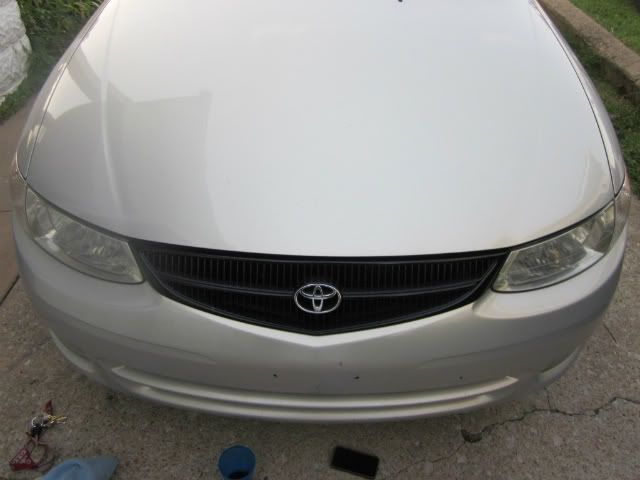
SOOOOOOO I'm pretty happy with the turn outs. lots of grime came off onto the pad..it got the job done. I can't complain. :note: I did do it twice to get a clearer headlight.
I defantly think you guys should try it. i like it but we'll see how long it lasts..I rate it a 8.5 out 10. But I will keep you guys updated!
My mom laughed at me..cause it looks so cheesy. (side note i tried to resize the pictures but it..didnt.,work
Anywho..this is what was inside.
Bottle of polish and protectant. 2 fl oz. and application pad. this is a before picture..very foggy
I tape off all painted surfaces. The box said it will scratch painted surfaces
Then I taped the headlight down the middle to compare..
i applied a dime sized to the yellow side of the pad. Then rubbed it in a small circlar motion. This was the first pass.
Not too bad..I was surpised it did anything. So I did the rest. same steps..and these were the results
wow..looks a lot clearer..
FOGGY Same steps as before..you can see the differance..
I did a second pass to the whole headlight,,
Then I sealed it.
The after pictures of both lights.
SOOOOOOO I'm pretty happy with the turn outs. lots of grime came off onto the pad..it got the job done. I can't complain. :note: I did do it twice to get a clearer headlight.
I defantly think you guys should try it. i like it but we'll see how long it lasts..I rate it a 8.5 out 10. But I will keep you guys updated!
2000 Toyota Solara SE<aftermarket exhaust>
1995 BMW 525i..(sold)
1995 BMW 525i..(sold)
-

SPICA1750 - Regular SolaraGuy Member

- Posts: 118
- Joined: Fri Aug 13, 2010 6:54 pm
- Location: Wichita, Kansas
