lemegacool's custom polyurethane engine mounts
![]() by lemegacool » Tue Aug 31, 2010 6:24 pm
by lemegacool » Tue Aug 31, 2010 6:24 pm
copy/paste from toyotanation
well i finally got around casting my mounts (exept the front one since i'm waiting on it to come in)
here's how it went
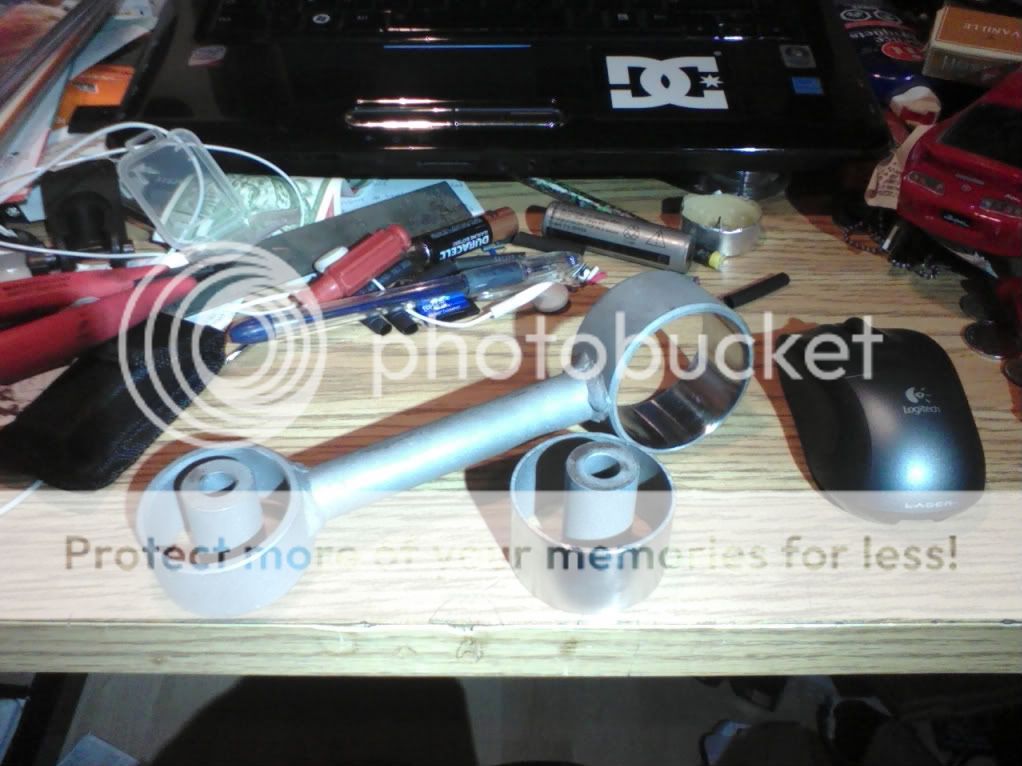
began by removing the old rubber from the dogbone and sandblasted it entirely (will paint it so it will look brand new!) in the pic notice that one hole of the dogbone is sandblasted while the other is polished... the reason for that is that i'm going to cast directly into the sandblasted part of the dogbone and cast a separate bushing that will be pressed into the polished hole. that way i can cast both bushings at the same time!
separate dogbone bushing... the pin is holding into a hole into the piece of wood to keep it centered and straight. i used hot glue to seal the bushing on the wood. i previously covered the wood with packing tape to the urethane wont stick to it!

now here is how i did the rear mount... gabe sent me a brand new 5 speed rear mount bushing. then i took it to the shop and welded braces to the pin to keep it in its offset position
then...
(the blue on the table is layout blue...)


after the mount was cooked enough i removed the carbonised rubber inside of it


then a little trip to the sandblast cabinet and a little love from a polishing wheel and voila!


the mold for the rear bushing is just a piece of cardboard with packing tape on it glued to the back of the bushing
for the trans mount i just taped cardboard with packing tape on it all around so it would hold the urethane. i took good care of sandblasting it too before filling!
here is all the mounts ready to be filled!!!

now here comes the fun part!!!!!! using the forsh polymer 1lb urethane kit i mixed a whole container and began pouring... i bough 3 kits thinking of not having enough. basically with ONE container you can fill all the mounts exept the trans mount (was missing 1/4 of urethane)... so yeah i had to mix another container just to fill the 1/4 left of the trans mount.... you can see what i have leftover in the pblaster cap and the rectangular tray...


so here its is!! now i just need to wait 7 days for FULL cure. it is supposed to be installable in 2 days but it says 7 days fulll cure so I'M WAITING!!! lol
next is the front mount...
well i finally got around casting my mounts (exept the front one since i'm waiting on it to come in)
here's how it went
began by removing the old rubber from the dogbone and sandblasted it entirely (will paint it so it will look brand new!) in the pic notice that one hole of the dogbone is sandblasted while the other is polished... the reason for that is that i'm going to cast directly into the sandblasted part of the dogbone and cast a separate bushing that will be pressed into the polished hole. that way i can cast both bushings at the same time!
separate dogbone bushing... the pin is holding into a hole into the piece of wood to keep it centered and straight. i used hot glue to seal the bushing on the wood. i previously covered the wood with packing tape to the urethane wont stick to it!
now here is how i did the rear mount... gabe sent me a brand new 5 speed rear mount bushing. then i took it to the shop and welded braces to the pin to keep it in its offset position
then...
(the blue on the table is layout blue...)
after the mount was cooked enough i removed the carbonised rubber inside of it
then a little trip to the sandblast cabinet and a little love from a polishing wheel and voila!
the mold for the rear bushing is just a piece of cardboard with packing tape on it glued to the back of the bushing
for the trans mount i just taped cardboard with packing tape on it all around so it would hold the urethane. i took good care of sandblasting it too before filling!
here is all the mounts ready to be filled!!!
now here comes the fun part!!!!!!
so here its is!! now i just need to wait 7 days for FULL cure. it is supposed to be installable in 2 days but it says 7 days fulll cure so I'M WAITING!!! lol
next is the front mount...
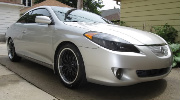
1994 camry v6 5 speed swapped

custom m90 blower in progress
cardomain: http://www.cardomain.com/ride/3872430
custom m90 blower in progress
cardomain: http://www.cardomain.com/ride/3872430
-

lemegacool - Regular SolaraGuy Member

- Posts: 85
- Joined: Wed May 19, 2010 7:40 pm
- Location: quebec/canada


 Musubi