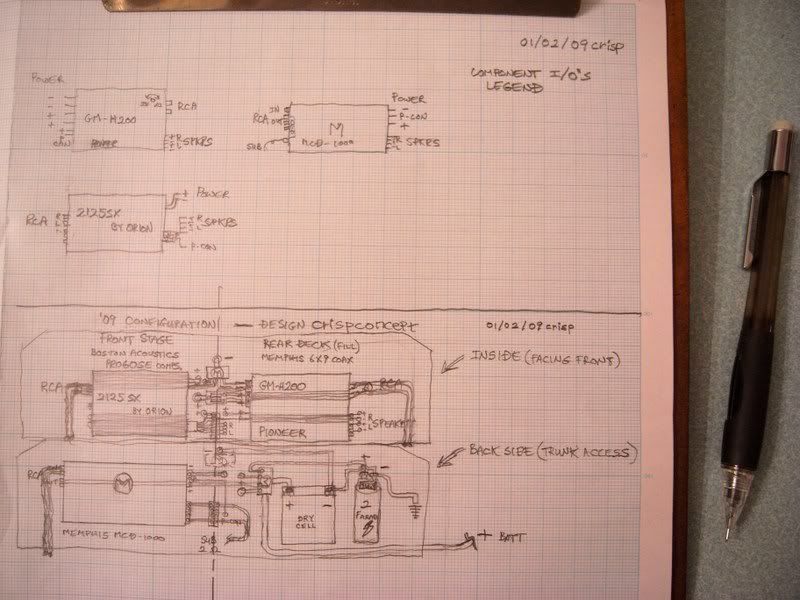

^^^ I started picturing several different configurations that made wiring arrangement more "efficient" and aesthetically pleasing at the same time. I wanted minimal power/ground line runs, with a focus on integrating my new dry cell battery, and keep the cap at the same time.
Ultimately, I intend to put at LEAST a 2 Farad cap in the line-up, but I figure it will wire RIGHT into the spot I have my current one. (It's a "cheepo"...)
I am also focused on ELIMINATING a VERY prominent "whirrr" (including alternator noise AND ignition interference...) through better distribution and grounding. (Ever since I changed my amps around recently...)
I suspect the noise is from the compulsory FAN in the GM-H200... but as a sub-amp, it didn't carry through the speakers... but on the rear 6x9's, it's completely unbearable! (I MAY have to put a noise filter on the secondary BATT line to the amp. I think it powers the fan, and needs isolated with a noise filter... that MAY have been on the original harness... which I don't have.)
...anyway...
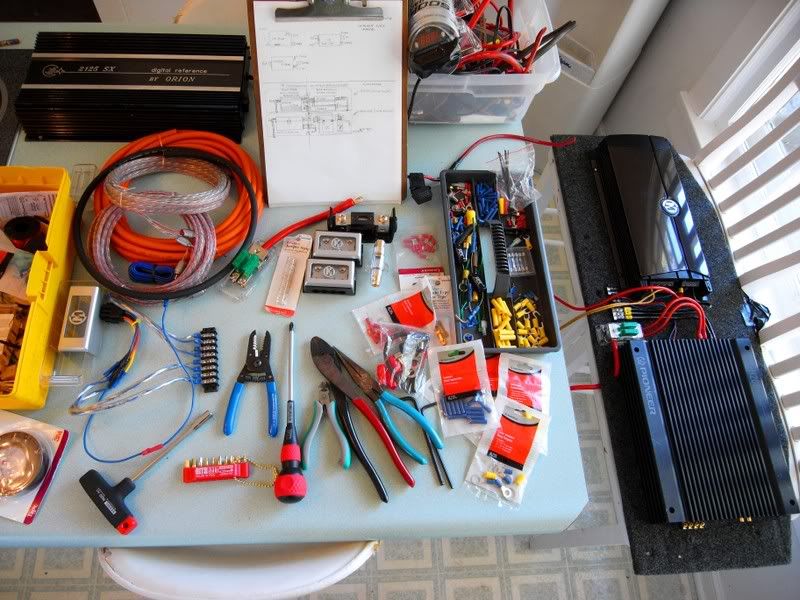
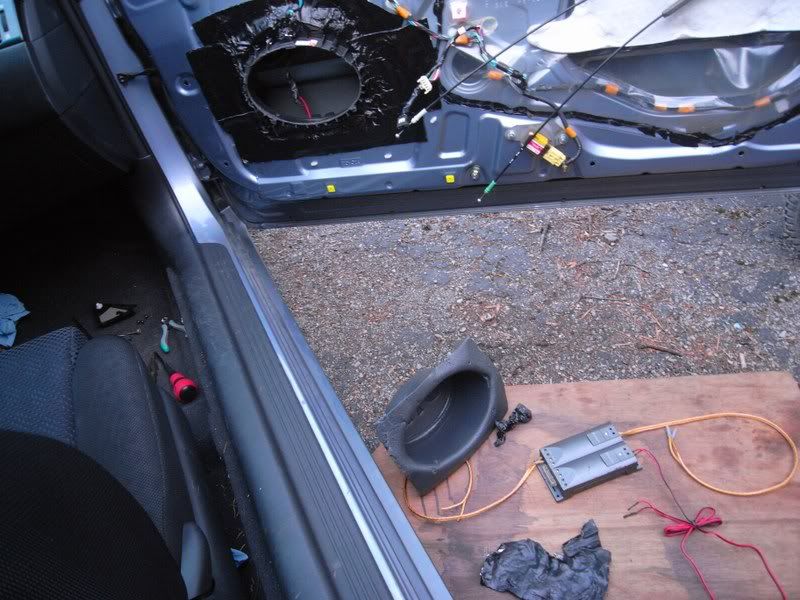
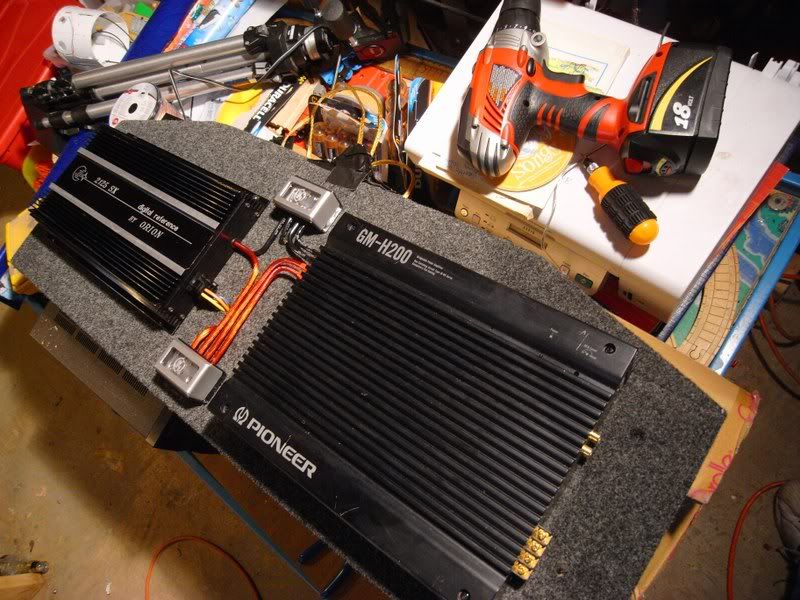
I laid all my stuff out to get started...
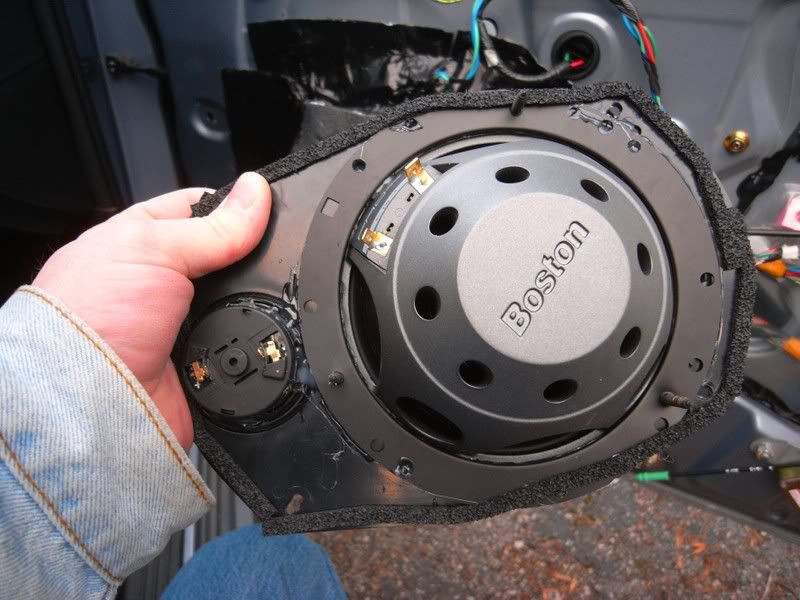
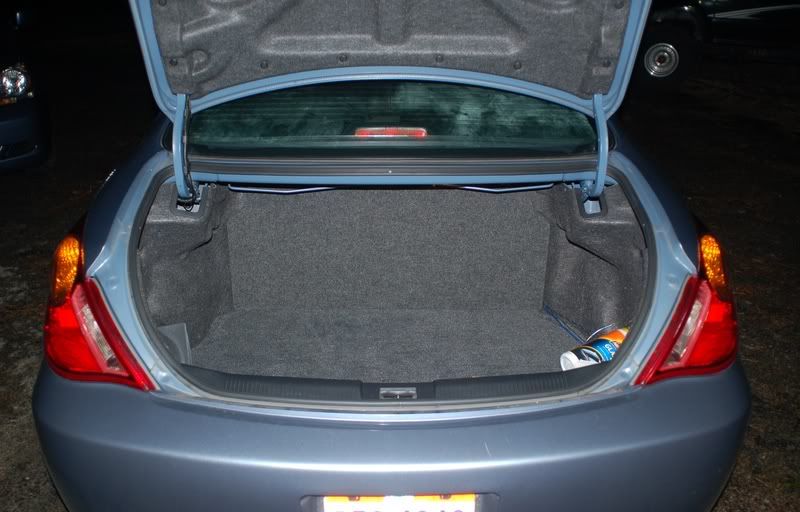
...and photographed my OLD wiring for the record and reference if needed in the future...
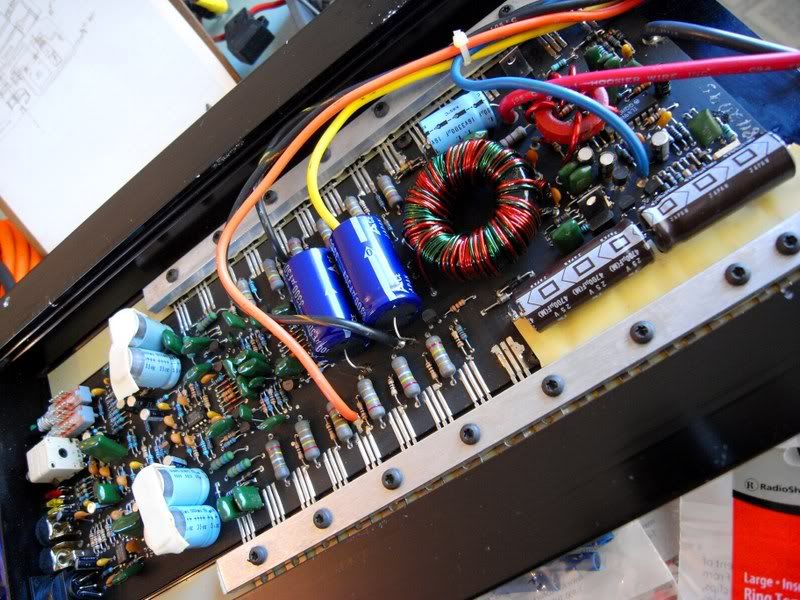
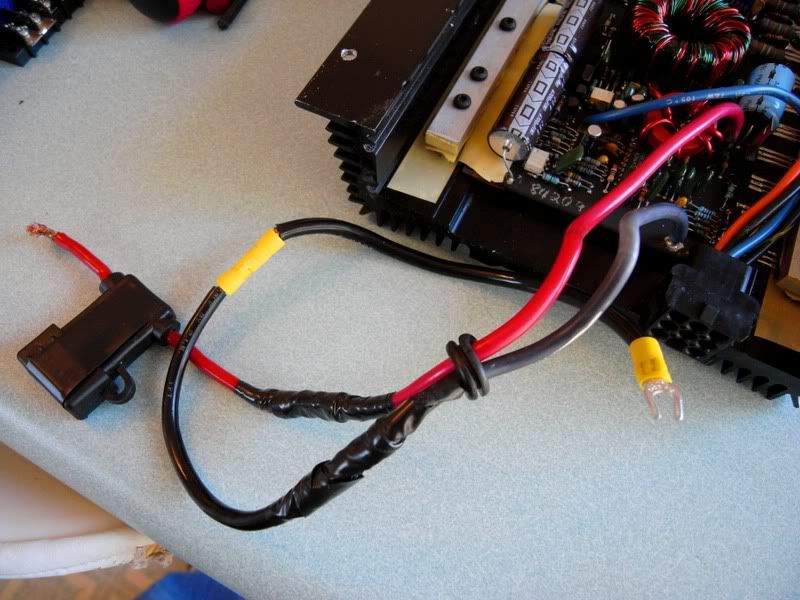
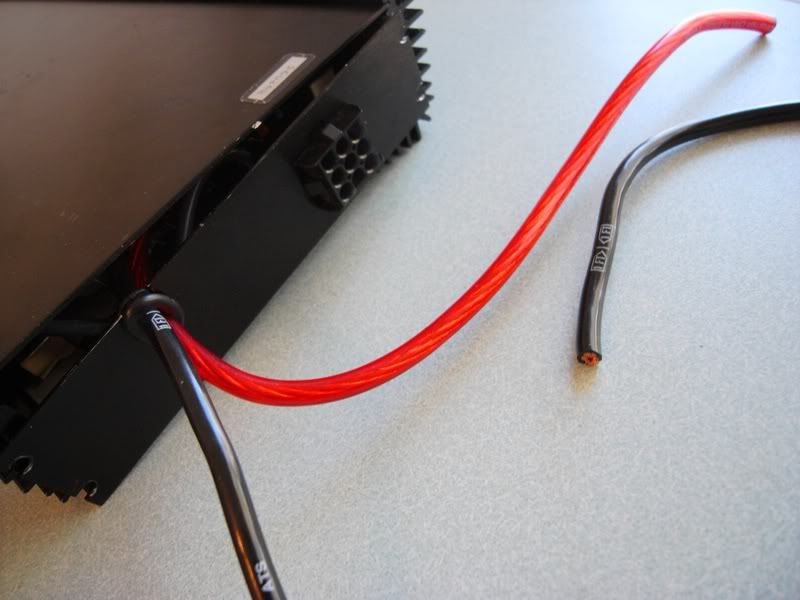
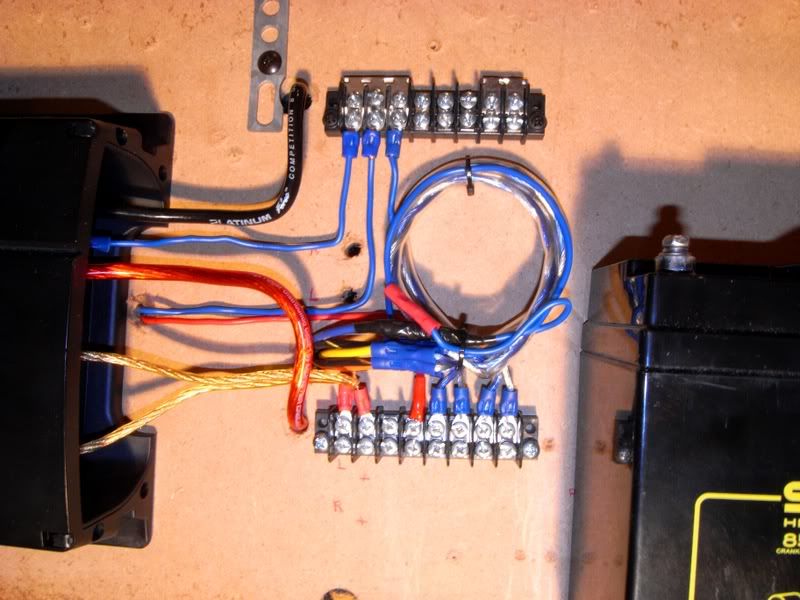
^^^ My 20 or so year old Orion SX had the REALLY old school style WIRES coming OUT of the housing for power and ground. GOOD grade wire, for sure! ...but having been nipped and mounted so many times, they were needing a little TLC. The OTHER old-style feature was an EXTERNAL fuse bus... so I installed it INTERNALLY, and added EXTRA wire length between 8-12" inside the case that can be "drawn out" if more line is needed. After the one photo, I went back with 3M electrical vinyl tape and wrapped the butt connectors as well...
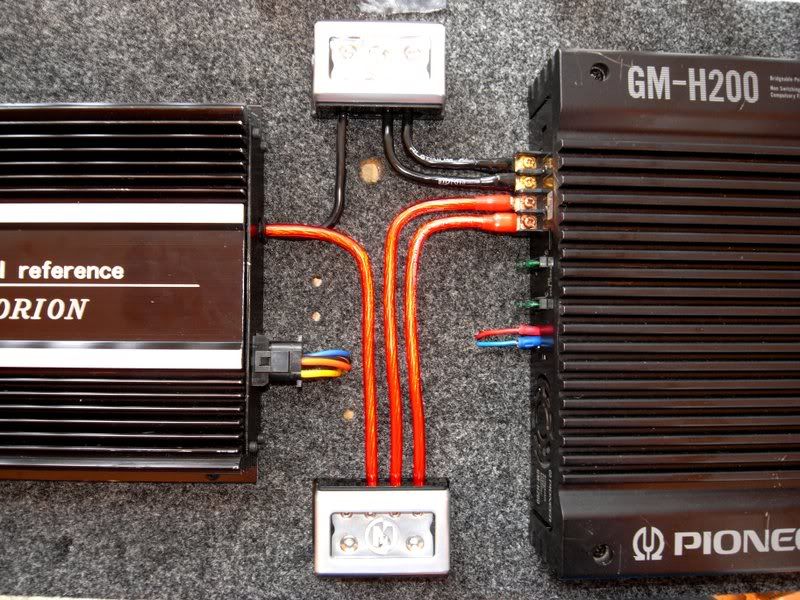
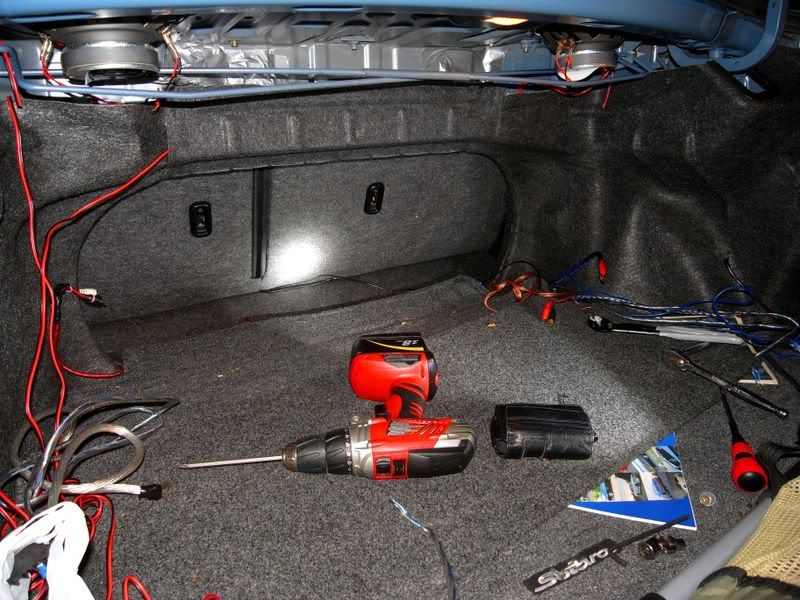
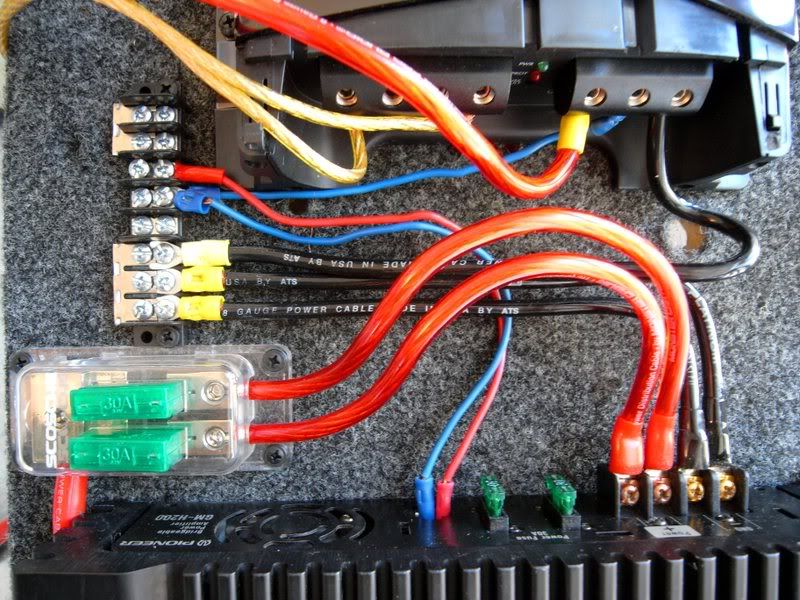
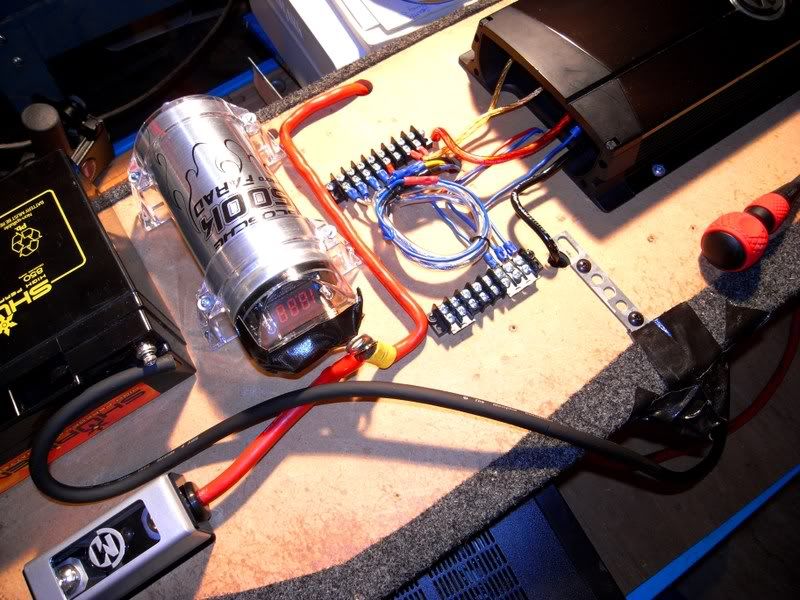
^^^ I did some initial wiring to see how it would look... and thought this was pretty clean.
^^^ With the FRONT of the amp board looking pretty ready... I decided to turn my attention to the backside...
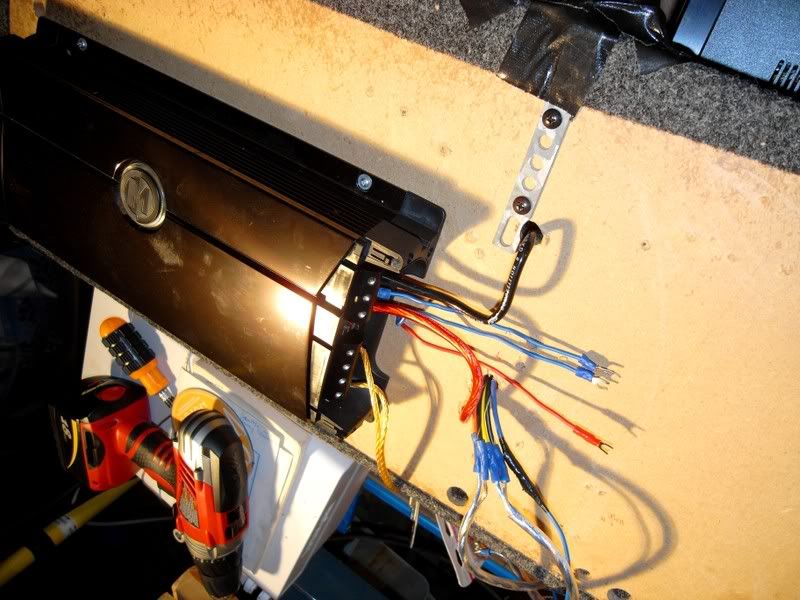
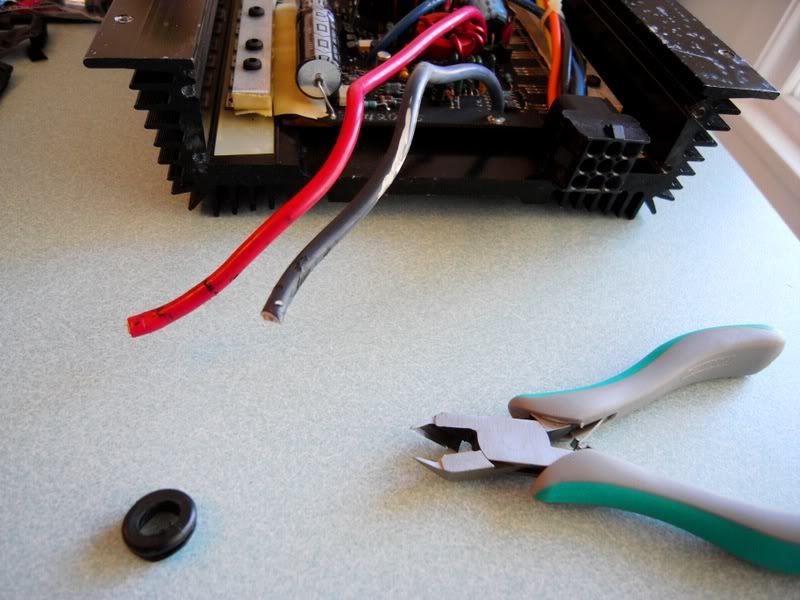
...I stripped everything off the board, mounted the NEW MCD-1000 and began to orient wires...
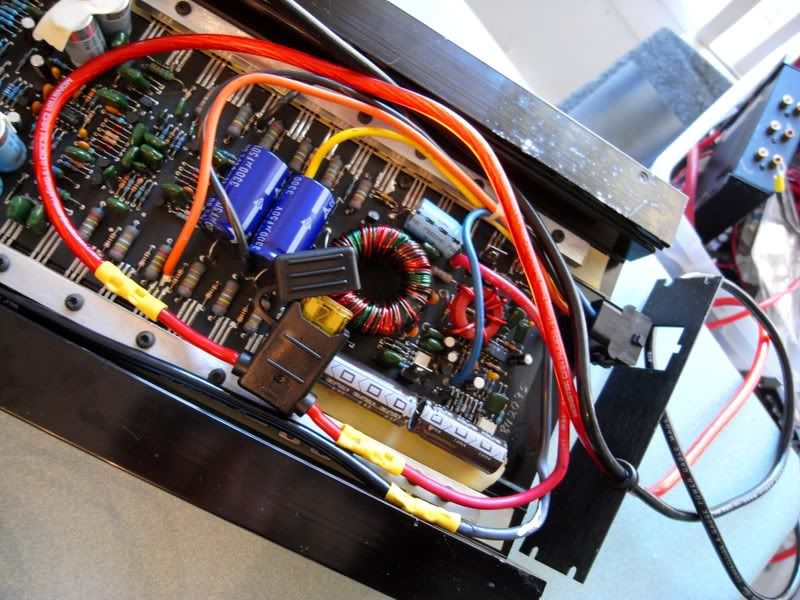
If you look back at the diagrams I drew up... I worked out the "symmetry" of the components to help lay out the wiring THROUGH the board from front-to-rear and so on... it worked out pretty well, and led to several further enhancements in the wiring arrangement.
^^^ Well, I'm really happy with the latest progress... and expect to do a little more tomorrow afternoon...
-crisp