DIY: Gen 1.5 Projector Fogs
![]() by SpeedySolara » Fri Aug 26, 2011 6:15 am
by SpeedySolara » Fri Aug 26, 2011 6:15 am
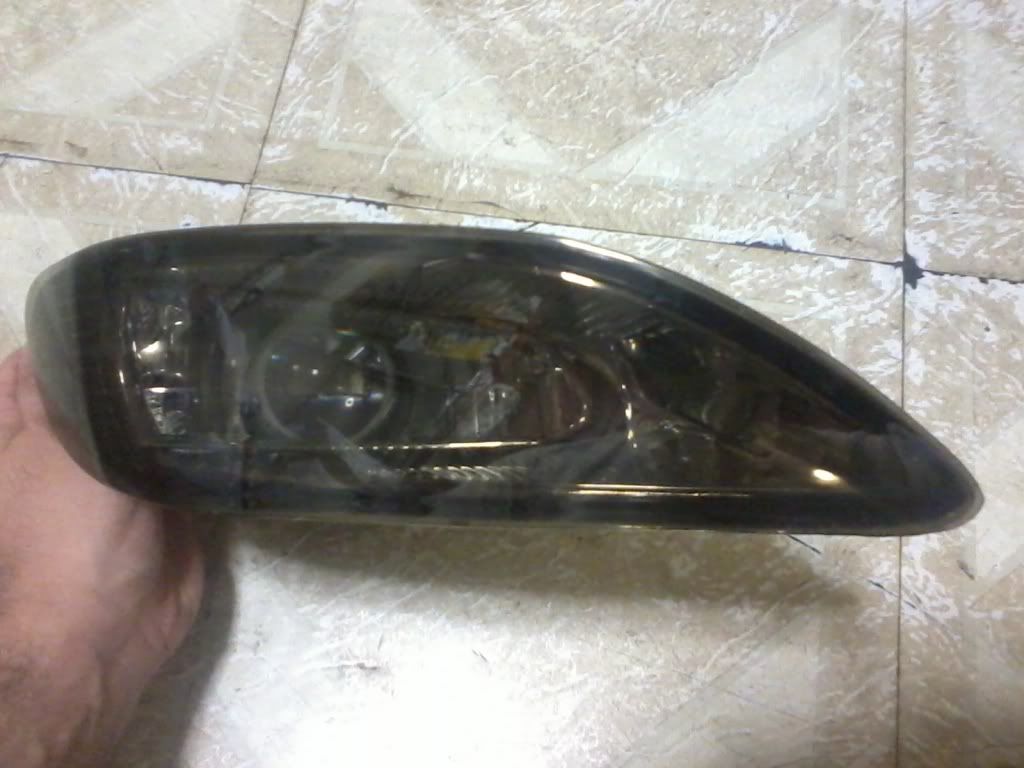
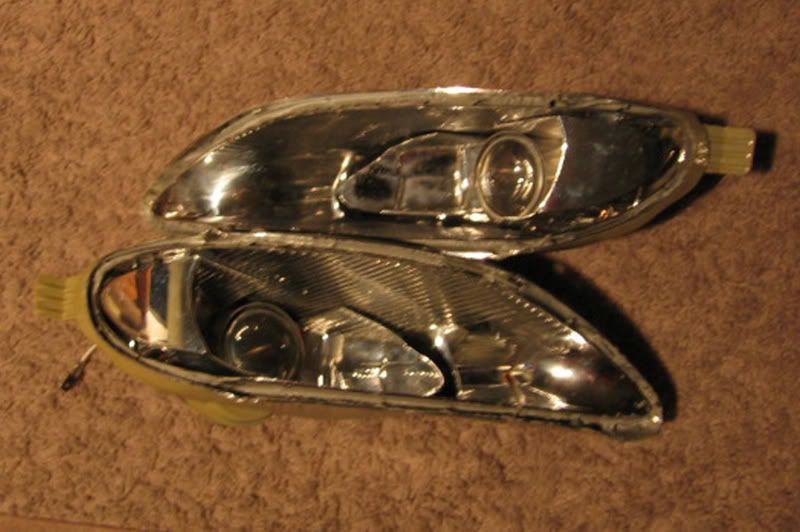
Last month I read a thread (viewtopic.php?f=2&t=31036) that CAMRAZY posted years ago about his friend retrofitting projectors into the Gen 1.5 Solara fog lights (same as 02-04 Camry & 05-08 Corolla). I took great interest in this project and did some research so that I could do the same. I'm uncertain if this guy ever finished his fogs but this was the latest picture I saw:
Exactly one month after reading that thread, I finally have everything I need to complete this retrofit and I'll document it as I go along for those guys that may want to do the same as theres not much information online specific to this retrofit.
Parts/Tools you'll need to complete this retrofit:
1. Solara Gen 1.5 Fog Lights
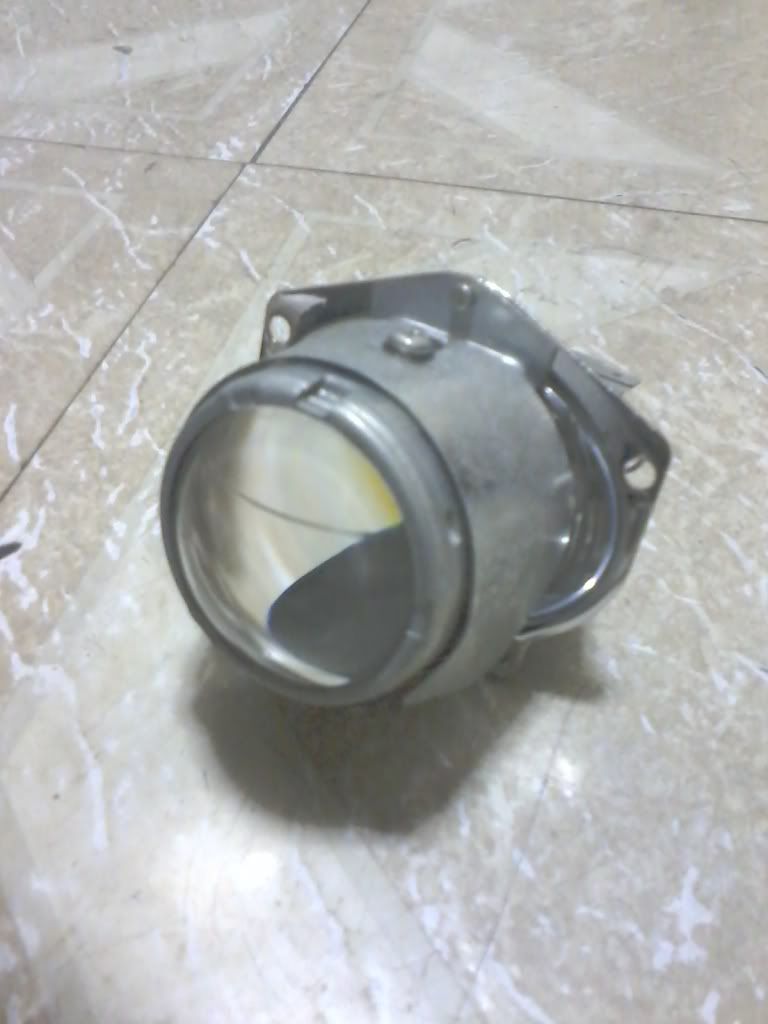
2. Bosch Mini H3 Projectors
3. Dremel Tool w/ cutting & sanding/grinding tips
4. Several flathead & a phillips screwdrivers
5. Wrench
6. Laser leveler
7. Adhesive
8. Marker/Pencil
9. Mounting brackets
10. Screws & bolts
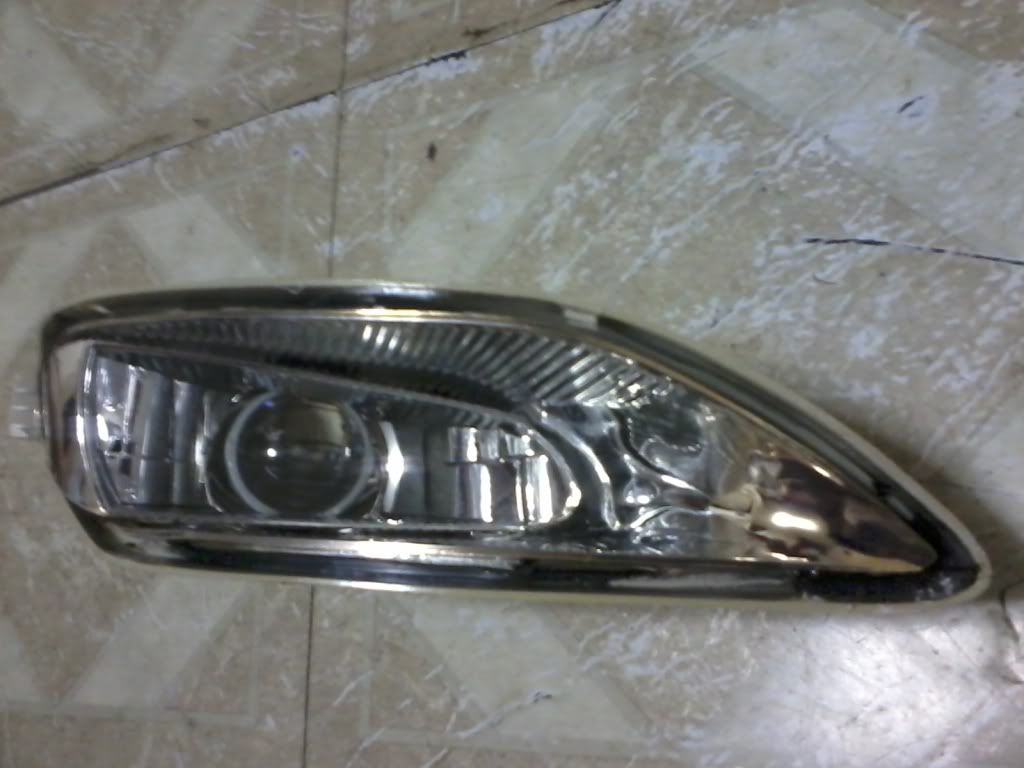
Step 1: Remove the lens
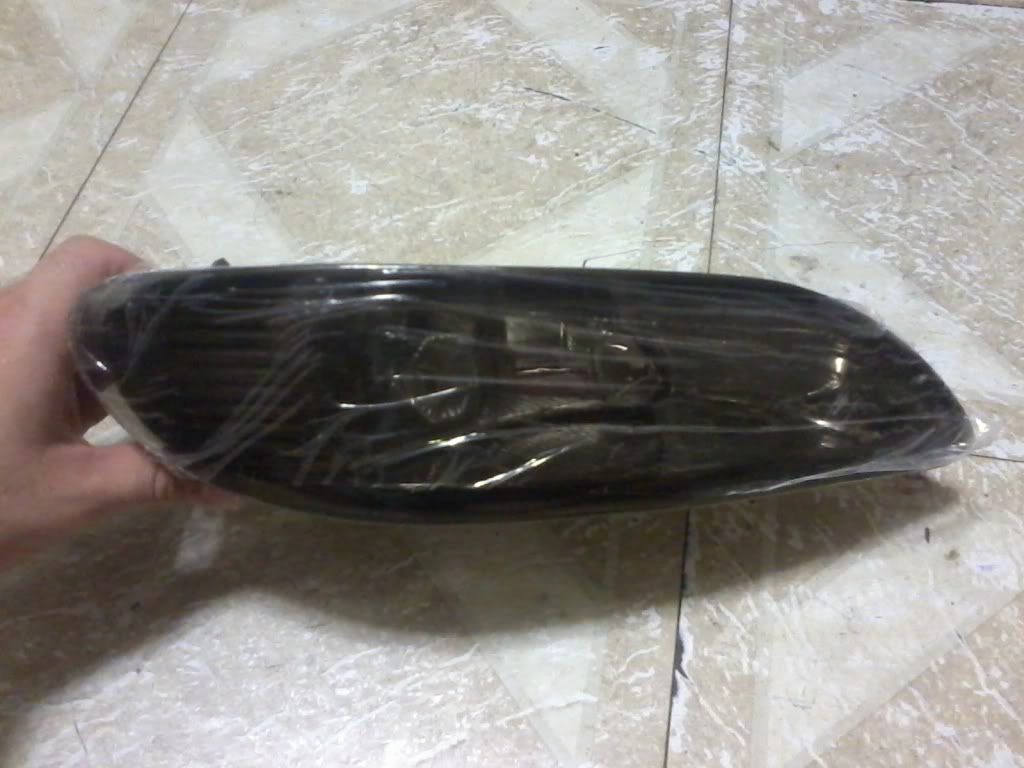
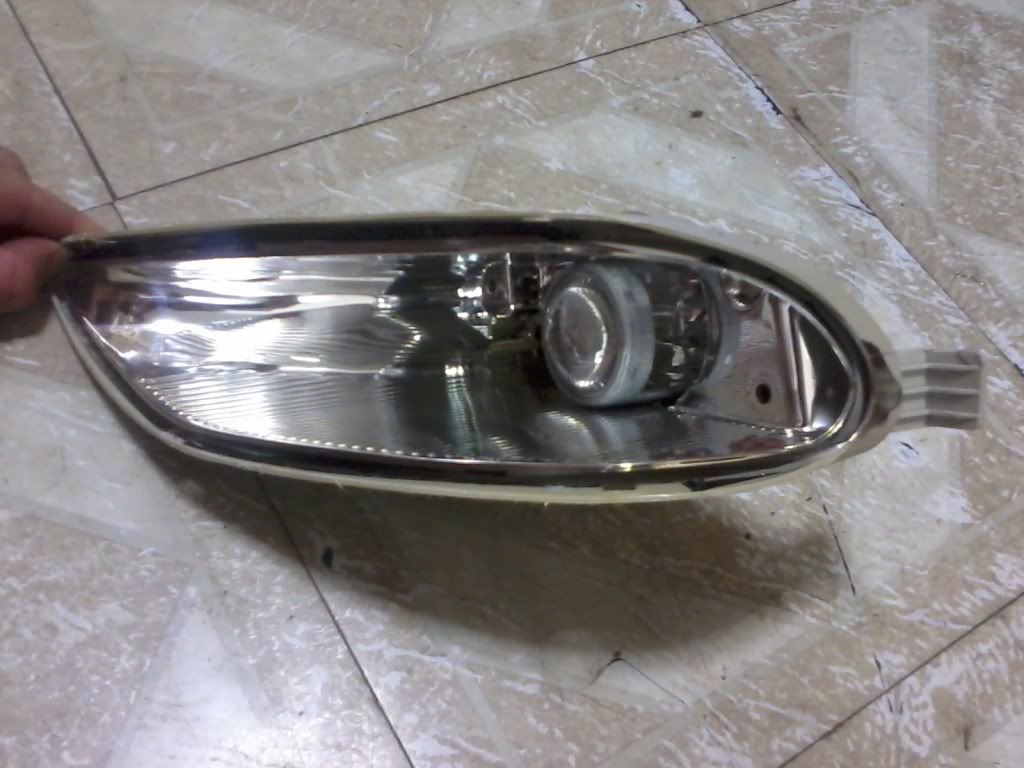
I used aftermarket black housing fog lights for this project so it makes it easier to see the mounting points/tabs on the pics. What you want to do is stick a small, flat screwdriver in the opening spaces between the lens and housing (refer to pic below) and slowly work your way around the lens. Besides the two tabs on both sides of the fog light housing, the lens are glued on so it might take a little effort to take them off. Once the glue is apart, pull from the pointy corner first and the rest will come off.
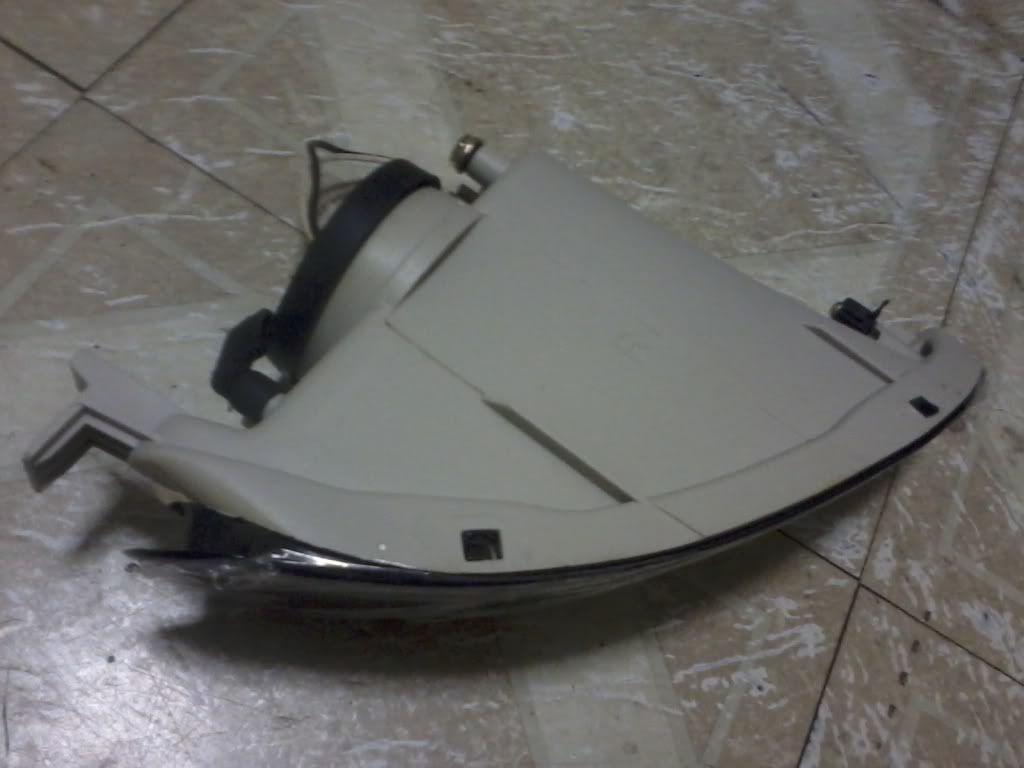
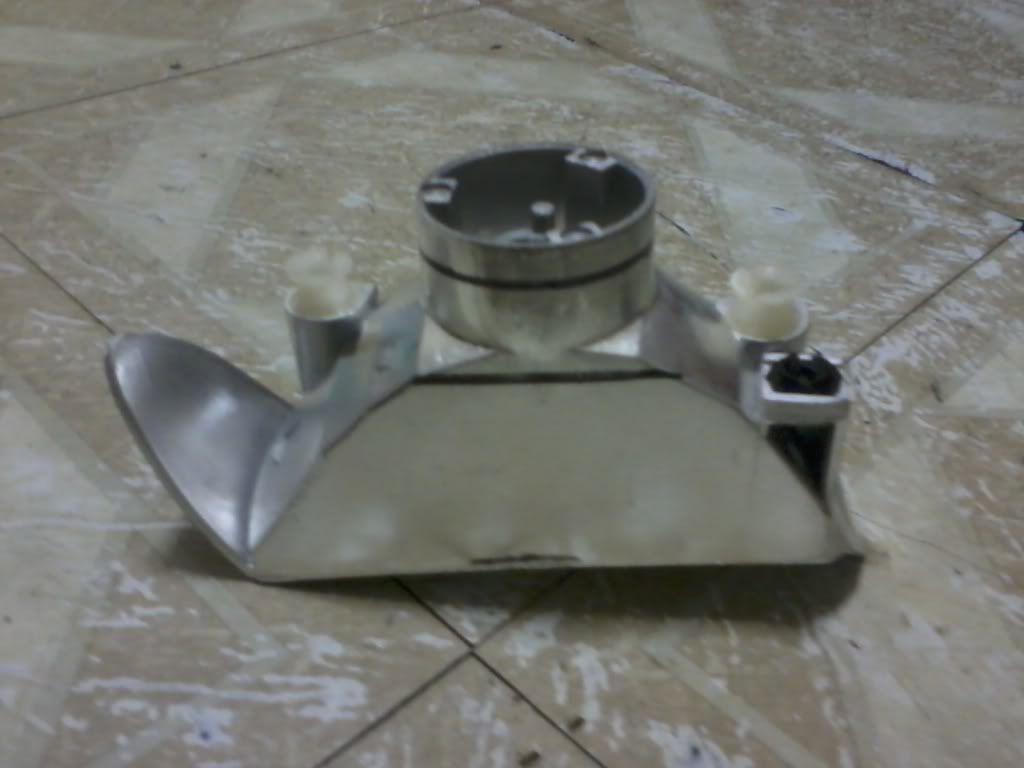
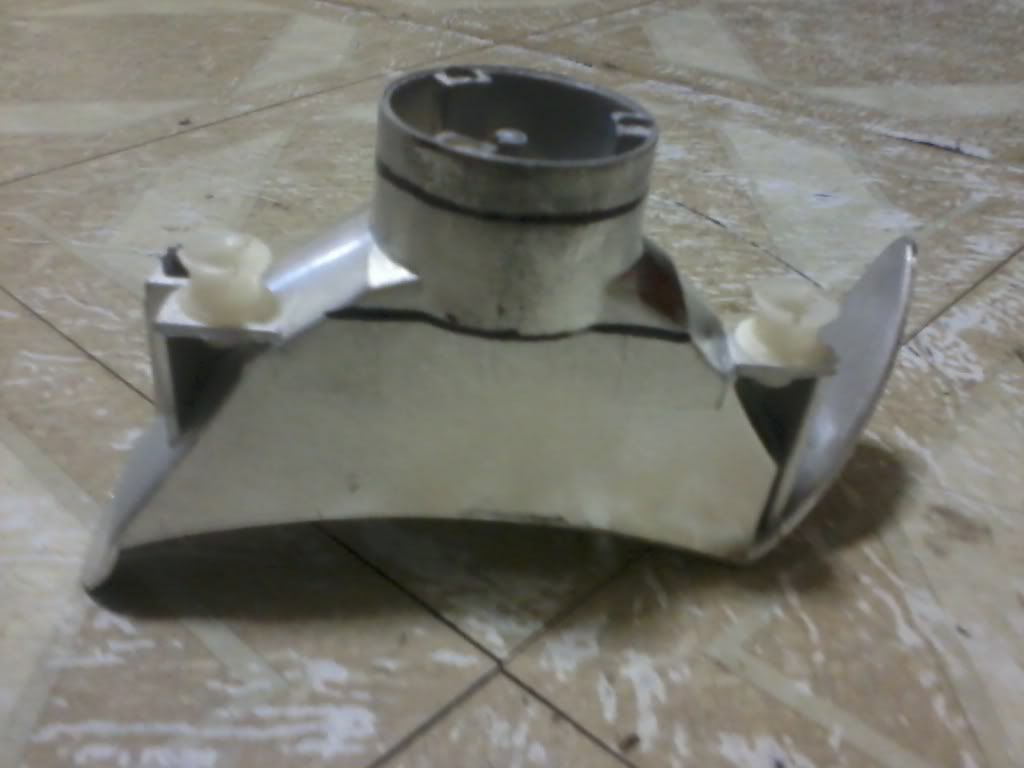
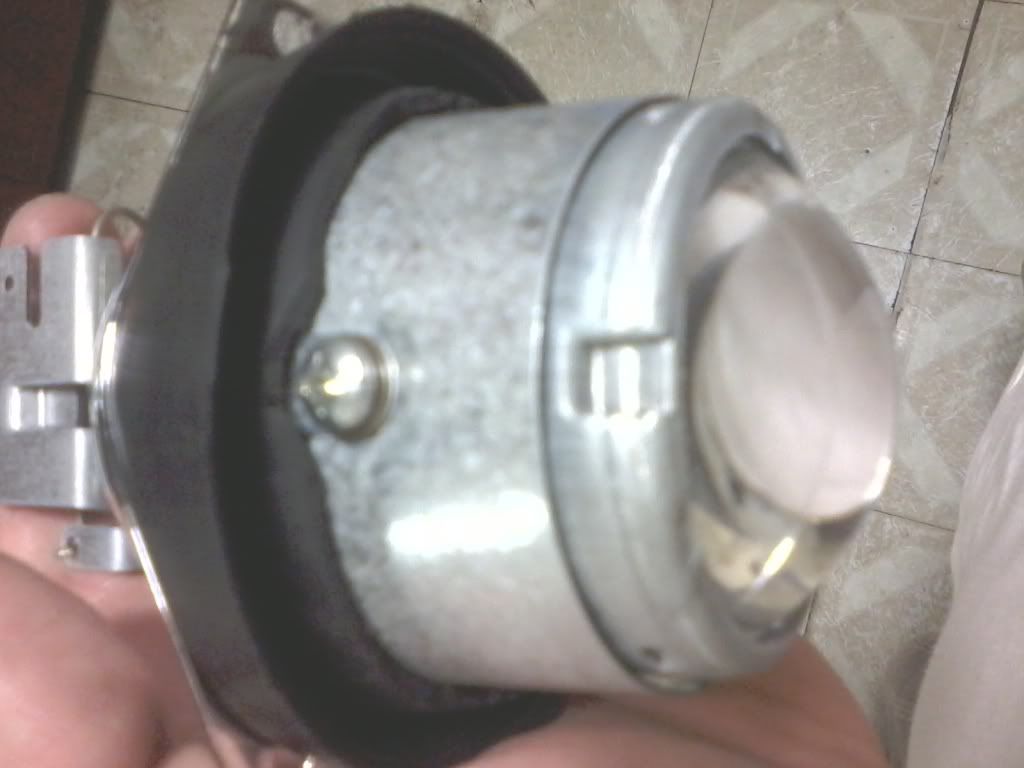
Step 2: Removing & marking the inside reflector
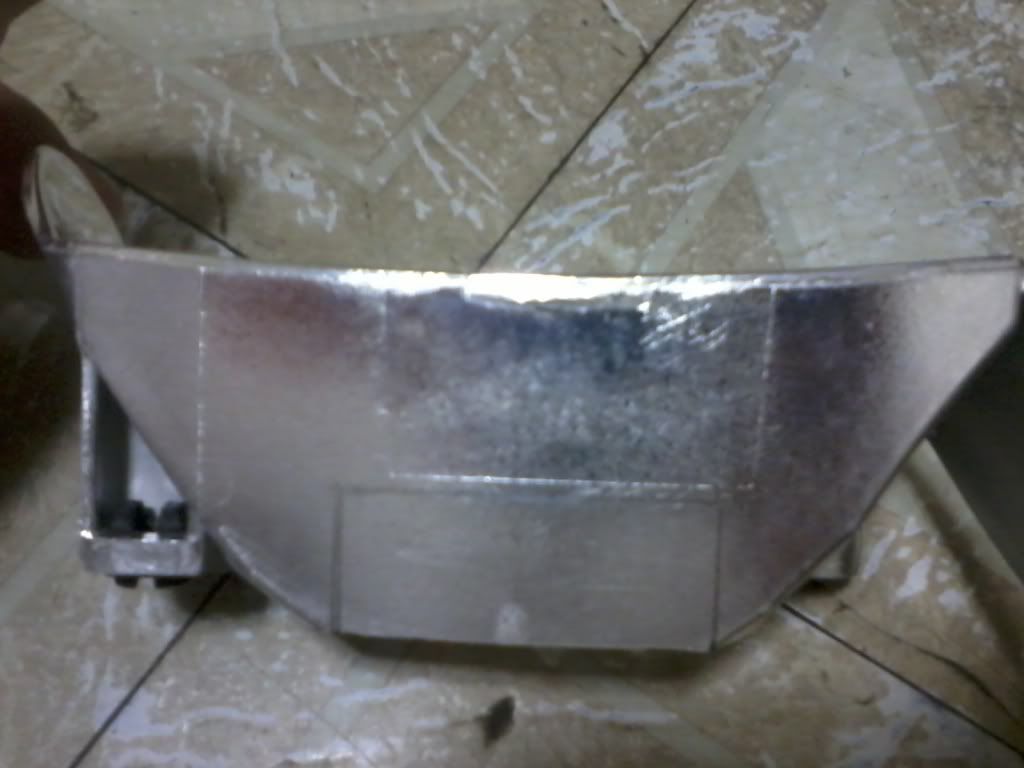
The aftermarket fog light I used should be identical to the oem fogs in dimensions with the exception of a cheap bulb thats used instead of the oem 9006 bulb. If you have the oem fog light, remove the 9006 bulb and the rubber seal. If you have the fog light style below, remove the three screws and then the rubber seal.
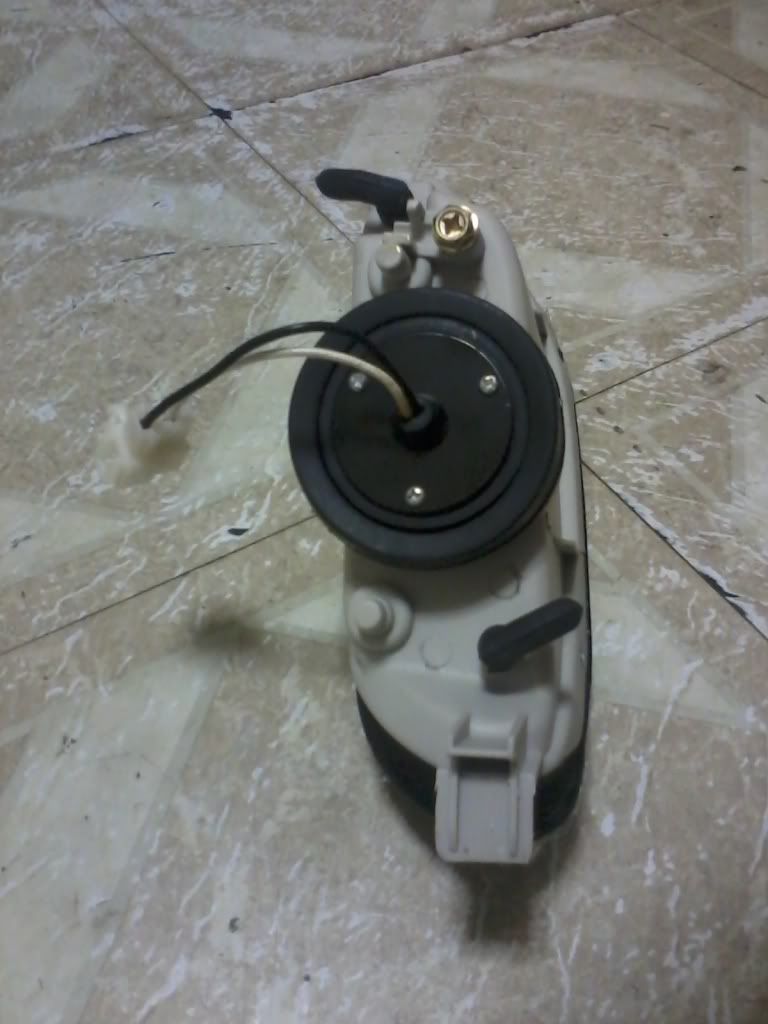
After removing the rubber seal, mark the protruding portion of the reflector that comes out of the housing all around as shown below which should measure 1cm. This will be used later as a reference point.
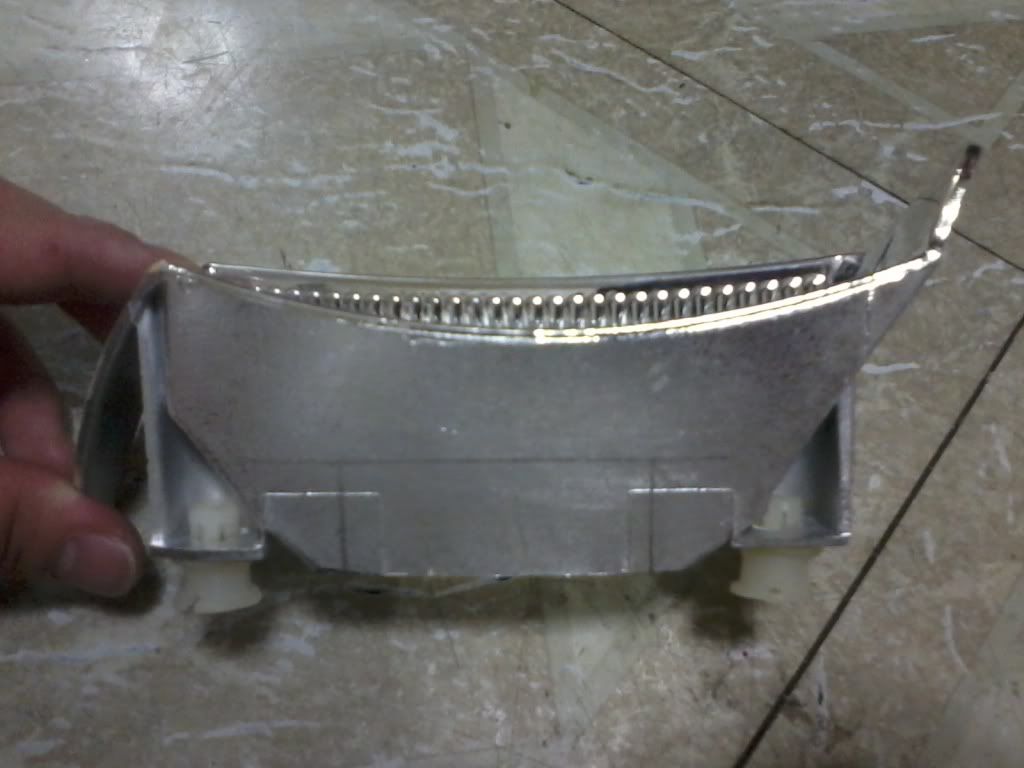
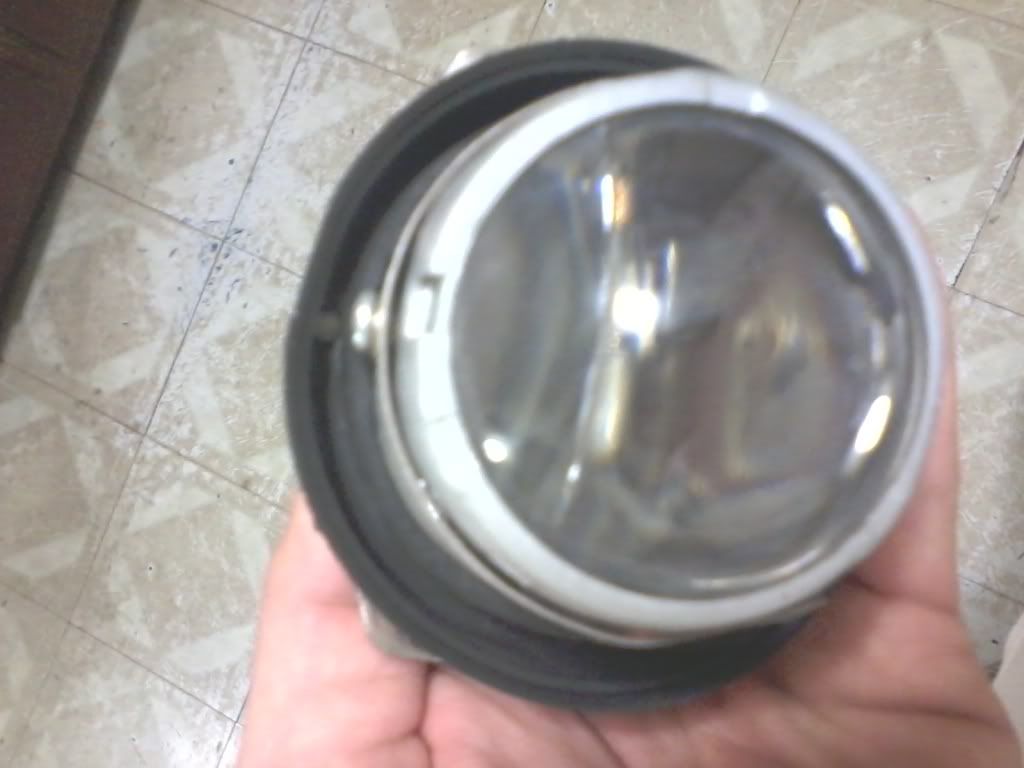
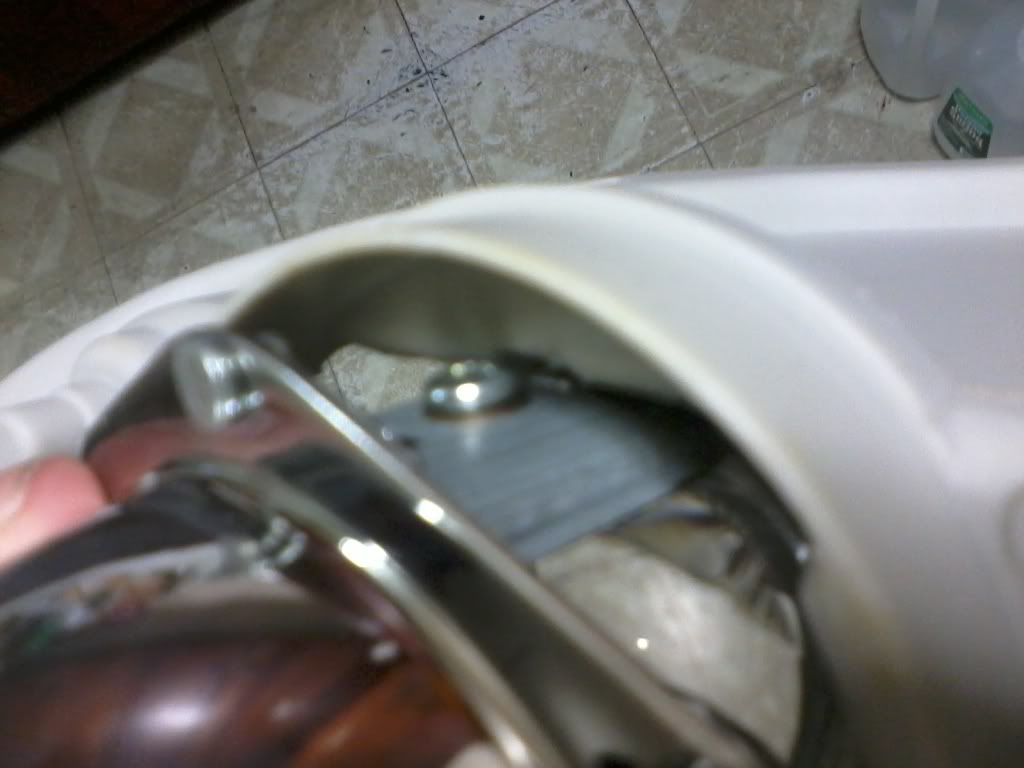
Now to remove the reflector, loosen the screw shown in the picture above until you cant loosen it any more. Then, push the reflector out with your hands. If it moves but wont budge, turn the fog light around and pull the lens towards you and it should pop out.
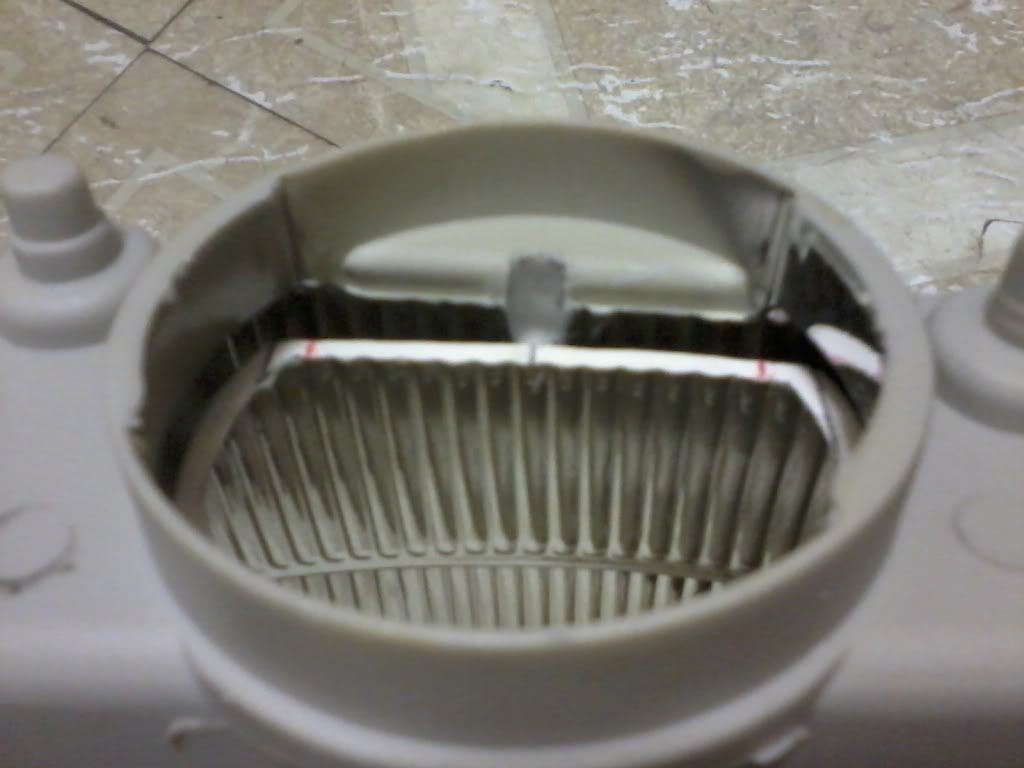
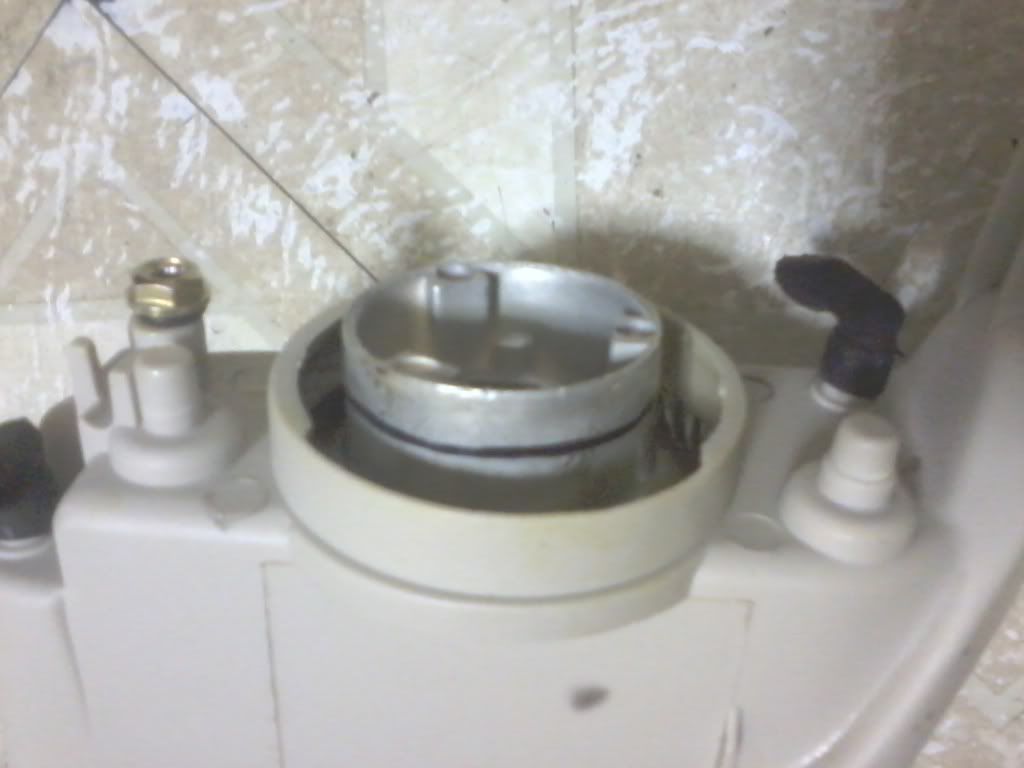
Step 3: Modifying the housing to fit the projector
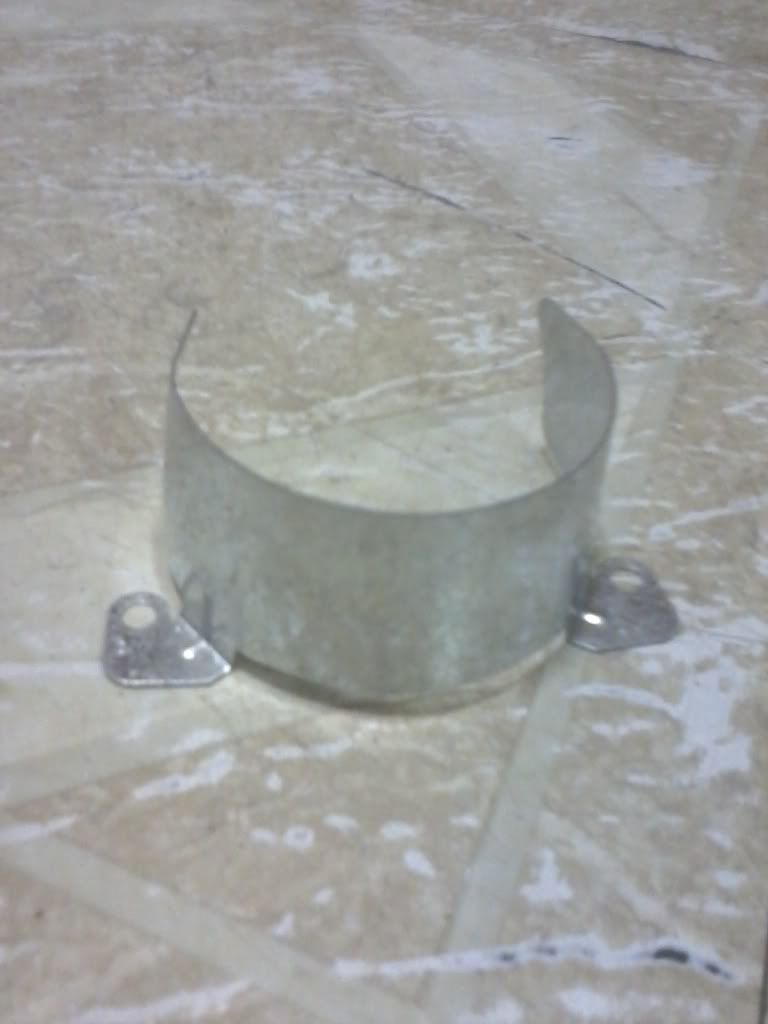
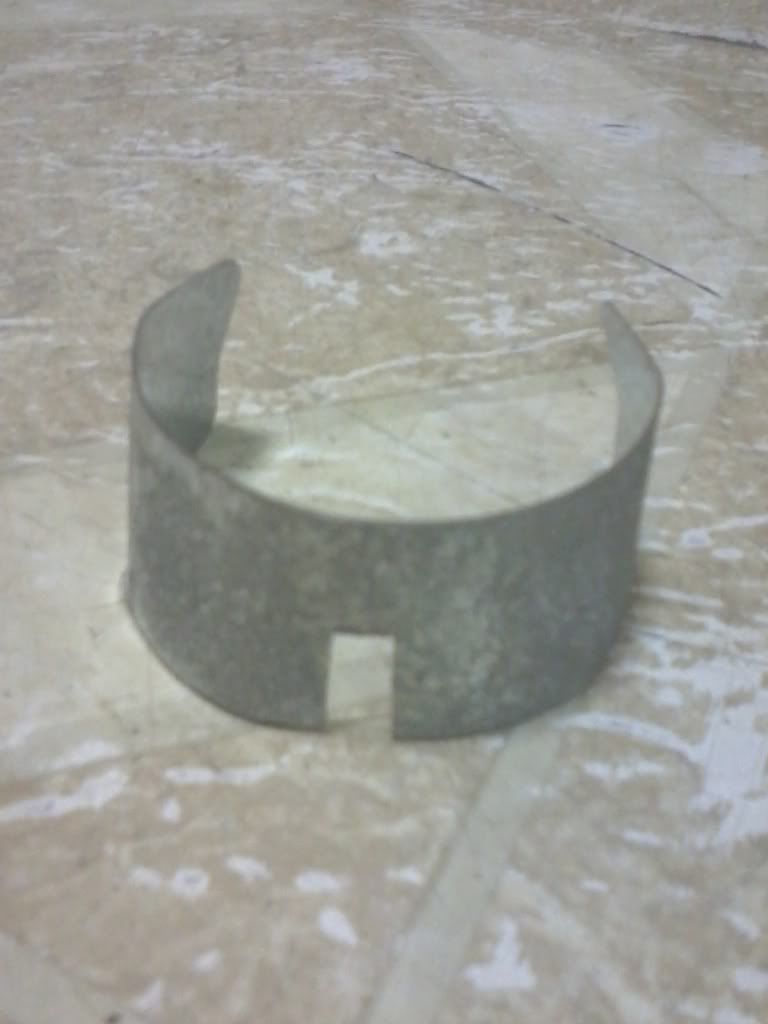
With the inside reflector out, I attempted to put the projector inside the housing but a small screw underneath the projector prevented it from fitting. Since the screw needs to stay on the projector for functionality purposes, make a groove on the housing itself where the screw could slide into. In order for the projector to be centered, measure the bottom of the opening where the projector will go into. This should measure 5cm. in width so the screw needs to be centered right on the 2.5cm. line. Mark the housing as shown in the pictures below with the width and depth of the screw so the groove is made accordingly. My screw was 6mm wide and 4mm deep so I made the groove accordingly. Finally, make the groove 1cm. long (towards the front of the fog). You could get away with doing less but I wanted to make sure the projector went all the way into the housing.
NOTE: The trick here is cutting and test fitting to prevent overcutting.
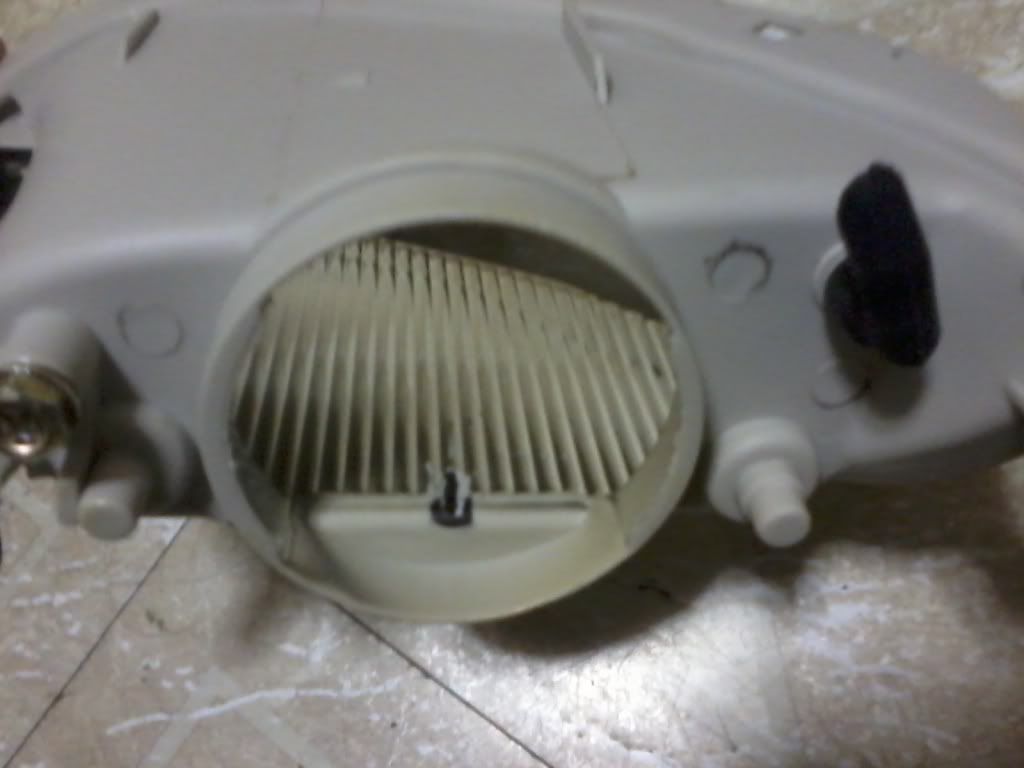
*Fig. 1 Width
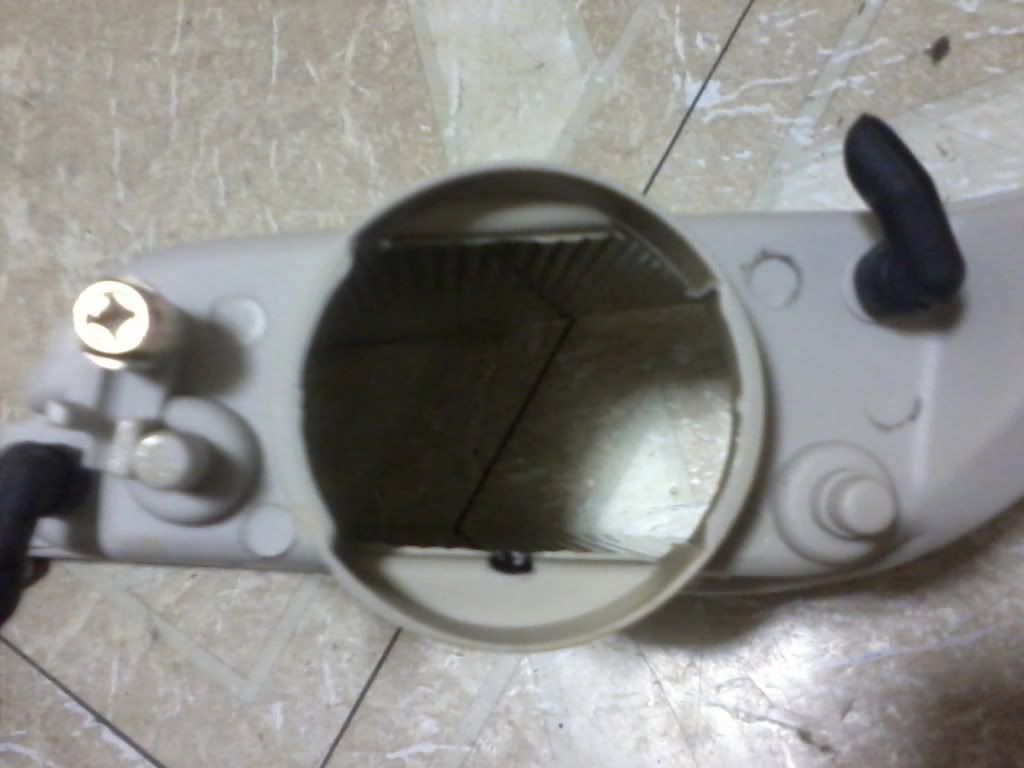
*Fig. 2 Depth
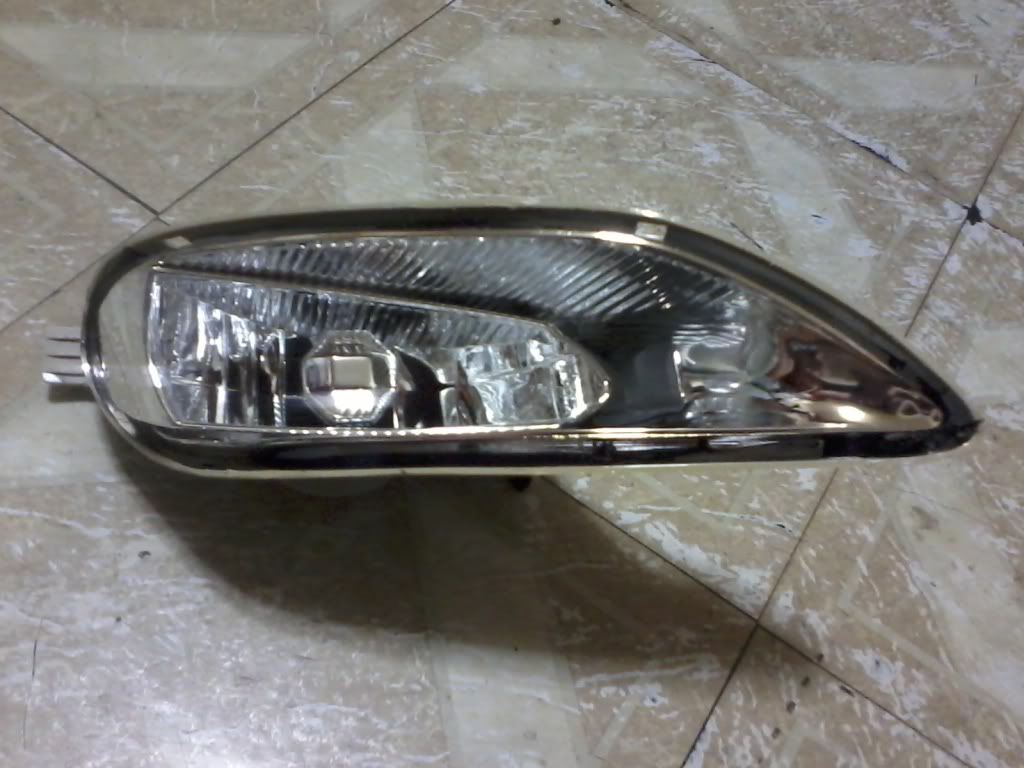
Once the groove is made, it should look like this:
The rest is to be continued...
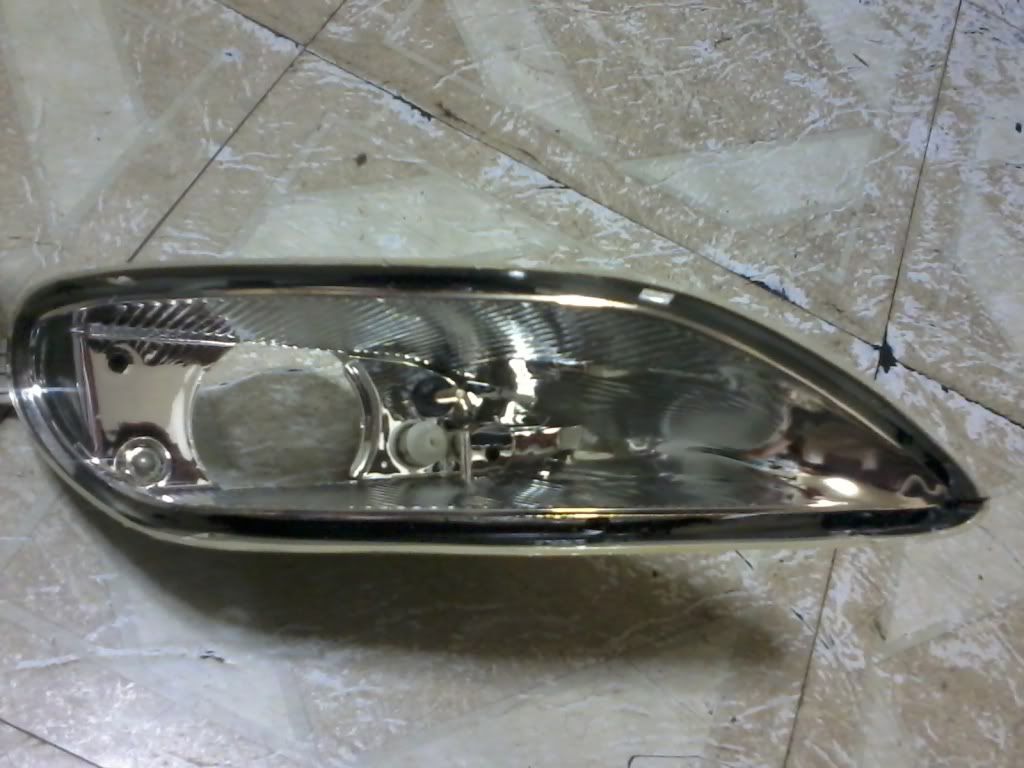
All thats really left is modifying the inside reflector which is where CAMRAZY's boy left off lol but I'm eager to finish this project. Opposed to him, I intend on cutting the inside reflector to the contour of the projector but that'll take a lot of time and tedious test fitting so I'll leave you guys with a taste of what I've done thus far:
What do you guys think?
Exactly one month after reading that thread, I finally have everything I need to complete this retrofit and I'll document it as I go along for those guys that may want to do the same as theres not much information online specific to this retrofit.
Parts/Tools you'll need to complete this retrofit:
1. Solara Gen 1.5 Fog Lights
2. Bosch Mini H3 Projectors
3. Dremel Tool w/ cutting & sanding/grinding tips
4. Several flathead & a phillips screwdrivers
5. Wrench
6. Laser leveler
7. Adhesive
8. Marker/Pencil
9. Mounting brackets
10. Screws & bolts
Step 1: Remove the lens
I used aftermarket black housing fog lights for this project so it makes it easier to see the mounting points/tabs on the pics. What you want to do is stick a small, flat screwdriver in the opening spaces between the lens and housing (refer to pic below) and slowly work your way around the lens. Besides the two tabs on both sides of the fog light housing, the lens are glued on so it might take a little effort to take them off. Once the glue is apart, pull from the pointy corner first and the rest will come off.
Step 2: Removing & marking the inside reflector
The aftermarket fog light I used should be identical to the oem fogs in dimensions with the exception of a cheap bulb thats used instead of the oem 9006 bulb. If you have the oem fog light, remove the 9006 bulb and the rubber seal. If you have the fog light style below, remove the three screws and then the rubber seal.
After removing the rubber seal, mark the protruding portion of the reflector that comes out of the housing all around as shown below which should measure 1cm. This will be used later as a reference point.
Now to remove the reflector, loosen the screw shown in the picture above until you cant loosen it any more. Then, push the reflector out with your hands. If it moves but wont budge, turn the fog light around and pull the lens towards you and it should pop out.
Step 3: Modifying the housing to fit the projector
With the inside reflector out, I attempted to put the projector inside the housing but a small screw underneath the projector prevented it from fitting. Since the screw needs to stay on the projector for functionality purposes, make a groove on the housing itself where the screw could slide into. In order for the projector to be centered, measure the bottom of the opening where the projector will go into. This should measure 5cm. in width so the screw needs to be centered right on the 2.5cm. line. Mark the housing as shown in the pictures below with the width and depth of the screw so the groove is made accordingly. My screw was 6mm wide and 4mm deep so I made the groove accordingly. Finally, make the groove 1cm. long (towards the front of the fog). You could get away with doing less but I wanted to make sure the projector went all the way into the housing.
NOTE: The trick here is cutting and test fitting to prevent overcutting.
*Fig. 1 Width
*Fig. 2 Depth
Once the groove is made, it should look like this:
The rest is to be continued...
All thats really left is modifying the inside reflector which is where CAMRAZY's boy left off lol but I'm eager to finish this project. Opposed to him, I intend on cutting the inside reflector to the contour of the projector but that'll take a lot of time and tedious test fitting so I'll leave you guys with a taste of what I've done thus far:
What do you guys think?
[size=150][b]Get your Big Brake Kit today:[/b][/size]
http://www.solaraguy.com/viewtopic.php?t=48573
http://www.solaraguy.com/viewtopic.php?t=48573
-

SpeedySolara - SolaraGuy Street Racer

- Posts: 1082
- Joined: Mon Apr 10, 2006 10:35 pm
- Location: NYC